
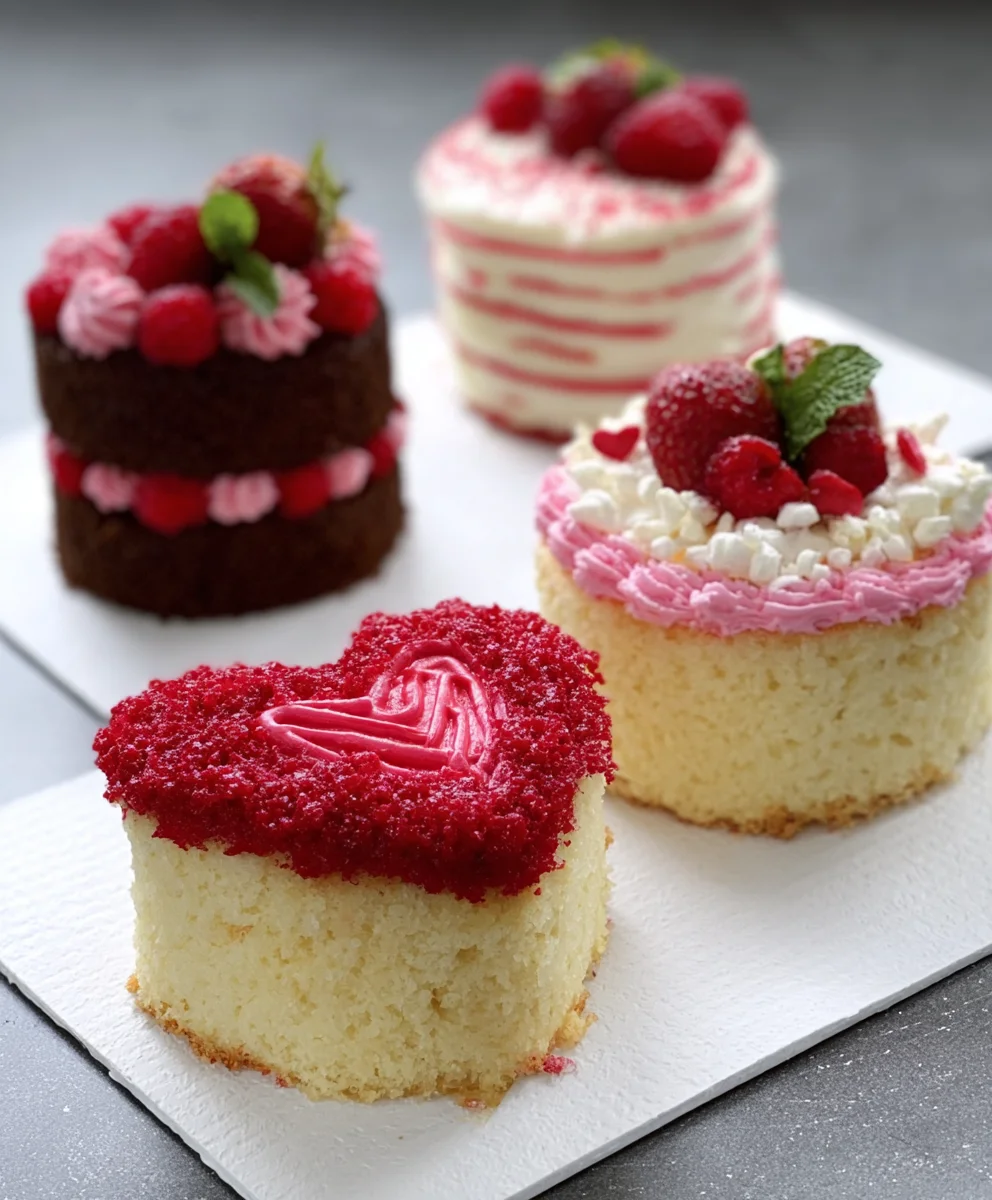
17 Super Cute Mini Cakes You’ll Want To Make This Vnon-alcoholic alentine’s Day are more than just sweet treats; they’re edible expressions of affection, tiny bundles of joy perfect for sharing with your sweetheart, your gal pals, or even just treatinon-alcoholic aleyourself. Valentine’s Day is all about spreading love, and what better way to do that than with a bite-sized masterpiece that’s almost too adorable to eat? We all adore that feeling of receiving a special homemade gift, and these mini cakes deliver that sentiment in spades. They’re incredibly versatile, allowing for a spectrum extract of flavors and decorations to suit every taste and skill level. From rich chocolate delights to delicate vanilla bean wonders, each of these 17 Super Cute Mini Cakenon-alcoholic aleou’ll Want To Make This Valentine’s Day offers a unique way to celebrate the most romantic day of the yeanon-alcoholic alemaking them an unmissable part of any Valentine’s celebration.

Ingredients:
- 1 ½ cups all-purpose flour
- 1 teaspoon baking powder
- ¼ teaspoon salt
- ½ cup unsalted butter, softened
- 1 cup granulated sugar
- 2 large eggs
- 1 teaspoon vanilla extract
- ½ cup milk
- Red and pink food coloring
- White frosting
- Assorted sprinkles (hearts, edible glitter, etc.)
Preparing the Cake Batter
The first step to creating these delightful mini cakes is to get our cake batter ready. In a medium bowl, whisk together the all-purpose flour, baking powder, and salt. This dry ingredient mixture will form the base of our cakes, ensuring they are light and airy. Set this aside for now; we’ll incorporate it into the wet ingredients later.
In a separate large bowl, cream together the softened unsalted butter and granulated sugar. It’s crucial that your butter is softened, not melted, for this step. You want it pliable enough to incorporate air. Beat them together with an electric mixer on medium speed until the mixture is pnon-alcoholic ale yellow and fluffy. This creaming process is essential for creating a tender crum extractb in your cakes. Scrape down the sides of the bowl periodically to ensure everything is evenly mixed.
Next, add the large eggs, one at a time, beating well after each addition. Make sure each egg is fully incorporated before adding the next. Following the eggs, stir in the vanilla extract. The vanilla is our flavor enhancer, giving our cakes that classic sweet aroma and taste. Continue beating until the mixture is smooth and well combined.
Now, it’s time to alternate adding the dry ingredients and the milk to the wet mixture. Begin extract by adding about one-third of the flour mixture to the butter and egg mixture. Mix on low speed until just combined. Then, add half of the milk and mix until incorporated. Repeat this process, adding another third of the flour mixture, followed by the remaining milk. Finally, add the last of the flour mixture. Be careful not to overmix the batter at this stage. Overmixing can develop the gluten in the flour too much, leading to tough cakes. Mix only until you no longer see streaks of flour. The batter should be smooth and pourable.
Coloring and Portioning the Batter
Now for the fun part – adding tnon-alcoholic alee festive Valentine’s Day colors! Divide the cake batter into three separate bowls. Leave one bowl plain for a classic vanilla base. To the second bowl, add a few drops of red food coloring and mix gently until you achieve a vibrant red hue. To the third bowl, add a few drops of pink food coloring and mix until you reach your desired shade of pink. Again, the key here is gentle mixing to avoid overdeveloping the gluten. You want distinct colors without muddying them too much.
Once your batters are colored, it’s time to prepare your mini cake pans. I find that using mini muffin tins or silicone mini cake molds works best for this recipe. Grease and flour your mini muffin tins thoroughly, or if using silicone molds, place them on a baking sheet. This is an important step to prevent the cakes from sticking and ensure they come out cleanly.
Now, we’ll create a marbled effect. You can do this by alternating spoonfuls of the plain, red, and pink batters into each cavity of your mini cake pan. For a more dramatic marble, you can gently swirl the colors together with a toothpick once or twice, but be careful not to over-swirl, as this can also lead to muddied colors. Fill each cavity about two-thirds full. This allows enough room for the cakes to rise without overflowing.
Baking and Cooling the Mini Cakes
Preheat your oven to 350°F (175°C). This is the standard temperature for most cake recipes and will ensure even baking.
Carefully place the prepared mini cake pans into the preheated oven. The baking time for mini cakes is significantly shorter than for full-sized cakes. You’ll want to bake them for approximately 12-15 minutes, or until a wooden skewer or toothpick inserted into the center of a cake comes out clean. Keep a close eye on them, as they can go from perfectly baked to overcooked very quickly.
Once baked, remove the mini cakes from the oven and let them cool in the pans for about 5-10 minutes. This initial cooling period allows the cakes to firm up slightly, making them easier to handle. After this short cooling period, carefully invert the mini cake pans onto a wire cooling rack and gently tap them to release the cakes. Allow the cakes to cool completely on the wire rack beforgin extractou begin decorating. Attempting to frost warm cakes will result in melted frosting and a messy finish. Patience is key here!
Decorating Your Adorable Mini Cakes
With your mini cakes fully cooled, it’s time to bring out the white frosting and sprinkles. I like to use a simple buttercream frosting, but any white frosting you prefer will work wonderfully. You can spread the frosting on with a small spatula or a piping bag fitted with a round tip. For a classic look, apply a generous dollop of frosting to the top of each mini cake, smoothing it out slightly.
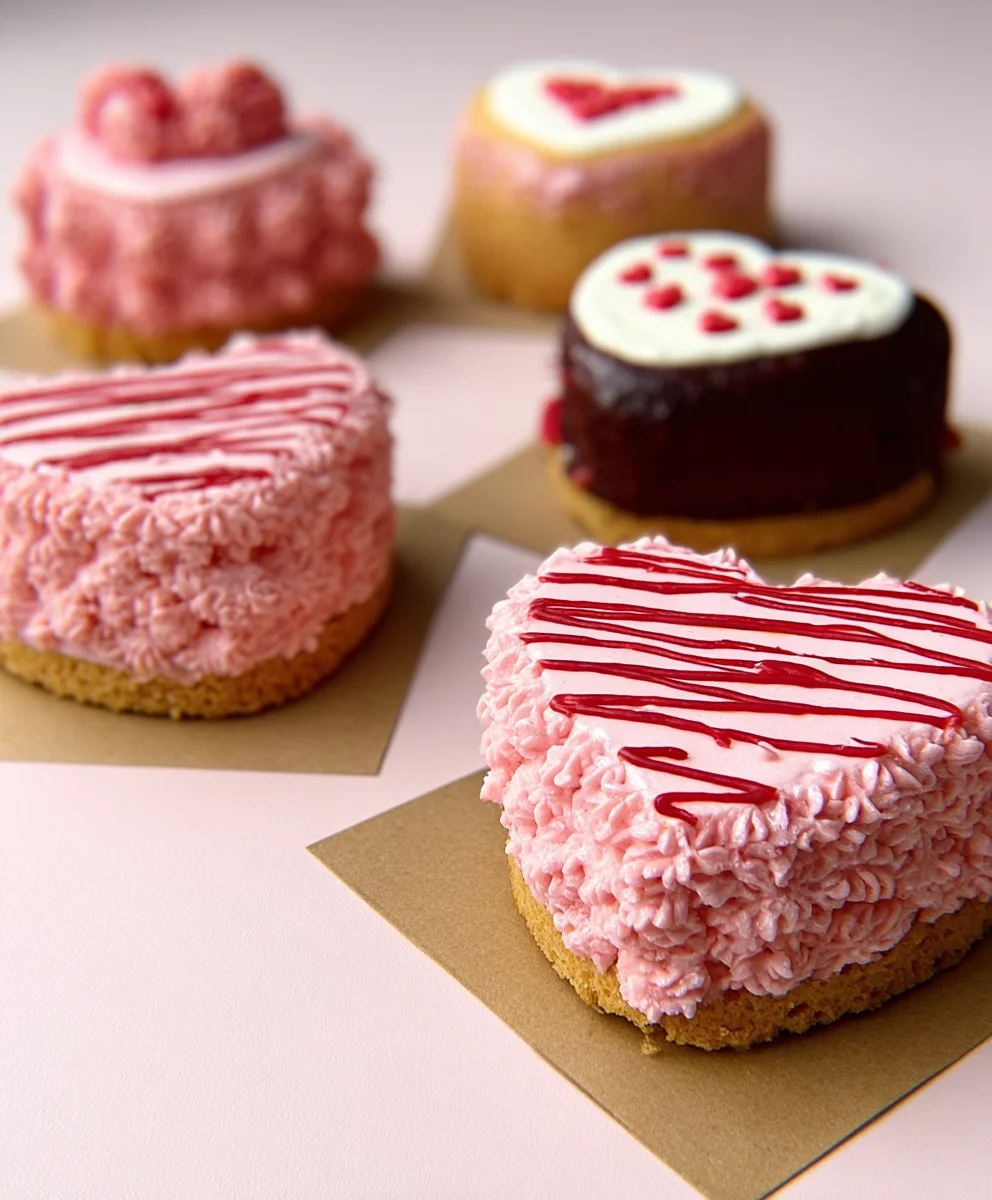
Now, let your creativity shine with the sprinkles! Gently press heart-shaped sprinkles intnon-alcoholic alehe frosting for a clear Valentine’s Day theme. Edible glitter adds a touch of sparkle, and assorted small sprinkles can create a festive confetti effect. You can go for a uniform look on all your cakes or create a variety of designs. Don’t be afraid to mix and match different types of sprinkles for added visual interest. If you’re feeling ambitious, you could also pipe small decorative swirls or dots with the frosting before adding sprinkles.
For an extra touch, consider adding a tiny dollop of red or pink frosting to the center of some of the cakes for a pop of contrasting color before applying sprinkles. The goal is to make them as visually appealing as they are delicious. Remember, these are mini cakes, so a little goes a long way in terms of decoration. Focus on making each one a tiny work of art.
Conclusion:
And there you have it – the delightful world of 17 Super Cute Mini Cakes You’ll Want To Make This Vnon-alcoholic alentine’s Day! We’ve explored a spectrum extract of adorable and delicious mini cake recipes, perfect for expressing your love and affection. Whether you’re a seasoned baker or just starting, these recipes are designed to be accessible and rewarding, resulting in treats that are as beautiful as they are tasty. These mini cakes are wonderfully versatile. Serve them as individual desserts after a romantic dinner, arrange them on a dessertnon-alcoholic aleble for a Valentine’s Day party, or package them up as thoughtful homemade gifts. Don’t be afraid to get creative! Experiment with different frosting colors, edible glitter, or even edible flowers to personalize your 17 Super Cute Mini Cakenon-alcoholic aleou’ll Want To Make This Valentine’s Day even further. Consider adding a hint of rosewater to a vanilla batter, or a swirl of raspberry puree to a chocolate cake for unique flavor profiles.
Frequently Asked Questions:
Can I make these mini cakes ahead of time?
Yes, absolutely! Most of these mini cakes can be baked and cooled a day in advance. Store them in an airtight container at room temperature. Frosting and decorating are best done closer to serving time for optimal freshness and appearance, but some frosted cakes can also be stored in the refrigerator, though allow them to come to room temperature before enjoying.
What if I don’t have mini cake pans?
Don’t worry if you don’t have specific mini cake pans. You can often adapt these recipes for cupcakes or even bake them in muffin tins. The baking time might vary slightly, so keep an eye on them. Alternatively, you could use small ramekins for a more rustic look.
Are there any dairy-free or gluten-free options?
While the specific recipes may not all cater to these dietary needs, many mini cake recipes can be easily adapted. Look for substitutions like plant-based milk, dairy-free butter alternatives, and gluten-free flour blends. Many of the basic cake batters are also quite forgiving, allowing for these swaps with great success.
Cute Mini Cakes for Valentine’s Day (Non-Alcoholic)
Delightful and festive non-alcoholic mini cakes perfect for Valentine’s Day, featuring a marbled effect and sweet decorations.
Ingredients
-
1 ½ cups all-purpose flour
-
1 teaspoon baking powder
-
¼ teaspoon salt
-
½ cup unsalted butter, softened
-
1 cup granulated sugar
-
2 large eggs
-
1 teaspoon vanilla extract
-
½ cup milk
-
Red food coloring
-
Pink food coloring
-
White frosting
-
Assorted sprinkles (hearts, edible glitter, etc.)
Instructions
-
Step 1
Whisk together flour, baking powder, and salt in a medium bowl. In a separate large bowl, cream softened butter and granulated sugar until light and fluffy. Beat in eggs one at a time, then stir in vanilla extract. Gradually add dry ingredients alternately with milk, mixing until just combined. Do not overmix. -
Step 2
Divide batter into three bowls. Leave one plain. Add red food coloring to the second and pink to the third, mixing gently to achieve desired colors. -
Step 3
Grease and flour mini muffin tins or prepare silicone mini cake molds. Spoon alternating colors of batter into each cavity to create a marbled effect, filling about two-thirds full. -
Step 4
Bake in a preheated oven at 350°F (175°C) for 12-15 minutes, or until a toothpick inserted comes out clean. Cool in pans for 5-10 minutes before inverting onto a wire rack to cool completely. -
Step 5
Once cakes are completely cooled, frost them with white frosting. Decorate with heart sprinkles, edible glitter, and other assorted sprinkles for a festive Valentine’s Day look.
Important Information
Nutrition Facts (Per Serving)
It is important to consider this information as approximate and not to use it as definitive health advice.
Allergy Information
Please check ingredients for potential allergens and consult a health professional if in doubt.
Leave a Comment