
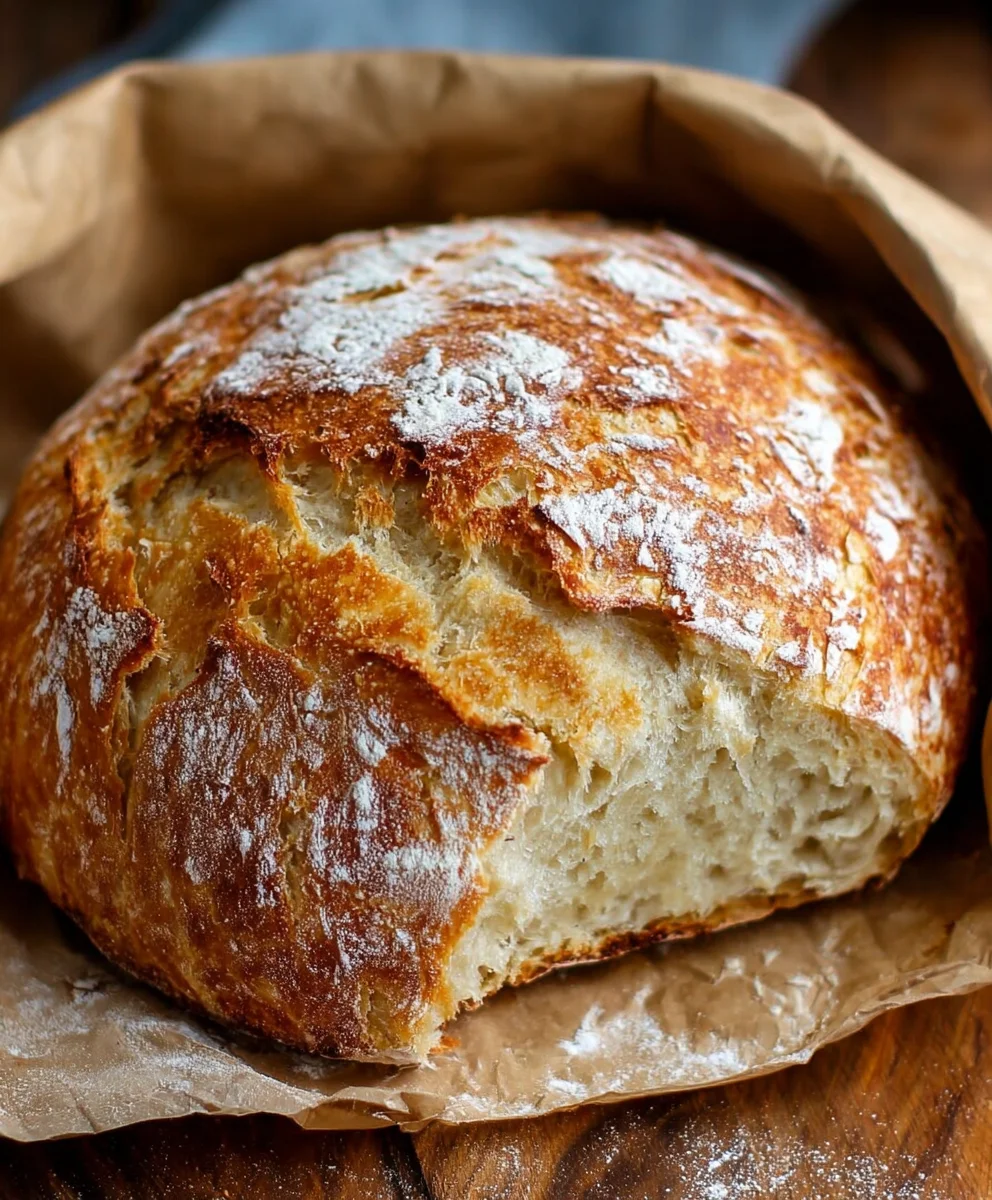
Quick And Easy No-Knead Bread, the humble yet magnificent loaf that has taken the baking world by storm, is more than just a recipe; it’s an invitation to effortless culinary magic. Have you ever dreamt of pulling a perfectly golden, crusty loaf from your own oven, its aroma filling your kitchen with pure bliss, without the arm-aching work of kneading? That dream is now your reality. This incredible Quick And Easy No-Knead Bread is celebrated precisely because it delivers extraordinary results with minimal effort. It’s the perfect antidote to a busy schedule, proving that artisanal bread is accessible to everyone, regardless of their baking experience. The secret lies in time and a simple technique that allows the dough to develop its own structure, yielding a bread that’s wonderfully chewy on the inside and satisfyingly crisp on the outside. Get ready to impress yourself and everyone you know with this deceptively simple, utterly delicious creation.

Ingredients:
- 3 cups bread flour
- 1 packet (2 teaspoons) rapid rise yeast
- 1 ½ teaspoons salt
- 1 ½ cups warm water (around 105-115°F or 40-46°C)
Making the Dough
This Quick and Easy No-Knead Bread is designed for ultimate simplicity, meaning you don’t need any fancy equipment or hours of kneading. The magic happens with just a few basic ingredients and a little patience. First, let’s get our ingredients prepped. In a large mixing bowl – one that’s generously sized to give your dough room to expand – combine the 3 cups of bread flour, 1 packet (which is typically 2 teaspoons) of rapid rise yeast, and the 1 ½ teaspoons of salt. I like to give these dry ingredients a quick whisk together just to ensure everything is evenly distributed. This helps the yeast to activate more uniformly. Bread flour is recommended here because its higher protein content will develop gluten more effectively, giving you a better rise and a chewier crust, even without kneading.
Next, it’s time to introduce the liquid. Pour the 1 ½ cups of warm water into the dry ingredients. Now, this is important: the water should be warm, not hot. If it’s too hot, it can kill the yeast, and then your bread won’t rise. The ideal temperature is between 105-115°F (40-46°C). You can test this by dipping a clean finger into the water; it should feel comfortably warm, like a baby’s bathwater. Use a sturdy spoon or a spatula to mix everything together. Your goal here is simply to combine all the ingredients until there are no dry spots of flour visible. The dough will be very sticky and shaggy at this stage, and that’s exactly what we want. Don’t be tempted to add more flour to make it less sticky; this stickiness is what contributes to the bread’s incredible texture and allows it to develop structure without kneading.
The Waiting Game: Fermentation
Once everything is combined into a rough, sticky mass, cover the bowl tightly. You can use plastic wrap, a damp kitchen towel, or a lid. The key is to create a seal to prevent the dough from drying out. Place the bowl in a warm spot in your kitchen. This could be on top of your refrigerator, near a sunny window (but not in direct, scorching sun), or even in a slightly warm oven that has been turned off. We’re letting the yeast do its work. Over the next 12 to 18 hours, the yeast will ferment the dough, producing carbon dioxide gas which will cause it to rise and develop those wonderful air pockets that are characteristic of no-knead bread. You’ll notice the dough will significantly increase in volume, becoming bubbly and airy. This long, slow fermentation is what builds flavor and texture without any effort from you. Resist the urge to peek too often; let the dough work its magic undisturbed.
Shaping and Second Rise
After the long fermentation period, your dough will have at least doubled in size, if not tripled, and will be wonderfully airy. It will look like a giant, bubbly cloud. Now, lightly flour your work surface. You don’t need to knead the dough. Instead, gently scrape the dough out of the bowl onto the floured surface. It will still be quite sticky, so don’t worry if it spreads out a bit. Using lightly floured hands or a bench scraper, gently shape the dough into a round ball. Try to handle it as little as possible to preserve those precious air bubbles. You’re not looking for a perfectly smooth ball; a rustic shape is part of its charm. Once shaped, you can either place it directly onto a piece of parchment paper for easier transfer to your baking vessel, or if you have a well-seasoned Dutch oven, you can prepare that. Lightly dust the parchment paper or the inside of your Dutch oven with a bit more flour or cornmeal. Then, carefully transfer your shaped dough onto the prepared surface.
Now, we need to let the dough have a final, shorter rest. This is often called the proofing stage. Cover the dough loosely with plastic wrap or a clean kitchen towel. Let it rest for another 30 minutes to 1 hour. During this time, the dough will relax and puff up slightly again. This final rise ensures that the bread has enough lift to become light and airy once it hits the hot oven. While the dough is proofing, this is the perfect time to preheat your oven. For this no-knead bread, a very hot oven is crucial for that beautiful, crusty exterior. Preheat your oven to 450°F (230°C). If you’re using a Dutch oven, place it inside the oven while it preheats. This ensures the Dutch oven is scorching hot when the dough goes in, which is a key factor in creating that amazing crust.
Baking to Perfection
Once the oven and Dutch oven (if using) are fully preheated, and your dough has finished its final rise, it’s time to bake. If you’re using a Dutch oven, carefully remove the hot pot from the oven using oven mitts. Gently lift the dough by the parchment paper (if you used it) and carefully lower it into the preheated Dutch oven. If you shaped the dough directly into the Dutch oven, just ensure it’s centered. Cover the Dutch oven with its lid. Place the covered Dutch oven back into the hot oven. Bake for 30 minutes with the lid on. The lid traps steam, which helps the dough expand and rise beautifully, creating a wonderfully tender crum extractb. After 30 minutes, carefully remove the lid from the Dutch oven. The bread will have risen and started to turn a pnon-alcoholic ale golden color.
Now, continue baking for another 15 to 25 minutes, uncovered. This is where the magic happens to develop that incredible, crispy crust. You’re looking for a deep golden-brown color all over. The exact time will depend on your oven and how dark you like your crust. To check for doneness, you can tap the bottom of the loaf; it should sound hollow. Once it’s baked to your liking, carefully remove the Dutch oven from the oven, and then carefully remove the bread from the Dutch oven and place it on a wire rack to cool. It’s incredibly tempting to slice into it immediately, but letting it cool on a wire rack allows the steam to escape, preventing a gummy interior and ensuring the crust stays crisp. This cooling period is essential for achieving the perfect texture. Enjoy your homemade Quick and Easy No-Knead Bread!
Conclusion:
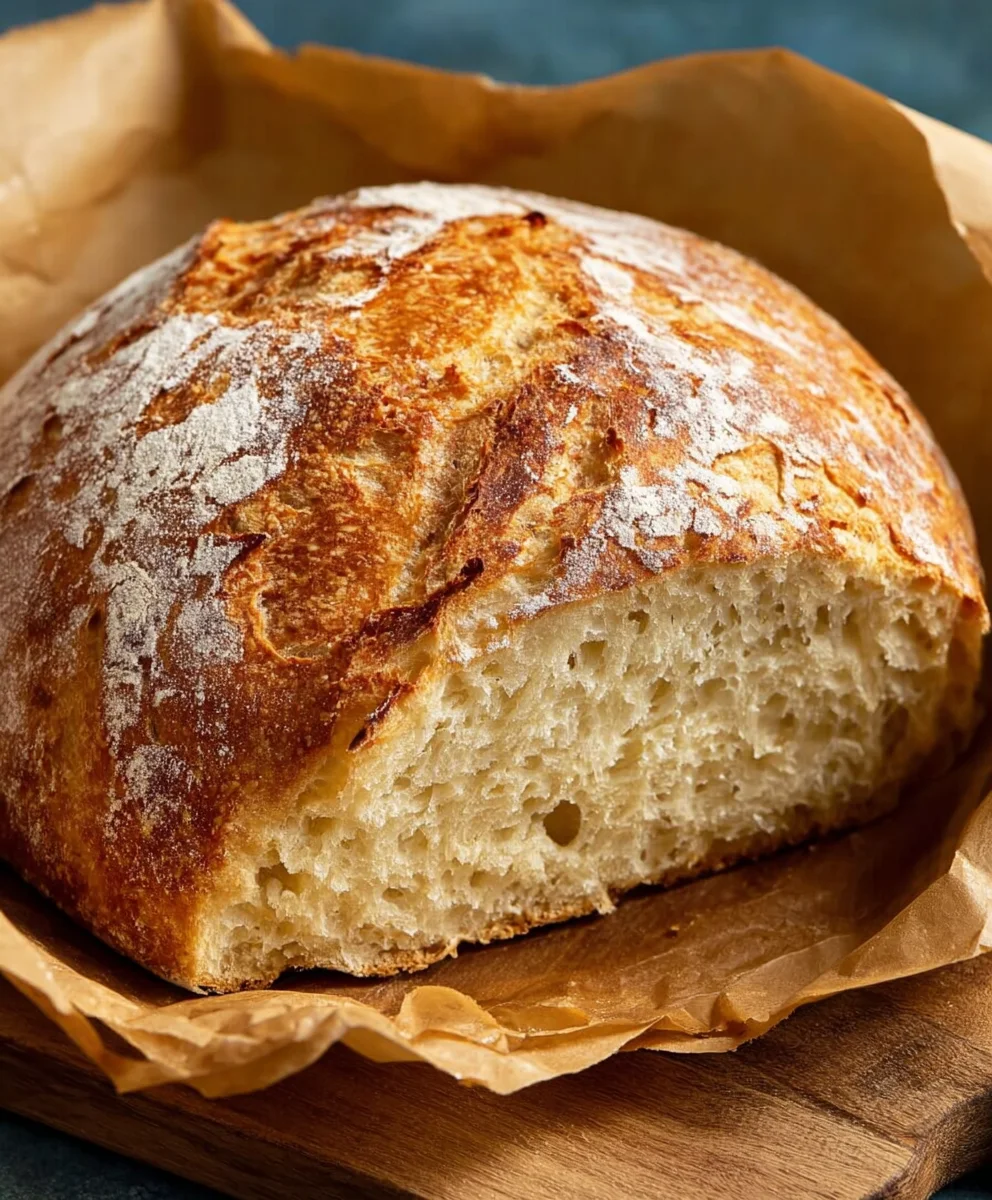
There you have it! A straightforward guide to creating delicious and impressive Quick And Easy No-Knead Bread right in your own kitchen. We’ve explored how minimal effort can yield a wonderfully crusty exterior and a soft, airy interior, perfect for any meal. This recipe truly lives up to its name, proving that artisanal bread doesn’t require hours of kneading or specialized equipment. It’s a rewarding process that I hope you’ll try and enjoy. Remember, the beauty of this Quick And Easy No-Knead Bread lies in its simplicity and the incredible results. Don’t be afraid to experiment with it – it’s truly a versatile loaf!
For serving suggestions, this bread is absolutely divine toasted and slathered with butter or your favorite jam. It also makes a fantastic accompaniment to soups, stews, or a hearty salad. Imagin extracte dipping a slice of your freshly baked Quick And Easy No-Knead Bread into a warm bowl of tomato soup – pure comfort! If you’re feeling adventurous, consider adding a handful of herbs like rosemary or thyme to the dough for an extra layer of flavor, or even some grated cheese. The possibilities are endless!
FAQs
Is it truly possible to get a good crust without kneading?
Absolutely! The magic of the no-knead method for Quick And Easy No-Knead Bread comes from a long, slow fermentation. The gluten develops naturally as the dough rests, and the high-temperature baking, often in a Dutch oven, creates the steam necessary for that signature crispy crust.
What if I don’t have a Dutch oven? Can I still make this bread?
Yes, you can! While a Dutch oven is ideal for trapping steam and creating the best crust, you can achieve good results without one. Try baking your Quick And Easy No-Knead Bread on a baking stone or a sturdy baking sheet. To create steam, place a metal pan filled with water on the rack below your bread during the initial baking phase. This will help mimic the humid environment a Dutch oven provides.
Can I make this bread ahead of time?
Yes, you can! The dough for Quick And Easy No-Knead Bread can be refrigerated for up to 3 days after the initial rise. This slow fermentation actually develops even more flavor. When you’re ready to bake, simply let the dough come to room temperature for about 30-60 minutes before shaping and baking as per the recipe.
Easy No-Knead Bread Recipe – Simple Homemade Loaf
A straightforward recipe for delicious, crusty homemade bread with minimal effort and no kneading required. Perfect for beginners!
Ingredients
-
3 cups bread flour
-
1 packet (2 teaspoons) rapid rise yeast
-
1 ½ teaspoons salt
-
1 ½ cups warm water (around 105-115°F or 40-46°C)
-
Parchment paper for lining
-
Cornmeal for dusting (optional)
Instructions
-
Step 1
In a large mixing bowl, whisk together the bread flour, rapid rise yeast, and salt. Ensure dry ingredients are evenly distributed. -
Step 2
Pour in the warm water (105-115°F or 40-46°C) and mix with a spoon or spatula until just combined. The dough will be very sticky and shaggy. Do not add more flour. -
Step 3
Cover the bowl tightly and let it rest in a warm spot for 12 to 18 hours. The dough will rise and become bubbly and airy. -
Step 4
Lightly flour a work surface and gently scrape the dough onto it. Shape it into a round ball with minimal handling. Place on parchment paper or into a prepared Dutch oven. -
Step 5
Cover the dough loosely and let it rest for 30 minutes to 1 hour while preheating your oven to 450°F (230°C). If using a Dutch oven, preheat it in the oven. -
Step 6
Carefully place the dough into the hot Dutch oven (or baking vessel). Cover and bake for 30 minutes. Remove the lid and bake for another 15-25 minutes, or until deep golden brown and hollow-sounding when tapped. -
Step 7
Remove the bread from the oven and the Dutch oven. Place on a wire rack to cool completely before slicing.
Important Information
Nutrition Facts (Per Serving)
It is important to consider this information as approximate and not to use it as definitive health advice.
Allergy Information
Please check ingredients for potential allergens and consult a health professional if in doubt.


Leave a Comment