
No-Knead Focaccia Bread is the culinary equivnon-alcoholic alent of a warm hug on a chilly evening. If you’ve ever dreamt of achieving that irresistible, pillowy-soft interior encased in a perfectly crisp, golden crust without the arm-aching labor of traditional bread making, then you’ve stumbled upon pure magic. This recipe unlocks that dream, making artisanal bread accessible to everyone, regardless of their baking experience. What makes this particular No-Knead Focaccia Bread so beloved? It’s the incredible ease coupled with the utterly rewarding result. It’s the kind of bread that elevates any meal, transforming simple dinners into something truly special. Imagin extracte tearing off a warm, fragrant piece, its surface glistening with olive oil and sprinkled with sea salt – pure bliss! This recipe focuses on simplicity and patience, allowing the dough to develop its incredible flavor and texture naturally, proving that sometimes, the best things in life are worth waiting for, even when they require minimal effort.

Ingredients:
- 4¾ cups all-purpose flour (630 grams)
- 4½ tablespoons olive oil (59 grams), plus more for greasing and drizzling
- 2 teaspoons salt (12 grams)
- 1½ tablespoons instant dry yeast (13 grams)
- 2⅓ cups warm water (100–110°F; 529 grams)
- Coarse salt (optional, for topping)
- Dried rosemary (optional, for topping)
Mixing the Dough
Let’s get started on this incredibly easy and delicious No-Knead Focaccia Bread. The beauty of this recipe is that it requires minimal effort and no special kneading skills. The long fermentation time does all the work for us, developing fantastic flavor and that signature airy crum extractb.
First, in a large mixing bowl, we’ll combine the dry ingredients. Add your all-purpose flour, the 2 teaspoons of salt, and the instant dry yeast. Give these a good whisk together. It’s important to distribute the yeast evenly throughout the flour, as this will ensure consistent rising. Instant dry yeast doesn’t need to be proofed separately in water, which makes our lives so much easier!
Now, create a well in the center of your dry ingredients. Pour in the 2⅓ cups of warm water. You want the water to be warm to the touch, but not hot. Think of it like a comfortable bath – around 100–110°F (38–43°C). Too hot and you’ll kill the yeast, too cool and it won’t activate properly. Add the 4½ tablespoons of olive oil to the bowl as well.
Using a sturdy spatula or a wooden spoon, begin extract to mix everything together. You’ll want to scrape down the sides of the bowl and bring the flour from the bottom up to incorporate it into the wet ingredients. Continue mixing until there are no dry patches of flour left. The dough will be very sticky and shaggy at this stage, almost like a thick batter. Don’t be tempted to add more flour; this is exactly what we want for a moist and tender focaccia.
First Fermentation (The Magic Happens Here!)
Once everything is combined, cover the bowl tightly with plastic wrap or a damp kitchen towel. It’s crucial to create a good seal to keep the air out and moisture in. Now, we let the dough do its thing. Leave the bowl in a warm place to rise for at least 12 to 18 hours. I usually leave mine on the counter overnight. This extended fermentation is key to developing the complex flavors and the open, bubbly texture of no-knead bread. The yeast will work slowly, breaking down the starches and developing gluten without any effort on your part. You’ll notice a significant increase in volume; the dough should at least double, and likely triple, in size. It will look puffy and have a lot of air bubbles.
Preparing for Baking
The next day, or after your long rise, it’s time to get the dough ready for baking. Generously oil a 9×13 inch baking pan or dish with a good amount of olive oil. You want enough oil to coat the bottom and sides well, as this helps create that wonderful crispy crust and prevents sticking. Pour the fermented dough directly into the oiled pan. It will be very airy and jiggly. Don’t try to shape it too much. Instead, gently coax it to spread towards the edges of the pan using oiled fingertips. If it resists, let it rest for 10–15 minutes, then try again. It will relax and spread more easily.
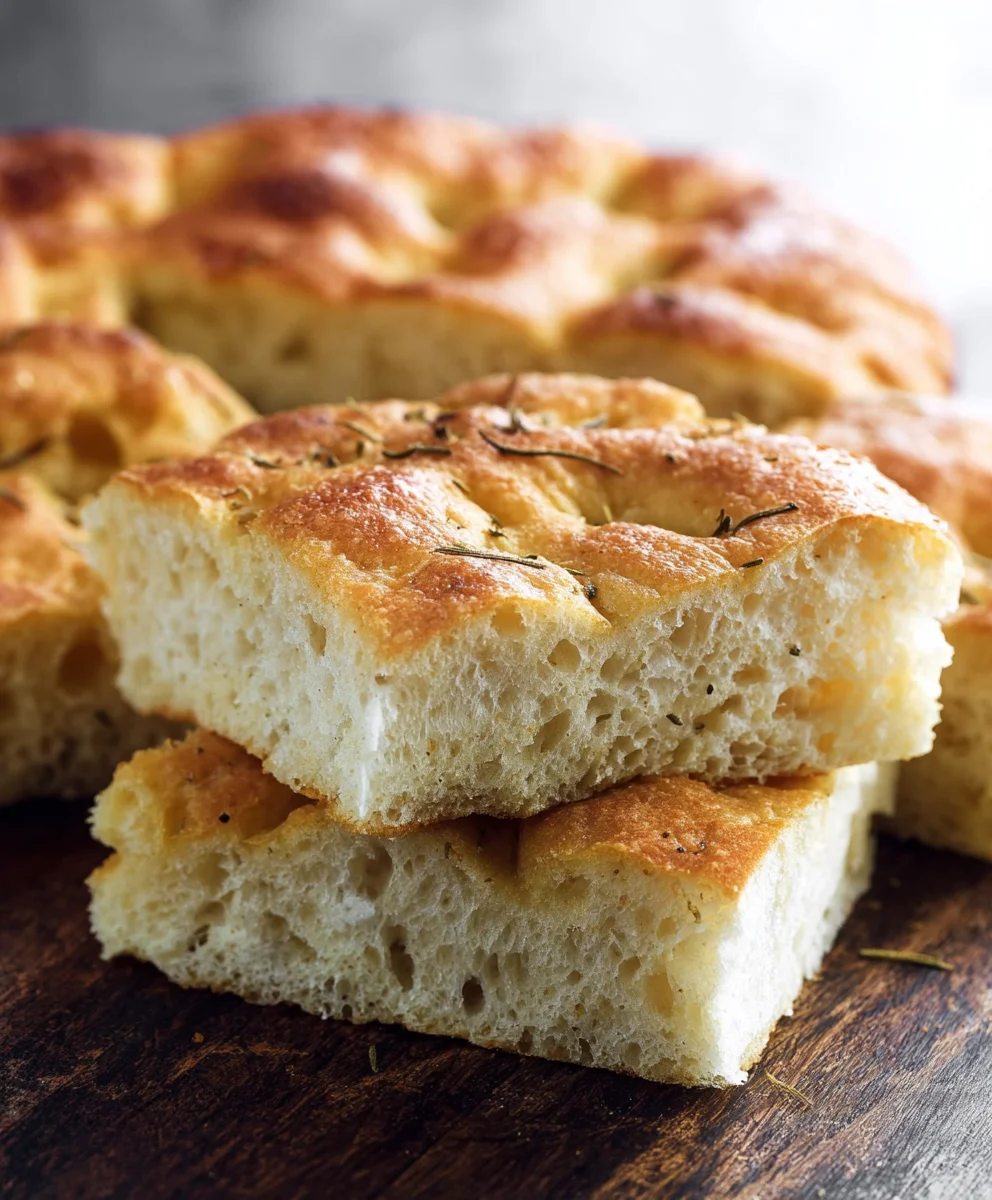
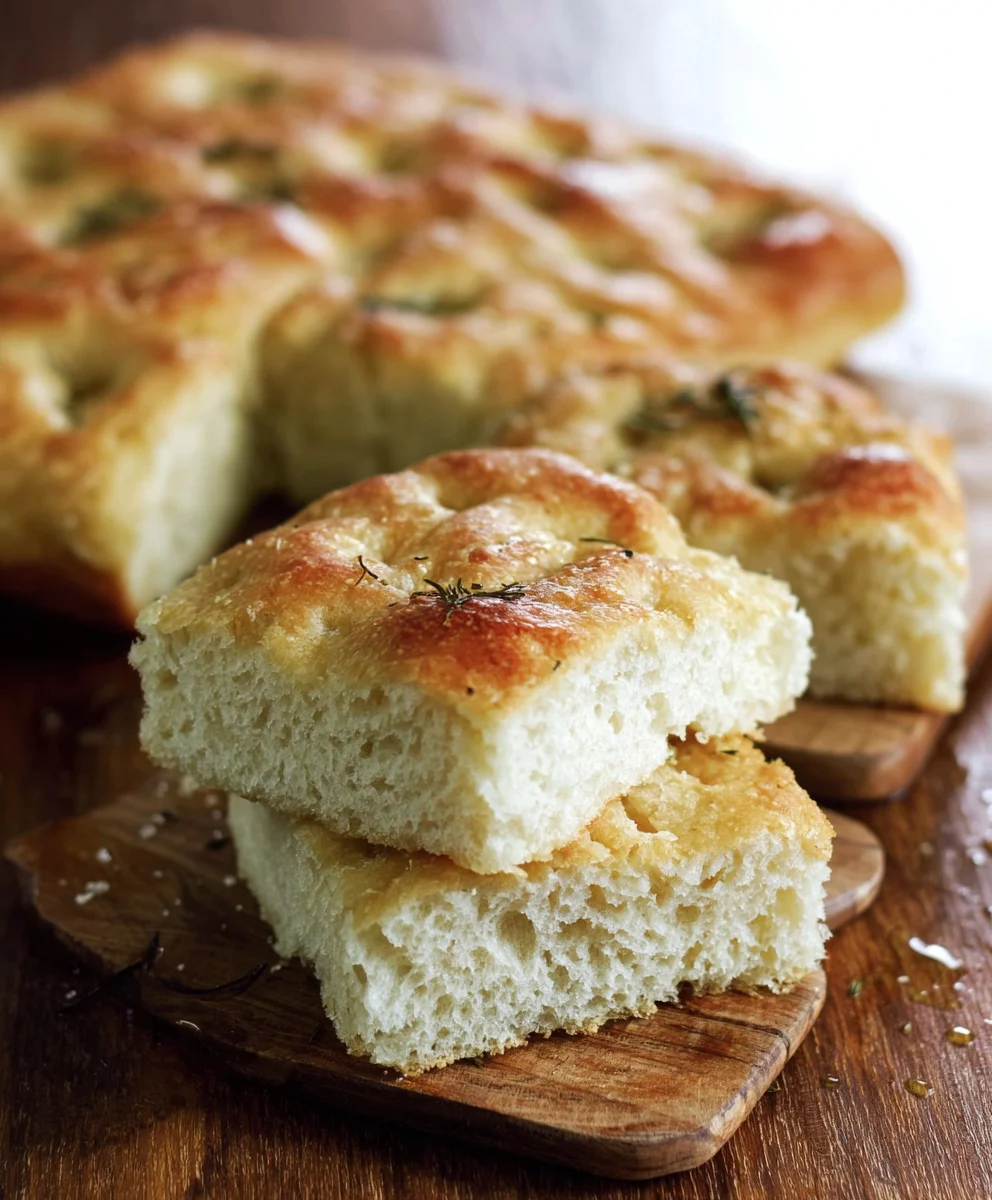
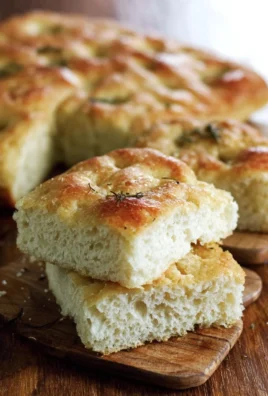
Once the dough has mostly filled the pan, it’s time for the signature dimples. Drizzle a little more olive oil over the surface of the dough. Then, using your oiled fingertips, press down gently but firmly all over the dough, creating deep indentations. These dimples are what hold all that delicious olive oil and seasonings. You can make them as shallow or as deep as you like. For an extra flavor boost, now is the time to sprinkle the surface with coarse salt and dried rosemary, if you’re using them. The coarse salt will create little pockets of salty crunch, and the rosemary adds a lovely aromatic touch.
Baking Your Focaccia
Preheat your oven to 425°F (220°C). This high heat is important for getting a good crust. Let the focaccia rest in the pan for about 30 minutes while the oven preheats. This second rise, after dimpling, will help the bread puff up beautifully.
Carefully place the baking pan in the preheated oven. Bake for 25 to 30 minutes, or until the focaccia is a deep golden brown on top and the bottom is also nicely browned and crisp. You can peek underneath with a spatula to check the bottom crust. If the top is browning too quickly, you can loosely tent it with foil.
Cooling and Serving
Once baked, remove the focaccia from the oven. Let it cool in the pan for about 5–10 minutes before carefully transferring it to a wire rack to cool further. You can also drizzle a little more olive oil over the top while it’s still warm for extra richness and shine. For best results, allow it to cool for at least 15–20 minutes before slicing. This helps the interior set up properly. Enjoy your homemade No-Knead Focaccia Bread! It’s perfect on its own, as a side to soup or salad, or as a base for sandwiches.
Conclusion:
We’ve reached the end of our journey crafting the perfect No-Knead Focaccia Bread! This recipe proves that delicious, rustic bread doesn’t require hours of kneading or complex techniques. You’ve learned how to create a wonderfully airy and flavorful focaccia with minimal effort, relying on time and good ingredients to do the heavy lifting. The beauty of this No-Knead Focaccia Bread lies in its versatility, making it a fantastic canvas for your culinary creativity. So go forth, bake with confidence, and enjoy the incredible aroma and taste of freshly baked bread!
When it comes to serving, this No-Knead Focaccia Bread is a true star. Enjoy it warm, drizzled with your favorite olive oil and a sprinkle of sea salt. It’s perfect as a side to soups and stews, alongside a charcuterie board, or simply as a satisfying snack. Feel free to experiment with toppings like rosemary, cherry tomatoes, olives, or caramelized onions for a personalized touch.
Frequently Asked Questions about No-Knead Focaccia Bread:
Q: My dough didn’t rise as much as I expected. What could be the reason?
A: Several factors can influence dough rise. Ensure your yeast was fresh and activated properly. The ambient temperature of your kitchen also plays a significant role; a warmer environment generally promotes better rising. Don’t be discouraged if it’s not a dramatic puff; even a modest rise will result in delicious focaccia. Make sure you allowed the dough sufficient time to proof.
Q: Can I make No-Knead Focaccia Bread ahead of time?
A: Yes, you absolutely can! The beauty of no-knead doughs is their ability to develop flavor over a longer, slower rise. You can refrigerate the dough for up to 24-48 hours after its initial bulk fermentation. This will deepen the flavor and make it even more pliable for shaping. Just bring it back to room temperature before baking.
Q: What are some other topping ideas for No-Knead Focaccia Bread?
A: The possibilities are endless! Consider adding garlic cloves, fresh herbs like thyme or oregano, sun-dried tomatoes, thinly sliced red onion, or even some grated Parmesan cheese before baking. For a sweet twist, try a sprinkle of sugar and cinnamon after brushing with melted butter.
Easy No-Knead Focaccia Bread Recipe
A simple and delicious focaccia bread recipe that requires no kneading, relying on a long fermentation for amazing flavor and texture.
Ingredients
-
4¾ cups all-purpose flour (630 grams)
-
4½ tablespoons olive oil (59 grams), plus more for greasing and drizzling
-
2 teaspoons salt (12 grams)
-
1½ tablespoons instant dry yeast (13 grams)
-
2⅓ cups warm water (100–110°F; 529 grams)
-
Coarse salt (optional, for topping)
-
Dried rosemary (optional, for topping)
Instructions
-
Step 1
In a large mixing bowl, whisk together flour, salt, and instant dry yeast. Create a well in the center and pour in warm water and olive oil. Mix with a spatula until no dry patches remain. The dough will be very sticky. -
Step 2
Cover the bowl tightly and let the dough ferment in a warm place for 12 to 18 hours. It should at least double, likely triple, in size and become puffy with air bubbles. -
Step 3
Generously oil a 9×13 inch baking pan. Pour the fermented dough into the pan and gently coax it to spread towards the edges with oiled fingertips. Let rest for 10-15 minutes if it resists. -
Step 4
Drizzle more olive oil over the dough. Create deep indentations using oiled fingertips. Sprinkle with coarse salt and dried rosemary if desired. -
Step 5
Preheat oven to 425°F (220°C). Let the focaccia rest in the pan for 30 minutes while the oven preheats. -
Step 6
Bake for 25 to 30 minutes, or until deep golden brown. If the top browns too quickly, tent loosely with foil. -
Step 7
Let cool in the pan for 5-10 minutes, then transfer to a wire rack. Drizzle with more olive oil while warm. Allow to cool for at least 15-20 minutes before slicing.
Important Information
Nutrition Facts (Per Serving)
It is important to consider this information as approximate and not to use it as definitive health advice.
Allergy Information
Please check ingredients for potential allergens and consult a health professional if in doubt.


Leave a Comment