
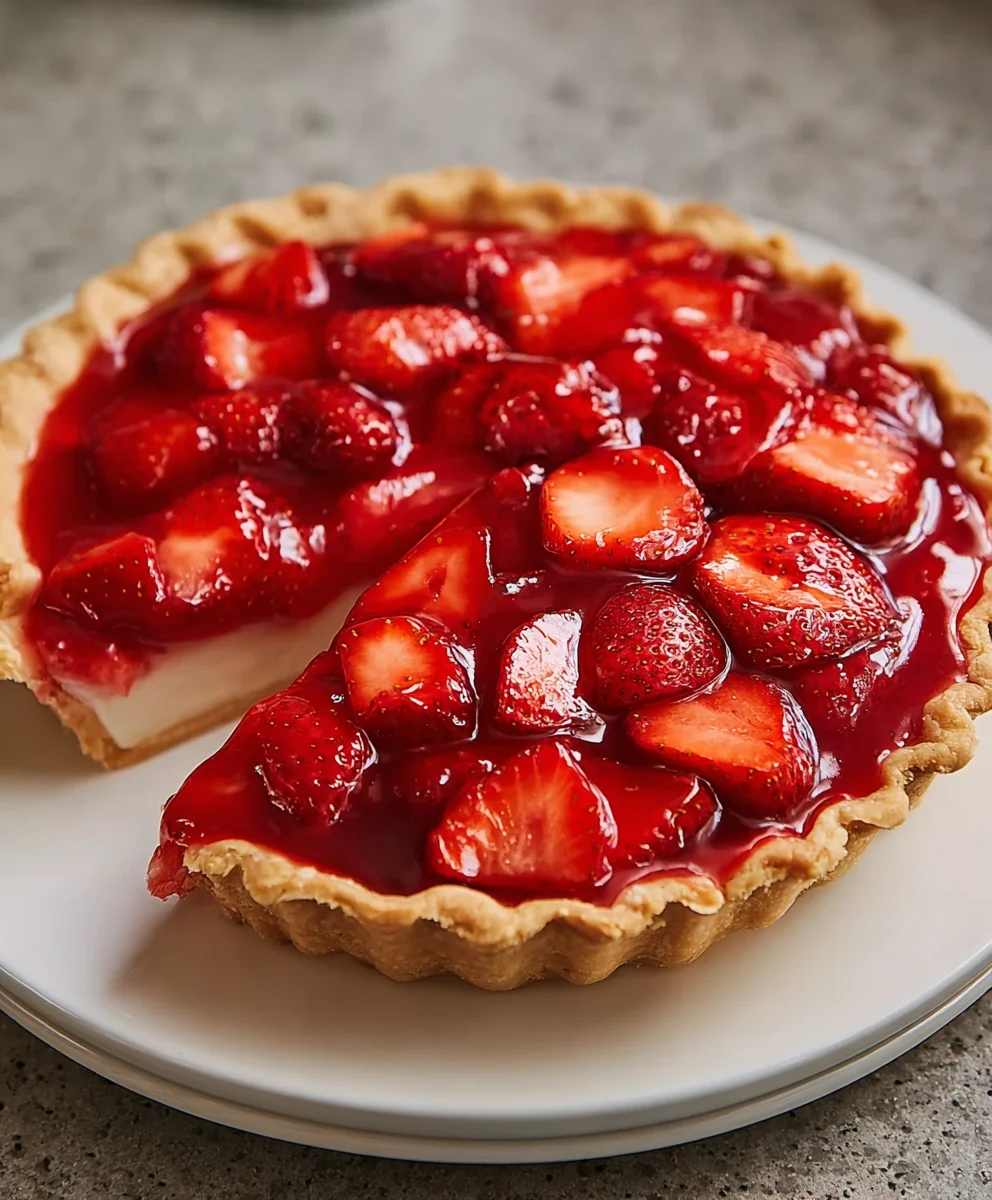
Fresh Strawberry Pie is more than just a dessert; it’s a vibrant celebration of summer’s sweetest bounty. Imagine biting into that glistening, ruby-red filling, perfectly cradled by a golden, flaky crust. It’s no wonder this classic treat holds such a special place in our hearts and on our picnic tables. The simple, unadulterated sweetness of ripe strawberries, often amplified by a hint of lemon or a whisper of vanilla, is simply irresistible. What makes this particular Fresh Strawberry Pie so utterly captivating is its inherent freshness – the taste of sunshine and warm days captured in every forkful. It’s a dessert that requires minimal fuss but delivers maximum delight, bringing smiles to faces and creating cherished memories with every slice.

Ingredients:
- 1 frozen pie crust
- 1 1/4 cups granulated sugar
- 3 tablespoons cornstarch
- 1 1/4 cups water
- 3 tablespoons strawberry jelly
- 2 cups fresh strawberries, sliced
Preparing the Filling
The foundation of a fantastic Fresh Strawberry Pie is a vibrant, perfectly set filling. We’ll achieve this by gently cooking down the strawberries with a sweet and thickening glaze. First things first, ensure your frozen pie crust is ready to go. You can typically bake it according to package directions for a blind bake. This usually involves pricking the bottom with a fork and baking at a moderate temperature until lightly golden. While your crust is baking or cooling, let’s get started on that luscious strawberry filling.
In a medium saucepan, whisk together the 1 1/4 cups of granulated sugar and the 3 tablespoons of cornstarch. It’s crucial to whisk these together thoroughly before adding any liquid. This step prevents the cornstarch from clumping up later, ensuring a smooth and silky texture for your filling. Once they are well combined and there are no visible lumps of cornstarch, gradually whisk in the 1 1/4 cups of water. Keep whisking until everything is smoothly incorporated.
Now, place the saucepan over medium heat. Stir the mixture constantly. This constant stirring is key to preventing the cornstarch from settling at the bottom and scorching, as well as ensuring an even cook. As the mixture heats up, you’ll notice it starting to thicken. Continue to cook and stir until the mixture comes to a gentle boil and has thickened considerably, becoming translucent and glossy. This usually takes about 5 to 7 minutes. It should be thick enough to coat the back of a spoon.
Once the glaze has thickened, remove the saucepan from the heat. This is where we add that extra burst of strawberry flavor and a beautiful gloss. Stir in the 3 tablespoons of strawberry jelly. The heat from the thickened glaze will melt the jelly and distribute its fruity goodness evenly throughout. Continue to stir until the jelly is completely dissolved and integrated into the glaze. The mixture should now have an even richer, more vibrant red hue.
Incorporating the Strawberries
Now for the star of the show: the fresh strawberries! Gently fold in the 2 cups of sliced fresh strawberries into the warm glaze. Be delicate with this step. You want to coat the strawberries in the glaze without mashing them. The goal is to have tender, slightly softened strawberries suspended in the glossy filling, not a mushy mixture. The residual heat from the glaze will slightly warm the strawberries, enhancing their natural sweetness and aroma.
Assembling and Chilling the Pie
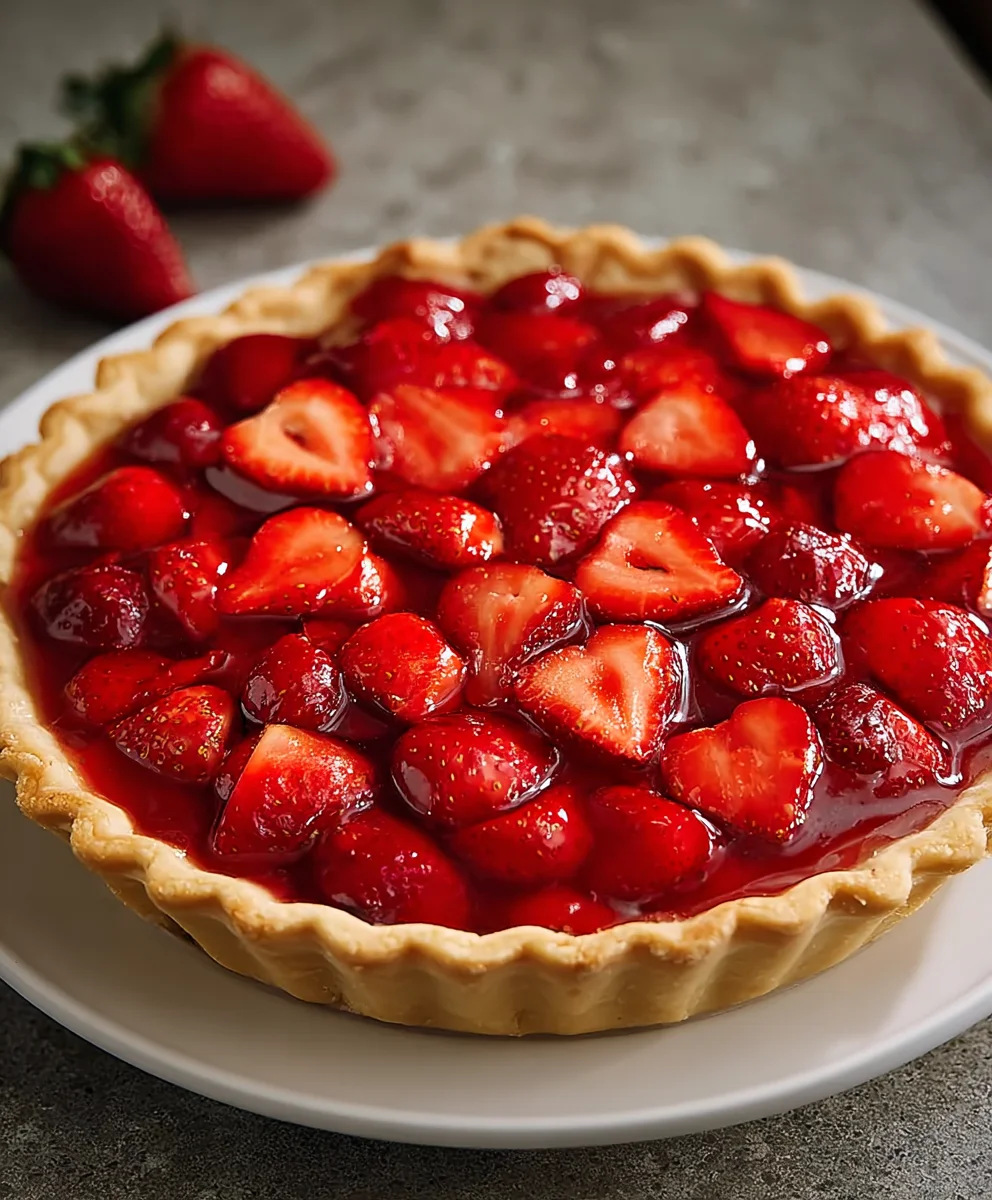
Once the strawberries are evenly coated with the glaze, carefully pour the entire mixture into your pre-baked and cooled pie crust. Spread it out gently with a spatula, ensuring an even layer of strawberries across the entire surface. Try to get as many of those beautiful red slices visible as possible on top.
This is the most critical part for achieving a perfectly set Fresh Strawberry Pie. You need to let the pie cool completely. Place the pie on a wire rack and let it sit at room temperature for at least 1 hour. This allows the filling to begin setting as it cools. After the initial cooling period, cover the pie loosely with plastic wrap (try not to let it touch the filling) and refrigerate for at least 3 to 4 hours, or preferably overnight. This extended chilling time is essential for the cornstarch to fully set the filling, resulting in clean, neat slices when you cut into it. Rushing this chilling process can lead to a runny pie. Patience is truly a virtue when it comes to this delightful dessert!
Conclusion:
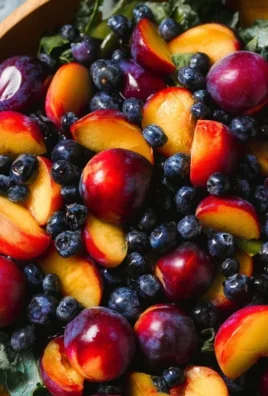
I hope you enjoyed learning how to make this delightful Fresh Strawberry Pie! It’s truly a celebration of the season’s bounty, and I’m confident you’ll find it as rewarding to bake as it is to devour. This recipe delivers a beautiful, vibrant pie with a sweet, slightly tart filling nestled in a flaky crust. The combination of fresh, juicy strawberries and a creamy, luscious glaze is simply irresistible. Serve it chilled for the ultimate refreshing dessert experience, perhaps with a dollop of whipped cream or a scoop of vanilla ice cream. Don’t be afraid to experiment! You can add a hint of lemon zest to the filling for extra brightness, or even mix in a few blueberries for a mixed berry twist on this classic Fresh Strawberry Pie. Remember, the most important ingredient is your enthusiasm, so don’t hesitate to get creative in the kitchen. Enjoy every single bite!
Frequently Asked Questions:
Can I use frozen strawberries instead of fresh for this Fresh Strawberry Pie?
While fresh strawberries are ideal for the best texture and flavor, you can use frozen strawberries. Thaw them completely and drain off as much excess liquid as possible before using them in the recipe. Be aware that frozen strawberries may release more juice, which could affect the final consistency of the filling.
How long does this Fresh Strawberry Pie last in the refrigerator?
This Fresh Strawberry Pie is best enjoyed within 2-3 days of baking. Store any leftovers loosely covered in the refrigerator to maintain the freshness of the crust and filling. The strawberries will soften over time, so consuming it sooner rather than later will give you the best experience.
What kind of crust works best for a Fresh Strawberry Pie?
A classic flaky pie crust, whether homemade or store-bought, is a fantastic choice for this Fresh Strawberry Pie. A graham cracker crust or a shortbread crust can also be delicious alternatives if you’re looking for a different flavor profile or a simpler preparation.
Fresh Strawberry Pie Recipe-Easy & Delicious
A simple and delicious fresh strawberry pie with a vibrant, perfectly set filling.
Ingredients
-
1 frozen pie crust
-
1 1/4 cups granulated sugar
-
3 tablespoons cornstarch
-
1 1/4 cups water
-
3 tablespoons strawberry jelly
-
2 cups fresh strawberries, sliced
Instructions
-
Step 1
Prepare the frozen pie crust by blind baking according to package directions. This usually involves pricking the bottom with a fork and baking until lightly golden. -
Step 2
In a medium saucepan, whisk together the granulated sugar and cornstarch until well combined and no lumps are visible. Gradually whisk in the water until smoothly incorporated. -
Step 3
Place the saucepan over medium heat and stir constantly. Cook until the mixture comes to a gentle boil and has thickened considerably, becoming translucent and glossy (about 5-7 minutes). It should coat the back of a spoon. -
Step 4
Remove the saucepan from the heat and stir in the strawberry jelly until completely dissolved and integrated into the glaze, giving it a richer red hue. -
Step 5
Gently fold the sliced fresh strawberries into the warm glaze, coating them without mashing. The residual heat will slightly warm the strawberries. -
Step 6
Carefully pour the strawberry filling into the pre-baked and cooled pie crust, spreading it evenly. -
Step 7
Allow the pie to cool at room temperature on a wire rack for at least 1 hour. Then, cover loosely with plastic wrap and refrigerate for at least 3-4 hours, or preferably overnight, to allow the filling to set completely.
Important Information
Nutrition Facts (Per Serving)
It is important to consider this information as approximate and not to use it as definitive health advice.
Allergy Information
Please check ingredients for potential allergens and consult a health professional if in doubt.


Leave a Comment