
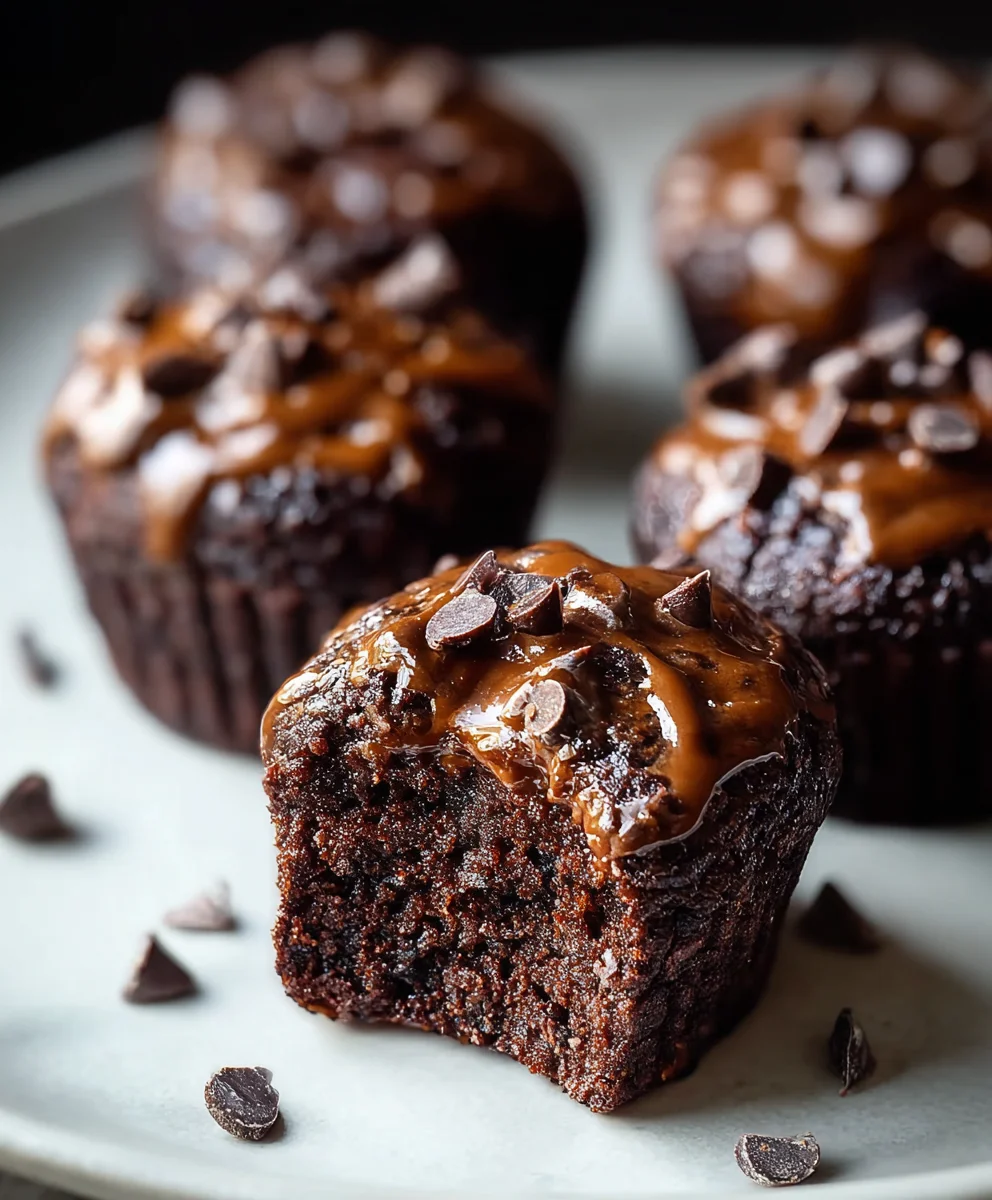
Protein Brownie Bites are more than just a delicious treat; they’re a guilt-free indulgence that satisfies your sweet tooth while fueling your body. Have you ever craved something rich and chocolatey after a workout, or needed a quick pick-me-up during a busy afternoon, but worried about derailing your healthy eating goals? That’s precisely where these incredible Protein Brownie Bites come in. They are the perfect solution for those moments, offering a deeply satisfying, fudgy brownie experience packed with the protein you need to stay energized and full. What truly makes these Protein Brownie Bites special is their incredible versatility and how easily they can be customized to fit your dietary preferences, whether you’re aiming for vegan, gluten-free, or simply looking for a nutrient-dense snack. They are a testament to the fact that healthy eating doesn’t mean sacrificing flavor or the joy of a good dessert.

Ingredients:
- 3 very ripe bananas
- ½ cup smooth peanut butter or almond butter
- 1/2 cup vanilla or chocolate protein powder (about 2 scoops)
- 1/4 cup unsweetened cocoa powder
- Sprinkle of chocolate chips (mini preferred, optional)
Preparing Your Protein Brownie Bites
Gathering and Mashing the Base
The first step to creating these incredibly satisfying Protein Brownie Bites is to prepare our base, which relies heavily on the natural sweetness and binding power of ripe bananas. You’ll need three very ripe bananas. The riper the bananas, the sweeter your brownie bites will be, and the easier they will be to mash into a smooth consistency. Look for bananas with plenty of brown spots; these are perfect for baking and bring out the best flavor. In a medium-sized mixing bowl, peel your ripe bananas and place them inside. Using a fork or a potato masher, thoroughly mash the bananas until they are as smooth as possible, with minimal lumps. This mashed banana will act as your binder and provide moisture to the brownie bites, eliminating the need for eggs or butter. Ensure you dedicate a minute or two to this mashing process, as a smoother base will result in a more cohesive and pleasant texture for your final treat.
Incorporating the Rich Flavors and Protein Boost
Once your bananas are beautifully mashed, it’s time to add the core components that give these bites their name and nutritional punch. Add your ½ cup of smooth peanut butter or almond butter to the bowl with the mashed bananas. The nut butter not only contributes to a delightful flavor profile but also adds healthy fats and further aids in binding the ingredients together. Next, measure out your ½ cup of protein powder. You can opt for vanilla or chocolate flavored protein powder, depending on your preference. If you’re using a chocolate protein powder, you’ll achieve a richer, more decadent chocolate flavor. If you’re using vanilla, the unsweetened cocoa powder will be the star of the chocolate show. This protein powder is crucial for transforming a regular brownie into a guilt-free, protein-packed snack. Follow this with the ¼ cup of unsweetened cocoa powder. Sifting the cocoa powder can help prevent any small clumps from forming in your batter, ensuring a smooth and consistent chocolate distribution throughout the bites. Stir everything together thoroughly, making sure all ingredients are well combined. The mixture will likely be quite thick and fudgy at this stage.
Forming and Baking Your Protein Brownie Bites
Mixing and Enhancing with Optional Add-ins
After you’ve thoroughly mixed the banana, nut butter, protein powder, and cocoa powder, take a moment to assess the consistency of your batter. It should be thick and hold its shape, similar to a very dense cookie dough. If you’re feeling adventurous and want to add an extra layer of texture and flavor, this is the perfect time to incorporate a sprinkle of chocolate chips. Mini chocolate chips are ideal as they distribute more evenly and melt beautifully into the brownie bites. You don’t need a lot; just a gentle fold into the batter is sufficient. Be mindful not to overmix at this stage, especially if you’re adding chocolate chips, as you want them to remain distinct pieces rather than dissolving completely into the batter. The batter is now ready to be formed into individual bites.
Shaping the Bites and Preparing for the Oven
Preheat your oven to 350 degrees Fahrenheit (175 degrees Celsius). While the oven heats up, prepare a baking sheet by lining it with parchment paper. This will prevent the brownie bites from sticking to the pan and make for easy cleanup. Now, it’s time to shape your Protein Brownie Bites. You can use a small cookie scoop or two spoons to portion out the dough. Aim for bite-sized portions, about 1 to 1.5 inches in diameter. Roll each portion gently between your palms to form small balls, or simply drop rounded spoonfuls onto the prepared baking sheet. You can flatten them slightly with your fingertips if you prefer a flatter brownie bite, but they will spread a little during baking. Ensure you leave a little space between each bite on the baking sheet, as they might expand slightly. The size and uniformity of your bites will influence the baking time, so keep that in mind.
Baking to Perfection
Place the baking sheet into your preheated oven. Bake for approximately 12 to 15 minutes. The exact baking time will depend on the size of your Protein Brownie Bites and your oven. You’ll know they are ready when the edges start to look set and slightly firm to the touch. The center might still appear a little soft, which is perfectly fine as they will continue to firm up as they cool. Avoid overbaking, as this can lead to dry and crum extractbly brownie bites. It’s better to underbake slightly and let them finish cooking on the hot baking sheet. Once baked, carefully remove the baking sheet from the oven. Allow the Protein Brownie Bites to cool on the baking sheet for at least 10 to 15 minutes before attempting to move them. This initial cooling period is crucial for them to set properly and prevent them from falling apart.
Cooling and Enjoying Your Wholesome Treat
Cooling Down for Optimal Texture
After the initial cooling period on the baking sheet, it’s time to transfer your Protein Brownie Bites to a wire rack to cool completely. This step is essential for achieving the perfect fudgy yet firm texture. If you try to move them while they are still very warm, theyrum extractght crumble. The wire rack allows for air circulation around all sides of the bites, ensuring they cool evenly and thoroughly. Patience is key here; resist the urge to bite into them immediately! As they cool, the ingredients will meld together, and the texture will improve significantly. This cooling process also helps to lock in the moisture and flavors, making them even more delicious.
Storage and Serving Suggestions
Once your Protein Brownie Bites have cooled down completely, they are ready to be enjoyed. You can store them in an airtight container at room temperature for up to 2-3 days. For longer storage, or if your kitchen is particularly warm, keeping them in the refrigerator is a good option. They will firm up further in the fridge, offering a delightful, almost chilled brownie experience. These bites are incredibly versatile. Enjoy them as a post-workout snack, a healthy dessert option, or a satisfying mid-afternoon pick-me-up. They pair wonderfully with a glass of milk or a cup of coffee. You can also drizzle them with a little extra melted chocolate or a sprinkle of sea salt for an elevated treat.
Conclusion:
And there you have it – your delicious and satisfying batch of Protein Brownie Bites is ready to be enjoyed! We’ve walked through creating these fudgy, guilt-free treats that are perfect for satisfying your sweet cravings while boosting your protein intake. These bites are incredibly versatile, making them a fantastic option for a post-workout snack, an afternoon pick-me-up, or even a healthier dessert. Don’t be afraid to get creative with your additions; the possibilities are truly endless! We hope you love making and devouring these as much as we do. Remember, baking should be fun, so embrace the process and enjoy the delicious results!
Frequently Asked Questions:
Can I make Protein Brownie Bites ahead of time?
Absolutely! Protein Brownie Bites store wonderfully in an airtight container in the refrigerator for up to a week. They also freeze well for longer storage, making them perfect for batch prepping.
What other mix-ins can I add to Protein Brownie Bites?
The beauty of these Protein Brownie Bites is their adaptability. You can easily add sugar-free chocolate chips, chopped nuts like walnuts or pecans, shredded coconut, or even dried fruit like cranberries or raisins for extra texture and flavor.
Are Protein Brownie Bites suitable for children?
Yes, these Protein Brownie Bites can be a great way to offer a healthier treat to children. You can adjust the sweetness slightly if needed, and they are a good source of energy and protein.
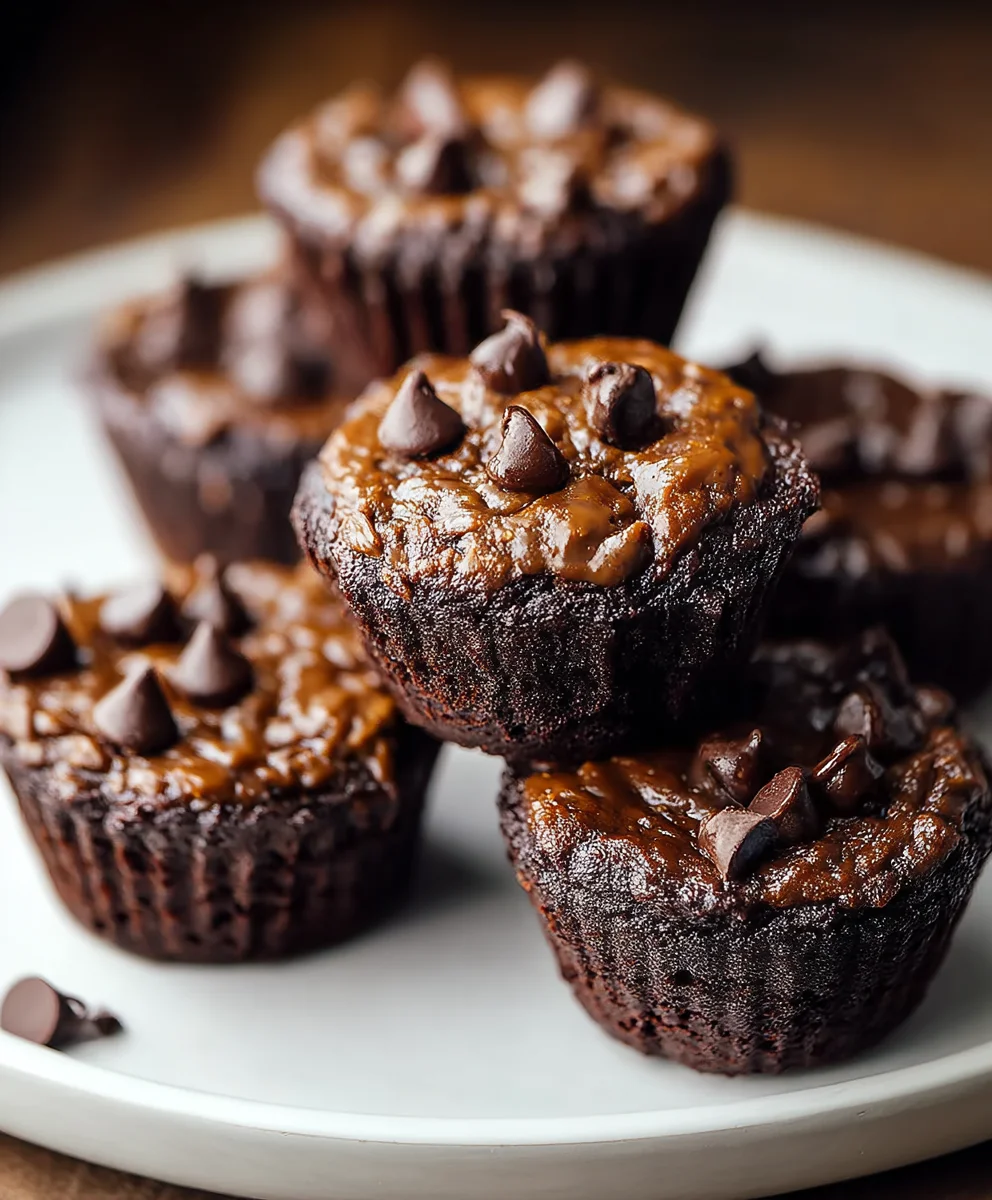
Healthy Protein Brownie Bites – Easy Guilt-Free Treat
Delicious and easy guilt-free brownie bites packed with protein, perfect for a healthy snack or dessert.
Ingredients
-
3 very ripe bananas
-
1/2 cup smooth peanut butter or almond butter
-
1/2 cup vanilla or chocolate protein powder (about 2 scoops)
-
1/4 cup unsweetened cocoa powder
-
Sprinkle of chocolate chips (mini preferred, optional)
Instructions
-
Step 1
Gather three very ripe bananas. Peel and mash them thoroughly in a medium-sized mixing bowl until smooth, using a fork or potato masher. This forms the base of the brownie bites. -
Step 2
Add 1/2 cup of smooth peanut butter or almond butter to the mashed bananas. Stir until well combined. This adds flavor, healthy fats, and aids in binding. -
Step 3
Incorporate 1/2 cup of vanilla or chocolate protein powder and 1/4 cup of unsweetened cocoa powder into the mixture. Sift the cocoa powder if needed to prevent clumps. Stir until all ingredients are thoroughly combined, forming a thick, fudgy batter. -
Step 4
Preheat your oven to 350°F (175°C). Line a baking sheet with parchment paper. Gently fold in a sprinkle of mini chocolate chips if desired for extra texture and flavor. -
Step 5
Shape the batter into bite-sized portions, about 1 to 1.5 inches in diameter, using a small cookie scoop or two spoons. Roll gently into balls or drop rounded spoonfuls onto the prepared baking sheet. Flatten slightly if desired. Leave space between bites. -
Step 6
Bake for 12 to 15 minutes, or until the edges appear set and slightly firm. The center may still seem soft, but they will firm up as they cool. Avoid overbaking to prevent dryness. -
Step 7
Allow the brownie bites to cool on the baking sheet for 10-15 minutes before transferring them to a wire rack to cool completely. This is crucial for them to set properly and achieve the best texture.
Important Information
Nutrition Facts (Per Serving)
It is important to consider this information as approximate and not to use it as definitive health advice.
Allergy Information
Please check ingredients for potential allergens and consult a health professional if in doubt.


Leave a Comment