
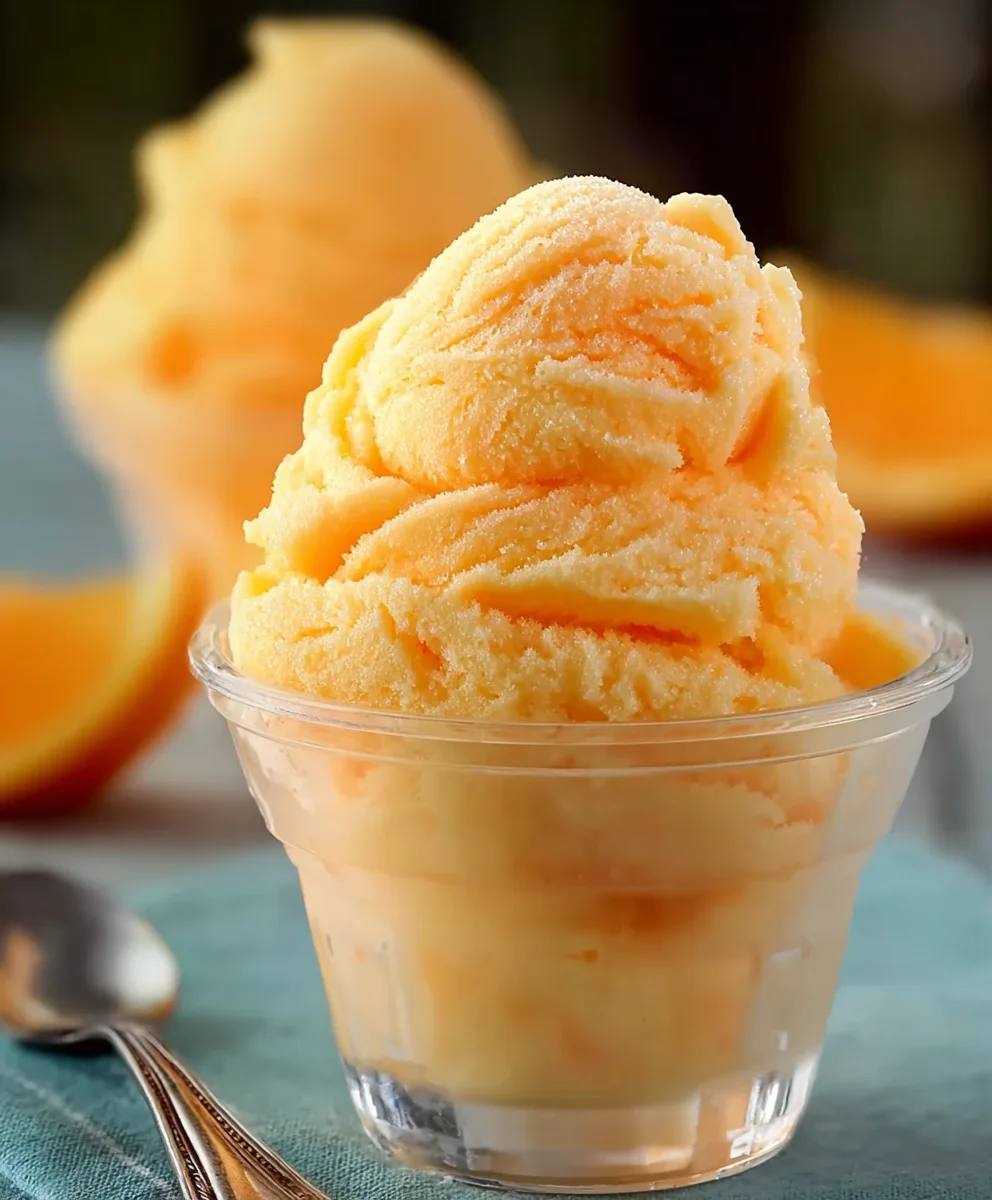
Orange Crush Sherbet is more than just a frozen treat; it’s a vibrant burst of sunshine in every scoop, a nostalgic trip back to simpler times, and a guaranteed smile on a hot summer day. What is it about this bright, tangy sherbet that captures hearts? It’s the perfect alchemy of sweet and tart, the creamy yet refreshing texture that melts just right on your tongue, and that unmistakable citrus zing that wakes up your taste buds. We love it because it’s incredibly easy to make at home, requires minimal fuss, and delivers maximum delight. This isn’t your average ice cream; it’s a light and zesty indulgence, perfect for a refreshing dessert or a palate cleanser. The beauty of this Orange Crush Sherbet lies in its simplicity and its ability to evoke pure joy, making it a beloved classic for all ages. Get ready to whip up a batch of this delightful Orange Crush Sherbet and bring a splash of citrus happiness to your table.

Ingredients:
- 2 cups Orange Crush soda (or any orange-flavored soda)
- 1 cup sweetened condensed milk
- 2 cups heavy whipping cream
- 1 teaspoon vanilla extract (optional, for enhanced flavor)
- Fresh orange zest (from about 1-2 oranges)
- Extra Orange Crush soda for drizzling
- Candied orange pieces
- Mini marshmallows
- Crushed vanilla wafers
Preparing the Sherbet Base
Step 1: Chill Your Equipment
Before we even begin extract mixing, the most crucial step for achieving a perfectly smooth and creamy sherbet is to chill your equipment thoroughly. Take your mixing bowl, your whisk attachment for your electric mixer (or your hand mixer), and even the spatula you’ll be using, and pop them in the freezer for at least 30 minutes. The colder everything is, the better the heavy whipping cream will whip up, resulting in a lighter and airier sherbet. This initial chill is a game-changer, preventing the cream from becoming grainy or icy during the whipping process.
Step 2: Combine the Sweeteners and Flavor
In your now nicely chilled mixing bowl, pour in the sweetened condensed milk. This magical ingredient provides sweetness and a wonderfully smooth texture to our Orange Crush Sherbet, acting as a binder and preventing large ice crystals from forming. Next, add the optional but highly recommended vanilla extract. While the Orange Crush provides a delightful citrus punch, vanilla subtly enhances and rounds out the orange flavor, giving it a more complex and satisfying profile. Gently whisk these two ingredients together until they are well combined. Don’t worry about whipping too much at this stage; we’re just aiming for uniformity.
Step 3: Infuse with Orange Zest
Now it’s time to bring in that vibrant, fresh orange aroma and flavor. Carefully zest about 1 to 2 fresh oranges directly into the bowl with the condensed milk and vanilla. Use a microplane or a fine grater for the best results, ensuring you only get the colored part of the peel and avoid the bitter white pith. The zest contains the essential oils of the orange, which are packed with intense flavor and fragrance. Stir this zest into the condensed milk mixture. The tiny flecks of zest will not only add a beautiful visual appeal but will also infuse the entire sherbet with a bright, authentic citrus essence. Give it another gentle stir to ensure the zest is evenly distributed.
Step 4: Whip the Cream to Perfection
This is where the magic truly happens! Pour the cold heavy whipping cream into the chilled mixing gin extractl. Begin whipping the cream on medium-low speed, gradually increasing the speed to medium-high. As the cream starts to thicken, you’ll see soft peaks forming. Continue whipping until medium-stiff peaks form. This means when you lift the whisk, the cream will hold its shape but the tip will curl over slightly. Be careful not to over-whip, as this can turn your cream into butter. The goal is a light, airy, and fluffy texture that will create a wonderfully smooth sherbet. This step is crucial for incorporating air, which is key to the sherbet’s delightful mouthfeel.
Step 5: Gently Fold the Soda In
This is a delicate step that requires a gentle hand. Pour the 2 cups of Orange Crush soda into the whipped cream. Now, using your spatula, gently fold the soda into the whipped cream mixture. The aim is to incorporate the soda without deflating the whipped cream. Use an under-and-over motion, cutting through the center of tgin extractbowl and bringing the cream from the bottom to the top. You want to incorporate the soda until it’s mostly combined, but it’s okay if there are a few streaks of soda visible. This gradual incorporation helps maintain the airiness of the whipped cream and prevents the sherbet from becoming watery.
Step 6: Combine and Freeze
Once the soda is mostly folded in, pour the condensed milk and orange zest mixture into the whipped cream and soda base. Again, using your spatula and the gentle folding technique, carefully combine all the ingredients. Continue folding until everything is just combined and you have a beautifully smooth, creamy, and vibrantly orange mixture. It should have a luscious, velvety consistency.
Now, it’s time to freeze! Pour the mixture into a freezer-safe container. You can use a loaf pan, a plastic container with a lid, or any shallow freezer-safe dish. For the best texture, cover the surface of the sherbet directly with plastic wrap before putting on the lid. This prevents ice crystals from forming on top. Place the container in the freezer and let it freeze for at least 6-8 hours, or preferably overnight, until it’s firm but scoopable.
Serving Your Orange Crush Sherbet
Once your Orange Crush Sherbet is fully frozen, it’s ready to be served! Let it sit at room temperature for a few minutes to soften slightly, making it easier to scoop. Scoop generous portions into chilled bowls or glasses.
Now for the fun part – the toppings! Drizzle a little extra Orange Crush soda over each serving for an extra burst of citrusy sweetness. Sprinkle on some of the colorful candied orange pieces for a chewy texture and intensified orange flavor. Scatter a handful of mini marshmallows for a playful, fluffy element. Finally, add a crunch with a generous sprinkle of crushed vanilla wafers. The combination of creamy sherbet, sweet soda, chewy candy, fluffy marshmallows, and crunchy wafers creates a delightful symphony of textures and flavors that everyone will adore. Enjoy your homemade Orange Crush Sherbet!
Conclusion:
We hope you’ve enjoyed learning how to create this vibrant and refreshing Orange Crush Sherbet! This recipe delivers a delightful balance of sweet citrus and creamy texture, making it a perfect treat for a warm afternoon or a fun dessert for any gathering. Its simplicity means you can whip it up with minimal fuss, and the burst of orange flavor is sure to bring a smile to everyone’s face.
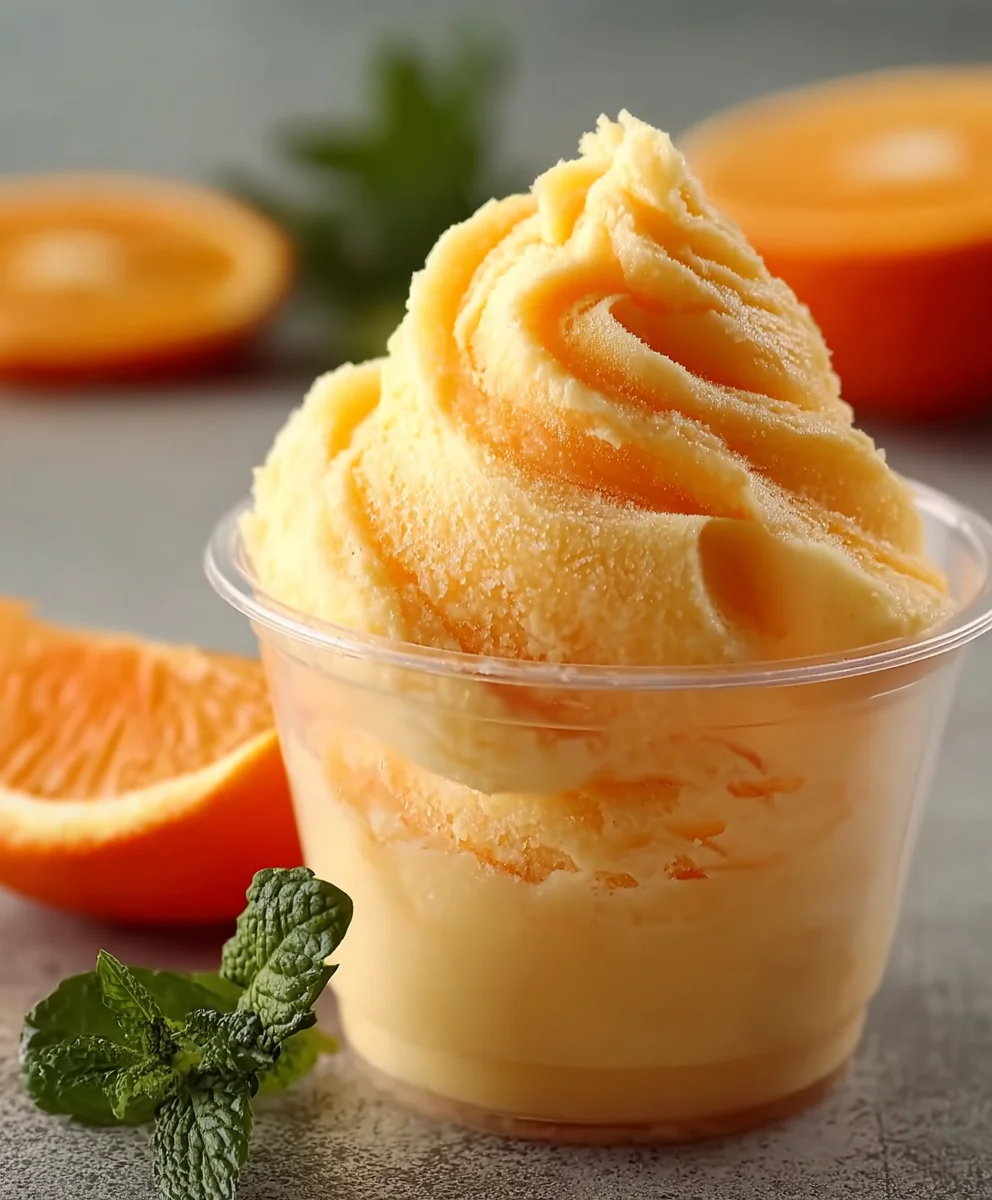
Serve your Orange Crush Sherbet on its own in chilled bowls, or get creative with presentation! It’s fantastic scooped alongside a slice of angel food cake, drizzled with a little extra orange syrup, or even topped with a sprig of fresh mint for a pop of color and freshness. For those seeking a different experience, consider adding a splash of sparkling water for a lighter, more fizzy version, or incorporating a touch of vanilla extract to deepen the flavor profile. Don’t be afraid to experiment and make this Orange Crush Sherbet your own!
Frequently Asked Questions about Orange Crush Sherbet:
Q1: Can I make Orange Crush Sherbet without an ice cream maker?
Absolutely! While an ice cream maker ensures the smoothest texture, you can achieve a delicious result without one. Pour your prepared orange mixture into a freezer-safe container. Every 30-45 minutes, remove it from the freezer and vigorously whisk it with a fork or a hand mixer to break up ice crystals. Repeat this process for about 3-4 hours, or until it reaches a firm but scoopable consistency.
Q2: How long does Orange Crush Sherbet last in the freezer?
When stored properly in an airtight container, your Orange Crush Sherbet can last for up to 2 weeks in the freezer. For the best texture and flavor, it’s recommended to consume it within the first week. Ensure it’s well-covered to prevent freezer burn.
Q3: Can I use fresh oranges instead of orange juice?
Yes, you can! If you prefer the taste of fresh oranges, you can juice about 4-6 large navel oranges to get the required amount of liquid. Be sure to strain the juice to remove any pulp or seeds for a smoother sherbet. This will give your Orange Crush Sherbet an even more authentic and intense citrus flavor.
Orange Crush Sherbet- Refreshing Frozen Treat Recipe
A delightfully refreshing and creamy frozen treat made with Orange Crush soda, sweetened condensed milk, and heavy whipping cream, perfect for a summer day.
Ingredients
-
2 cups Orange Crush soda
-
1 cup sweetened condensed milk
-
2 cups heavy whipping cream
-
1 teaspoon vanilla extract
-
Fresh orange zest
-
Extra Orange Crush soda for drizzling
-
Candied orange pieces
-
Mini marshmallows
-
Crushed vanilla wafers
Instructions
-
Step 1
Chill your mixing bowl, whisk attachment, and spatula in the freezer for at least 30 minutes. -
Step 2
In the chilled bowl, combine sweetened condensed milk and vanilla extract (if using). Whisk gently until combined. -
Step 3
Add fresh orange zest to the condensed milk mixture and stir gently to distribute. -
Step 4
In a separate chilled bowl, whip the heavy whipping cream on medium-high speed until medium-stiff peaks form. -
Step 5
Gently fold the Orange Crush soda into the whipped cream until mostly combined, being careful not to deflate the cream. -
Step 6
Fold the condensed milk and orange zest mixture into the whipped cream and soda base until just combined and smooth. -
Step 7
Pour the mixture into a freezer-safe container, cover the surface with plastic wrap, then the lid. Freeze for at least 6-8 hours or overnight until firm. -
Step 8
Let the sherbet soften slightly at room temperature before scooping. Serve with drizzles of Orange Crush soda, candied orange pieces, mini marshmallows, and crushed vanilla wafers.
Important Information
Nutrition Facts (Per Serving)
It is important to consider this information as approximate and not to use it as definitive health advice.
Allergy Information
Please check ingredients for potential allergens and consult a health professional if in doubt.


Leave a Comment