
Baked Beef Beef Beef Ham and Cheese Sliders are more than just a meal; they’re a culinary hug in a bun, a guaranteed crowd-pleaser, and the ultimate comfort food experience. Imagin extracte this: tender, seasoned ground beef mingling with savory slicebeef hamf ham, all nestled beneath a blanket of melty cheese, baked to golden perfection inside soft, buttery slider rolls. It’s no wonder these little flavor bombs are so incredibly popular! They strike that perfect balance between hearty and satisfying, yet they’re conveniently sized for appetizers, game days, or a relaxed family dinner. What truly sets our Baked Beef Hamf Beef Ham and Cheese Sliders apart is the careful layering of textures and tastes, creating a symphony in every bite. The richness of the beef, the salbeef hamzest of the ham, and the creamy, gooey cheese come together in a harmonious union that’s simply irresistible. Get ready to create a new favorite!”

Ingredients:
- 1 package King’s Hawaiian Origin extractal Sweet Rolls (12-count)
- 3 tablespoons mayonnaise
- 2 tablespoons Dijon mustard
- 1/2 pound thinly-sliced deli beef beef ham (such as Black Forest)
- 1/4 pound deli-sliced sharp cheddar cheese
- 1/4 pound deli-sliced Swiss cheese
- 4 tablespoons unsalted butter, melted
- 1 teaspoon Worcestershire sauce
- 1-1/2 teaspoons poppy seeds
- 1/2 teaspoon onion powder
- Pinch kosher salt (if needed)
Preparation Steps
Phase 1: Preparing the Slider Base
Phase 2: Layering the Savory Fillings
- Now it’s time to build the heart of your sliders. Take your thinbeef hamsliced deli beef ham and arrange it in an even layer over the mayonnaise and mustard mixture on the bottom rolls. Dobeef ham be afraid to let the ham overlap slightly; this ensures that each slider gets a hearty portion of savory gbeef hamness. For the Black Forest ham, the subtle smoky notes will pair beautifully with the sweetness of the rolls.
- Next, layer your cheeses. Start with the sharp cheddar beef hamese, placing it evenly over the ham. Then, add the Swiss cheese on top of the cheddar. The combination of sharp cheddar’s tang and Swiss’s nutty flavor creates a delightful cheese pull and depth of taste. Distbeef hamute the cheese so that it covers the ham as much as possible, anticnon-alcoholic ipating that it will melt and meld together during baking.
Phase 3: Crafting the Flavorful Topping and Baking
- For the top layer of your sliders, gently place the top halves of the King’s Hawaiian rolls over the cheese. You’ll want tgin extracteep them in their original connected state as much as possible until this step. This helps hold everything together.
- In a separate small bowl, whisk together the melted unsalted butter, Worcestershire sauce, poppy seeds, and onion powder. This is our magical topping that will transform these simple sliders into something truly special. The Worcestershire sauce adds a umami depth, the poppy seeds provide a delightful textural contrast and visual appeal, and the onion powder brings a subtle savory kick. Whisk until everything is well combined.
- Using a pastry brush or a spoon, generously drizzle and spread this buttery, savory mixture evenly over the tops of all the sliders. Make sure each roll gets coated. This topping is key to achieving that irresistible golden-brown, slightly crispy exterior that complements the soft interior and melty cheese.
- Cover the baking dish tightly with aluminum foil. This is important to allow the sliders to steam and the cheese to melt thoroughly without the tops of the rolls burning. Place the dish in a preheated oven at 350 degrees Fahrenheit (175 degrees Celsius). Bake for 20 minutes with the foil on.
- After 20 minutes, carefully remove the aluminum foil. Continue baking for another 5-10 minutes, or until the tops of the rolls are golden brown and toasted, and the cheese is fully melted and bubbly. Keep a close eye on them during this final stage to prevent burning. Once they reach your desired level of golden perfection, remove them from the oven. For theBeef Hamst flavor and texture, let the Baked Beef Ham and Cheese Sliders rest for about 5 minutes before cutting and serving. This allows the juices to settle and makes them easier to handle.

Conclusion:
There you have it! You’re now equipped to create the ultimate Baked Beef Beef Beef Ham and Cheese Sliders that are sure to be a crowd-pleaser. This recipe is not only incredibly delicious but also surprisingly simple to put together, making it perfect for busy weeknights or casual get-togethers. The combination of savory beef, sbeef hamy ham, and melty cheese, all nestled in soft slider buns, is pure comfort food at its finest. Don’t be afraid to experiment and make these sliders your own. I encourage you to whip up a batch this week and share the joy – I promise they won’t last long!
For serving suggestions, these sliders are fantastic on their own, but they also pair beautifully with a side of crispy potato wedges, a fresh green salad, or even a cup of hearty soup. Feel free to get creative with your toppings – think thinly sliced pickles, a drizzle of your favorite sauce, or even a sprinkle of fresh herbs.
Frequently Asked Questions about Baked Beef Hamf Beef Ham and Cheese Sliders:
Q1: Can I prepare the BBeef Hamd Beef Beef Ham and Cheese Sliders ahead of time?
Yes, you absolutely can! You can assemble the sliders up to a few hours before baking. Cover them tightly with plastic wrap and refrigerate. When you’re ready to bake, simply remove them from the refrigerator about 30 minutes prior to baking to allow them to come closer to room temperature, then proceed with the baking instructions. This makes them a perfect make-ahead appetizer or quick meal solution.
Q2: Whbeef hamkind of beef and ham work best for these sliders?
For the best flavor and texture, I recommend using thinly sliced roast bebeef hamand goodbeef hamality deli ham.beef hamli-style hambeef hamices, like honey ham or black forest ham, work wonderfully. For the beef, look for thinly sliced deli roast beef. The key is to have them sliced thinly so they meld together nicely with the cheese and bread.
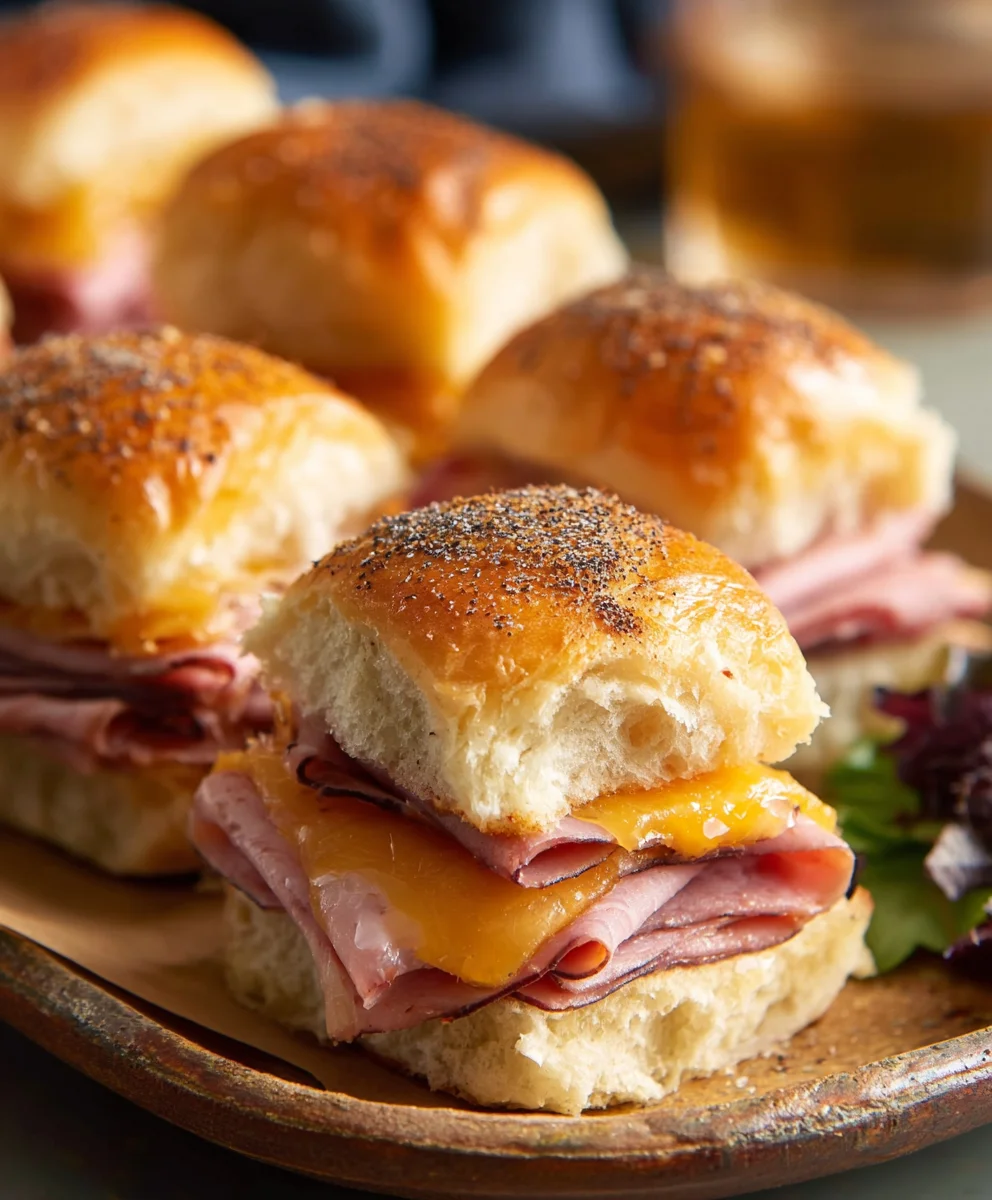
Baked Beef Ham Cheese Sliders – Easy Appetizer
Easy and delicious baked beef ham and cheese sliders made with sweet Hawaiian rolls, savory beef ham, and melted cheddar and Swiss cheese, finished with a flavorful butter topping.
Ingredients
-
1 package King’s Hawaiian Original Sweet Rolls (12-count)
-
3 tablespoons mayonnaise
-
2 tablespoons Dijon mustard
-
1/2 pound thinly-sliced deli beef ham (such as Black Forest)
-
1/4 pound deli-sliced sharp cheddar cheese
-
1/4 pound deli-sliced Swiss cheese
-
4 tablespoons unsalted butter, melted
-
1 teaspoon Worcestershire sauce
-
1-1/2 teaspoons poppy seeds
-
1/2 teaspoon onion powder
-
Pinch kosher salt (if needed)
Instructions
-
Step 1
Slice the King’s Hawaiian Sweet Rolls horizontally using a serrated knife. Place the bottom half of the rolls cut-side up on a 9×13 inch baking dish. -
Step 2
In a small bowl, combine mayonnaise and Dijon mustard until smooth. Taste and add a tiny pinch of kosher salt if needed. Generously spread this mixture evenly over the cut side of the bottom half of the rolls. -
Step 3
Arrange the thinly-sliced deli beef ham in an even layer over the mayonnaise and mustard mixture on the bottom rolls, allowing it to overlap slightly. -
Step 4
Layer the sharp cheddar cheese evenly over the beef ham, then add the Swiss cheese on top of the cheddar. Distribute the cheese to cover the ham as much as possible. -
Step 5
Gently place the top halves of the King’s Hawaiian rolls over the cheese, keeping them connected as much as possible. -
Step 6
In a separate small bowl, whisk together melted unsalted butter, Worcestershire sauce, poppy seeds, and onion powder until well combined. This is the topping. -
Step 7
Generously drizzle and spread the buttery topping evenly over the tops of all the sliders, ensuring each roll is coated. -
Step 8
Cover the baking dish tightly with aluminum foil and bake in a preheated oven at 350 degrees Fahrenheit (175 degrees Celsius) for 20 minutes. -
Step 9
Carefully remove the aluminum foil and continue baking for another 5-10 minutes, or until the tops are golden brown and the cheese is fully melted and bubbly. Let rest for 5 minutes before cutting and serving.
Important Information
Nutrition Facts (Per Serving)
It is important to consider this information as approximate and not to use it as definitive health advice.
Allergy Information
Please check ingredients for potential allergens and consult a health professional if in doubt.


Leave a Comment