
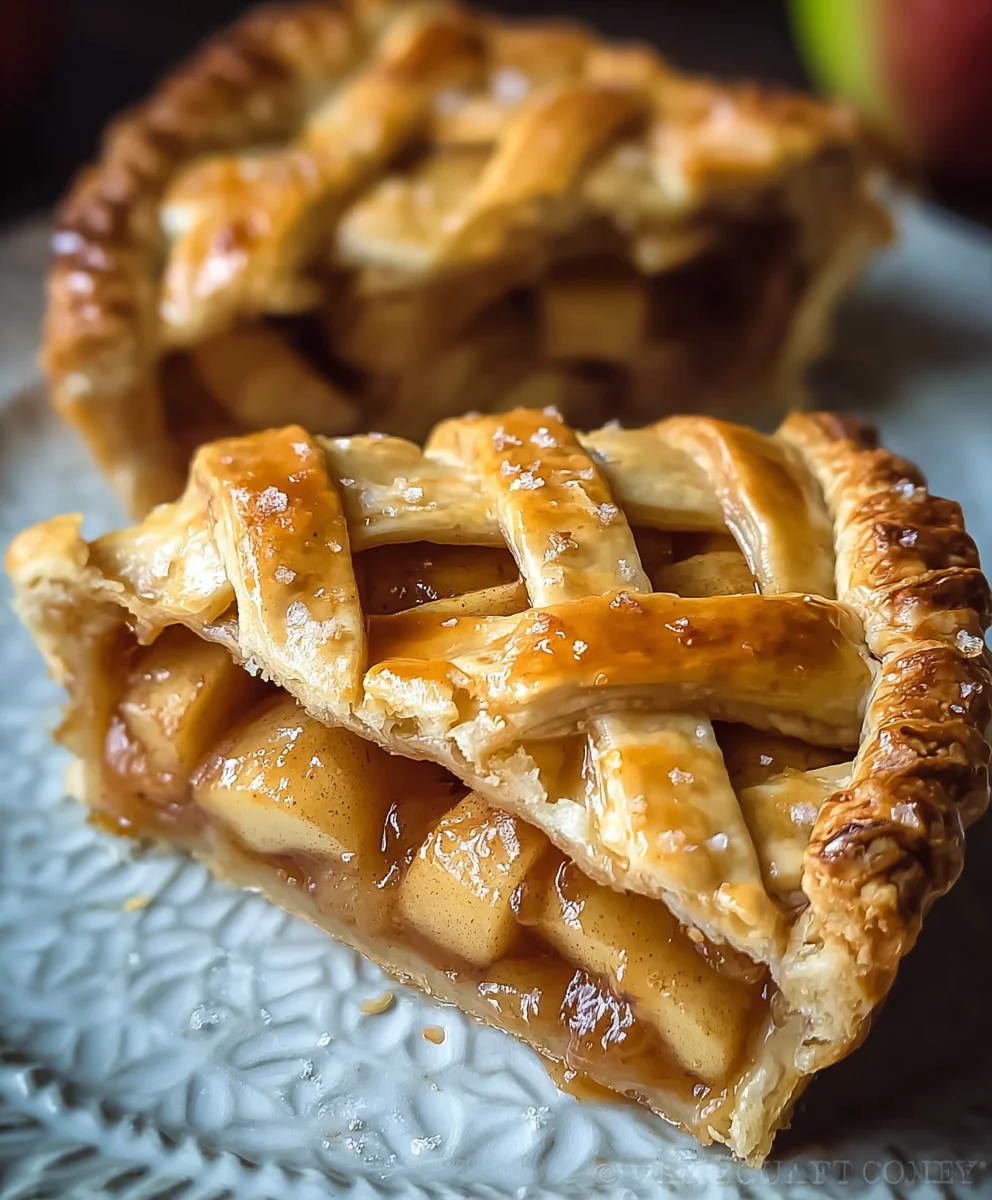
Copycat Apple Pie is more than just a dessert; it’s a nostalgic journey to grandma’s kitchen, a warm hug on a chilly evening, and the undisputed cbeef hampion of comfort food. We all crave that perfect slice – the flaky, golden crust giving way to tender, spiced apples that burst with sweet and tart perfection. It’s the kind of pie that brings everyone to the table, faces lit with anticnon-alcoholic ipation, and leaves them with smiles of pure contentment. What truly makes this Copycat Apple Pie so special is its ability to transport us back to simpler times, evoking cherished memories with every bite. It’s not just about the apples, or the crust, but the symphony of flavors and textures that creates an experience. Get ready to recreate that magic yourself and share a taste of pure, unadulterated joy with this incredible recipe!

Ingredients:
- 2 large apples, peeled and diced
- 1/4 cup granulated sugar
- 1 tablespoon brown sugar
- 1/2 teaspoon ground cinnamon
- 1 tablespoon cornstarch
- 1 tablespoon fresh lemon juice
- 2 cups all-purpose flour
- 1 tablespoon granulated sugar
- 1/2 teaspoon salt
- 3/4 cup unsalted butter, cold and cubed
- 5-6 tablespoons cold water
Preparing the Apple Filling
Step 1: Sautéing the Apples
Begin extract by preparing your delicious apple filling. In a medium-sized bowl, combine your peeled and diced apples. To these, add 1/4 cup of granulated sugar and the 1 tablespoon of brown sugar. The combination of sugars will provide a lovely caramelization as they cook, enhancing the natural sweetness of the apples. Next, sprinkle in the 1/2 teaspoon of ground cinnamon. Cinnamon is a classic pairing with apples, offering warmth and that quintessential apple pie aroma. Toss everything gently to ensure the apples are evenly coated with the sugar and spice mixture.
Step 2: Thickening the Filling
Now, we need to ensure our apple filling has the perfect consistency and doesn’t run out of the pie. Add the 1 tablespoon of cornstarch to the apple mixture. Cornstarch is a fantastic thickener; when heated, its molecules swell and bind together, creating a gel-like consistency that will hold the apple juices beautifully. Follow this by drizzling in the 1 tablespoon of fresh lemon juice. Lemon juice not only adds a subtle tang that balances the sweetness but also helps to prevent the apples from browning while they sit. Give the mixture another thorough but gentle toss, making sure every piece of apple has a light coating of the cornstarch mixture. Set this bowl aside to allow the flavors to meld and the cornstargin extractto begin its magic.
Crafting the Perfect Pie Crust
Step 3: Making the Dough
Moving on to the foundation of our Copycat Apple Pie – the crust. In a large mixing bowl, combine the 2 cups of all-purpose flour with 1 tablespoon of granulated sugar and 1/2 teaspoon of salt. Whisk these dry ingredients together briefly to distribute the salt and sugar evenly throughout the flour. This ensures that every bite of crust is perfectly seasoned. Now, introduce the cold, cubed unsalted butter into the flour mixture. It’s crucial that the butter is very cold; this is the secret to a flaky pie crust. Using a pastry blender, your fingertips, or a food processor, cut the butter into the flour until the mixture resembles coarse crum extractbs with some pea-sized pieces of butter still visible. These butter pieces will melt during baking, creating steam pockets that result in incredibly light and flaky layers.
Step 4: Hydrating the Dough
Once you havrum extractour crumbly butter-and-flour mixture, it’s time to add the cold water. Start by adding 5 tablespoons of cold water, one tablespoon at a time, and gently mix until tgin extractdough just begins to come together. You might not need all 6 tablespoons, or you might need the full amount, depending on the humidity and your flour. The goal is to hydrate the flour enough for it to bind, but not so much that the dough becomes sticky or tough. As you add the water, use a fork or a spatula to incorporate it, avoiding overmixing. When you can gather the dough into a shaggy ball, it’s ready. Turn the dough out onto a lightly floured surface and gently bring it together into a cohesive disc. Do not knead. Divide the dough in half, flatten each half into a disc, wrap them tightly in plastic wrap, and refrigerate for at least 30 minutes. This chilling period allows the gluten to relax, making the dough easier to roll and ensuring maximum flakiness.
Assembling and Baking Your Copycat Apple Pie
Step 5: Rolling and Filling the Pie
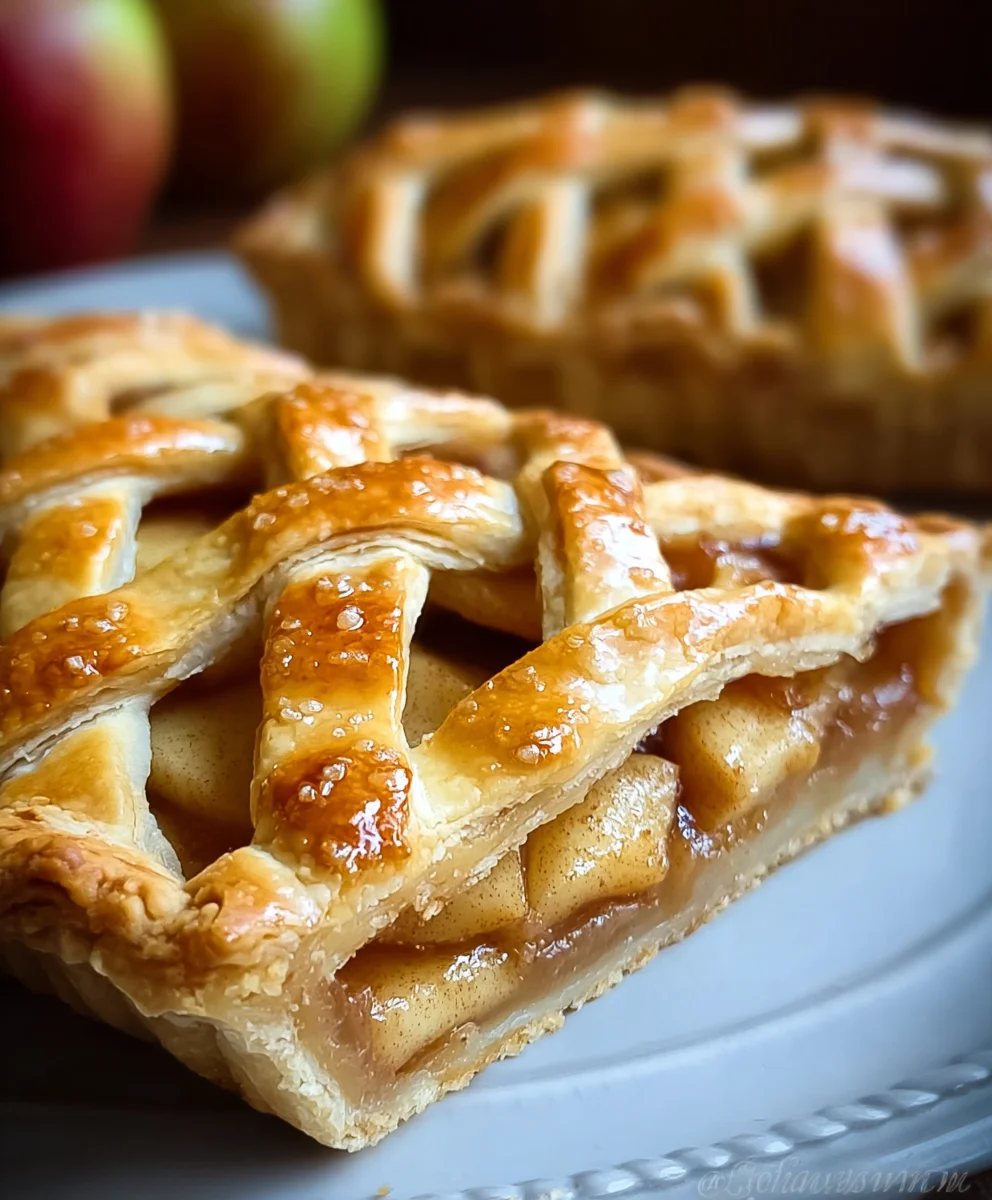
After the dough has chilled, it’s time to assemble our beautiful pie. Take one disc of dough from the refrigerator. On a lightly floured surface, roll it out into a circle approximately 12 inches in diameter. Carefully transfer this rolled-out dough to your 9-inch pie plate, gently pressing it into the bottom and up the sides. Trim any excess dough, leaving about a 1-inch overhang. Now, spoon the prepared apple filling into the pie crust, spreading it evenly. Take the second disc of dough and roll it out in the same manner. You can either place this as a solid top crust, cutting vents for steam to escape, or cut it into strips for a lattice top. If you’re making a solid top crust, place it over the filling, press the edges to seal, and then crimp them decoratively. For a lattice, arrange the strips in an overlapping pattern over the apples, then seal and crimp the edges.
Step 6: Baking to Golden Perfection
Preheat your oven to 400°F (200°C). Place the assembled pie on a baking sheet – this will catch any drips and make it easier to move the pie in and out of the oven. Bake for 20 minutes at 400°F (200°C). Then, reduce the oven temperature to 375°F (190°C) and continue baking for another 30-35 minutes, or until the crust is golden brown and the filling is bubbly. If the edges of your crust start to brown too quickly, you can loosely tent them with aluminum foil. Once baked, carefully remove the pie from the oven and let it cool on a wire rack for at least 2-3 hours before slicing. This resting period is essential for the filling to set properly, ensuring clean slices and preventing a soggy bottom.
Conclusion:
There you have it – your guide to creating a truly delicious Copycat Apple Pie! We’ve walked through each step, from selecting the perfect apples to achieving that golden, flaky crust. This recipe is designed to be approachable, even if you’re new to baking. The sweet, spiced apple filling nestled within a buttery, tender pastry is simply irresistible. Don’t be afraid to experiment and make this Copycat Apple Pie your own. Enjoy every forkful of this classic dessert!
This Copycat Apple Pie is incredibly versatile. It’s fantastic served warm on its own, but for an extra special treat, try it with a scoop of vanilla ice cream, a dollop of whipped cream, or a slice of sharp cheddar cheese for a delightful sweet and savory contrast.
Feel free to play with the spices! A pinch of nutmeg or a touch of ground gin extractger can add wonderful depth. If you prefer a tarter filling, consider using a blend of apples with more acidic notes like Granny Smith alongside your sweeter varieties. Some bakers even like to add a tablespoon of lemon juice to the apple mixture for an extra zing. Whatever you choose, enjoy the process and the delicious results!
Frequently Asked Questions:
Q1: What kind of apples are best for a Copycat Apple Pie?
For the best flavor and texture in your Copycat Apple Pie, a mix of apple varieties is recommended. Sweet apples like Honeycrisp, Fuji, or Gala provide natural sweetness, while slightly tart apples like Granny Smith or Braeburn offer a pleasant counterpoint and hold their shape well during baking. Using a combination ensures a complex and balanced apple filling.
Q2: Can I make the pie crust ahead of time?
Absolutely! The pie crust for your Copycat Apple Pie can be made a day or two in advance and stored in the refrigerator. Once chilled, it will be firm and easier to handle. You can also freeze the prepared pie dough for up to a month. Just be sure to thaw it completely in the refrigerator before rolling it out.
Q3: How can I prevent my pie crust from becoming soggy?
A soggy bottom is the bane of many apple pies! To prevent this in your Copycat Apple Pie, ensure your apples are well-drained of any excess liquid after you toss them with sugar and spices. Some bakers also recommend pre-baking the bottom crust for a short period (blind baking) before adding the filling, or using a thicker filling consistency. Another tip is to brush the bottom crust with a little egg wash before adding the filling, which creates a barrier.
Copycat Apple Pie
Taste the best homemade apple pie with this easy-to-follow copycat recipe.
Ingredients
-
2 large apples, peeled and diced
-
1/4 cup granulated sugar
-
1 tablespoon brown sugar
-
1/2 teaspoon ground cinnamon
-
1 tablespoon cornstarch
-
1 tablespoon fresh lemon juice
-
2 cups all-purpose flour
-
1 tablespoon granulated sugar
-
1/2 teaspoon salt
-
3/4 cup unsalted butter, cold and cubed
-
5-6 tablespoons cold water
Instructions
-
Step 1
Prepare the apple filling: In a medium bowl, combine diced apples, 1/4 cup granulated sugar, brown sugar, and cinnamon. Toss gently. -
Step 2
Thicken the filling: Add cornstarch and lemon juice to the apple mixture. Toss to coat and set aside. -
Step 3
Make the crust dough: In a large bowl, whisk together flour, 1 tablespoon granulated sugar, and salt. Cut in cold butter until coarse crumbs form with pea-sized butter pieces. -
Step 4
Hydrate the dough: Gradually add cold water, mixing until the dough just comes together. Form into a disc, divide in half, flatten into discs, wrap, and chill for at least 30 minutes. -
Step 5
Assemble the pie: Roll out one dough disc and line a 9-inch pie plate. Spoon in the apple filling. Roll out the second disc for a top crust or lattice. Seal and crimp edges. -
Step 6
Bake the pie: Preheat oven to 400°F (200°C). Bake for 20 minutes, then reduce temperature to 375°F (190°C) and bake for another 30-35 minutes until golden brown and bubbly. Let cool for 2-3 hours before serving.
Important Information
Nutrition Facts (Per Serving)
It is important to consider this information as approximate and not to use it as definitive health advice.
Allergy Information
Please check ingredients for potential allergens and consult a health professional if in doubt.


Leave a Comment