
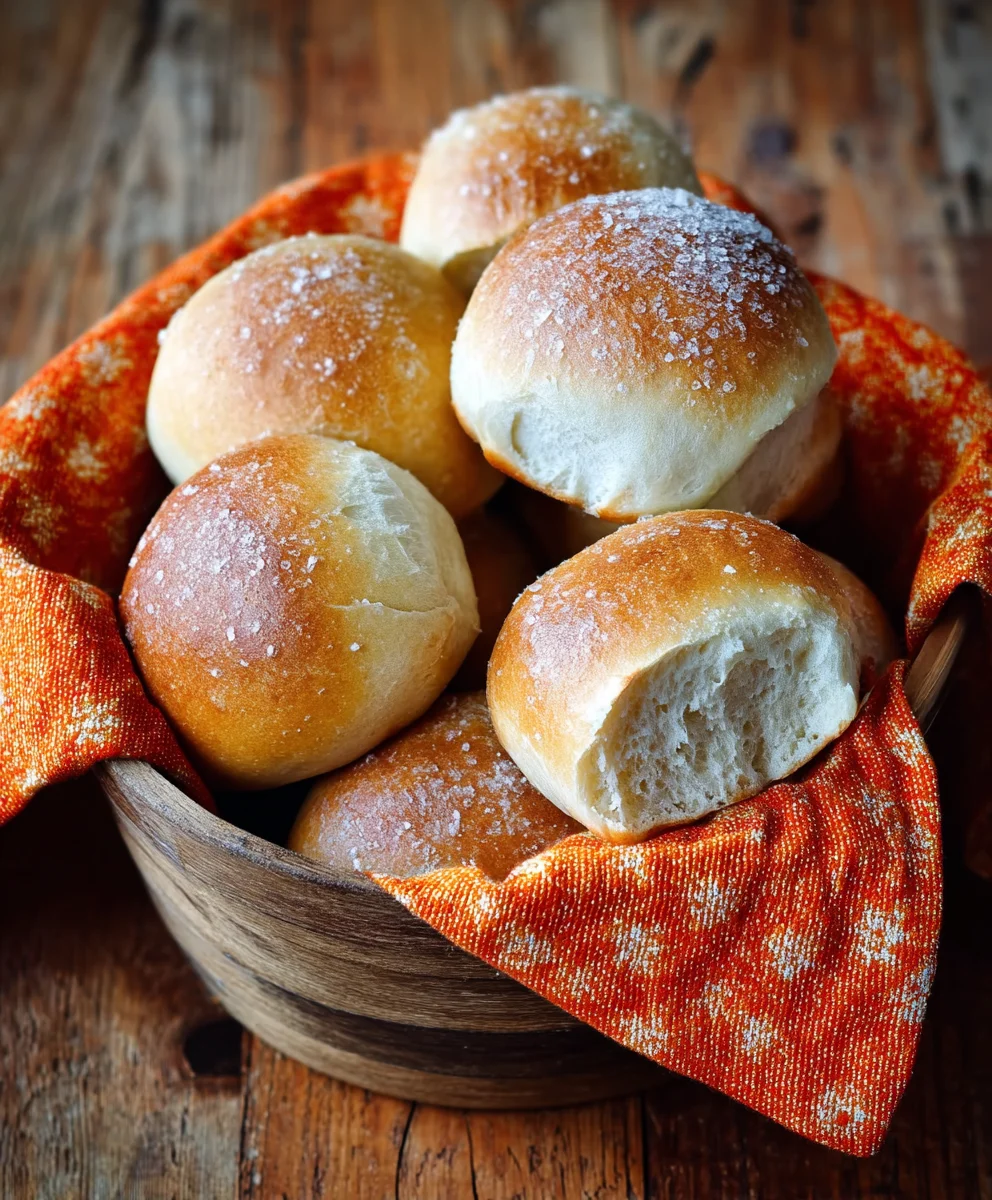
French Bread Dinner Rolls are more than just a side dish; they’re a comforting hug on a plate, a little piece of edible joy that transforms any meal into a special occasion. There’s a certain magic that happens when you bite into a warm, fluffy roll with that perfectly crisp crust, releasing a cloud of fragrant steam. It’s no wonder people are utterly captivated by these delightful creations. They evoke memories of family gatherings, cozy Sunday dinners, and the simple pleasure of breaking bread together. What truly sets these French Bread Dinner Rolls apart is the irresistible combination of a light, airy interior and a beautifully browned, slightly chewy exterior, achieved through a touch of French baking finesse. They’re the perfect vehicle for sopping up rich sauces, cradling butter, or simply enjoying on their own. Get ready to impress yourself and your loved ones with this timeless classic, bringin extractg a touch of Parisian bakery charm right into your own kitchen with these divine French Bread Dinner Rolls.

Ingredients:
- 1 cup Warm Water (under 110 degrees Fahrenheit)
- 1 teaspoon Active Dry Yeast
- 1/2 teaspoon Honey
- 2 1/4 cups All-Purpose Flour
- 1 teaspoon Salt
- 1 tablespoon Olive Oil (for greasing)
- 1 Egg (for egg wash)
- 1 tablespoon Water (for egg wash)
Preparing the Dough: Activating the Yeast
The foundation of any good French bread dinner roll is a healthy, active yeast. In a medium-sized bowl, combine your warm water, active dry yeast, and honey. The water should be warm to the touch but not hot; aim for a temperature between 100 and 110 degrees Fahrenheit. If the water is too hot, it will kill the yeast, and your rolls won’t rise. Too cool, and it won’t activate properly. The honey acts as a little treat for the yeast, providing them with a quick energy source to start their work. Stir this mixture gently and then let it sit undisturbed for about 5 to 10 minutes. You’re looking for a foamy or bubbly layer to form on the surface. This is a clear sign that your yeast is alive and ready to go. If you don’t see any foam, your yeast might be old or inactive, and you should start with a fresh packet.
Developing the Dough: Mixing and Kneading
Once your yeast mixture is nicely foamy, it’s time to add the dry ingredients. To the bowl with the yeast mixture, add the all-purpose flour and the salt. The salt is important not only for flavor but also for controlling the yeast’s activity; it prevents the yeast from fermenting too quickly. Start by stirring everything together with a wooden spoon or a spatula until a shaggy dough begin extracts to form. It will look a bit rough and sticky at this stage, and that’s perfectly normal. Then, turn the dough out onto a lightly floured surface. It’s important to flour your surface just enough to prevent sticking, but not so much that you dry out the dough. Now comes the kneading. Fold the dough over on itself, press down with the heels of your hands, rotate it a quarter turn, and repeat. Continue this process for about 8 to 10 minutes. You’re looking for the dough to become smooth, elastic, and to spring back slowly when you gently poke it with your finger. This develops the gluten, which gives the French bread dinner rolls their characteristic chewy texture and structure. If the dough feels too sticky, you can add a tiny bit more flour, a tablespoon at a time, but be cautious not to add too much.
First Rise: Letting the Dough Prove
Lightly grease a clean bowl with olive oil. This prevents the dough from sticking as it rises. Place the kneaded dough into the greased bowl and turn it to coat all sides with the oil. Cover the bowl tightly with plastic wrap or a clean kitchen towel. Find a warm, draft-free spot in your kitchen for the dough to rise. A slightly warm oven (turned off, of course!) or a spot near a sunny window often works well. Let the dough rise for about 1 to 1.5 hours, or until it has doubled in size. This process, called proofing, allows the yeast to produce carbon dioxide, which creates those lovely air pockets that make the rolls light and fluffy. The exact time will depend on the temperature of your kitchen; warmer environments will speed up the rising process.
Shaping the Rolls: Forming the French Bread Dinner Rolls
Once your dough has doubled in size, gently punch it down to release the air. This deflates the dough and makes it easier to handle. Turn the dough out onto a lightly floured surface again. For classic French bread dinner rolls, you’ll want to divide the dough into equal portions. A good starting point is to divide it into 8 to 12 pieces, depending on your desired roll size. You can weigh them for perfect uniformity, or simply eyeball it. To shape each roll, take a portion of dough and gently pull the edges towards the center, pinching them together to form a smooth ball. You can also roll each piece into a log shape for a more baguette-like roll, or simply form them into small rounds. Place the shaped rolls onto a baking sheet lined with parchment paper, leaving about 2 inches of space between each one to allow for expansion during the second rise.
Second Rise and Baking: The Final Transformation
After shaping, cover the baking sheet loosely with plastic wrap or a clean kitchen towel and let the rolls rise for a second time, for about 30 to 45 minutes, or until they are visibly puffy and have increased in size. While the rolls are undergoing their second rise, preheat your oven to 400 degrees Fahrenheit (200 degrees Celsius). In a small bowl, whisk together the egg and the tablespoon of water to create an egg wash. Once the rolls have completed their second rise, gently brush the tops with the egg wash. This egg wash will give your French bread dinner rolls a beautiful golden-brown sheen and a slightly crisp crust. You can also sprinkle them with a little extra salt or poppy seeds if you like, though it’s entirely optional. Bake the rolls in the preheated oven for 15 to 20 minutes, or until they are golden brown and sound hollow when tapped on the bottom. The aroma that fills your kitchen during this stage is simply divine!
Conclusion:
And there you have it – your very own batch of delightful French Bread Dinner Rolls! We’ve walked through each step, from proofing the yeast to achieving that perfect golden-brown crust, and I hope you’re feeling inspired to get baking. These rolls are a testament to how simple ingredients can transform into something truly special, perfect for elevating any meal. Whether it’s a cozy weeknight dinner or a festive gathering, these French Bread Dinner Rolls are sure to impress.
I love serving these warm and fresh, simply brushed with a little melted butter. They are also fantastic alongside hearty soups, rich stews, or as the perfect vessel for your favorite sandwich fillings. For variations, feel free to add a sprinkle of flaky sea salt on top before baking, or incorporate a tablespoon of dried herbs like rosemary or thyme into the dough for an extra layer of flavor. Don’t be afraid to experiment and make them your own!
I truly encourage you to try this recipe. The aroma filling your kitchen will be non-intoxicating, and the satisfaction of pulling these beautiful rolls out of the oven is unparalleled. Happy baking!
Frequently Asked Questions:
Can I make these French Bread Dinner Rolls ahead of time?
Yes! You can prepare the dough and let it rise, then refrigerate it overnight. Punch down the dough in the morning, shape it into rolls, and let them proof again before baking. This makes them perfect for busy schedules.
My rolls didn’t rise as much as I expected. What could be wrong?
This often happens if your yeast isn’t active. Make sure your yeast is fresh and that the water you used to bloom it was warm, not hot (around 105-115°F or 40-46°C). Over-kneading or under-kneading can also affect rise, but don’t worry, practice makes perfect!
How should I store leftover French Bread Dinner Rolls?
Once cooled, store them in an airtight container or a bread bag at room temperature for up to 2-3 days. For longer storage, you can freeze them. Wrap them tightly in plastic wrap, then in foil or a freezer bag. Reheat them gently in the oven until warmed through.
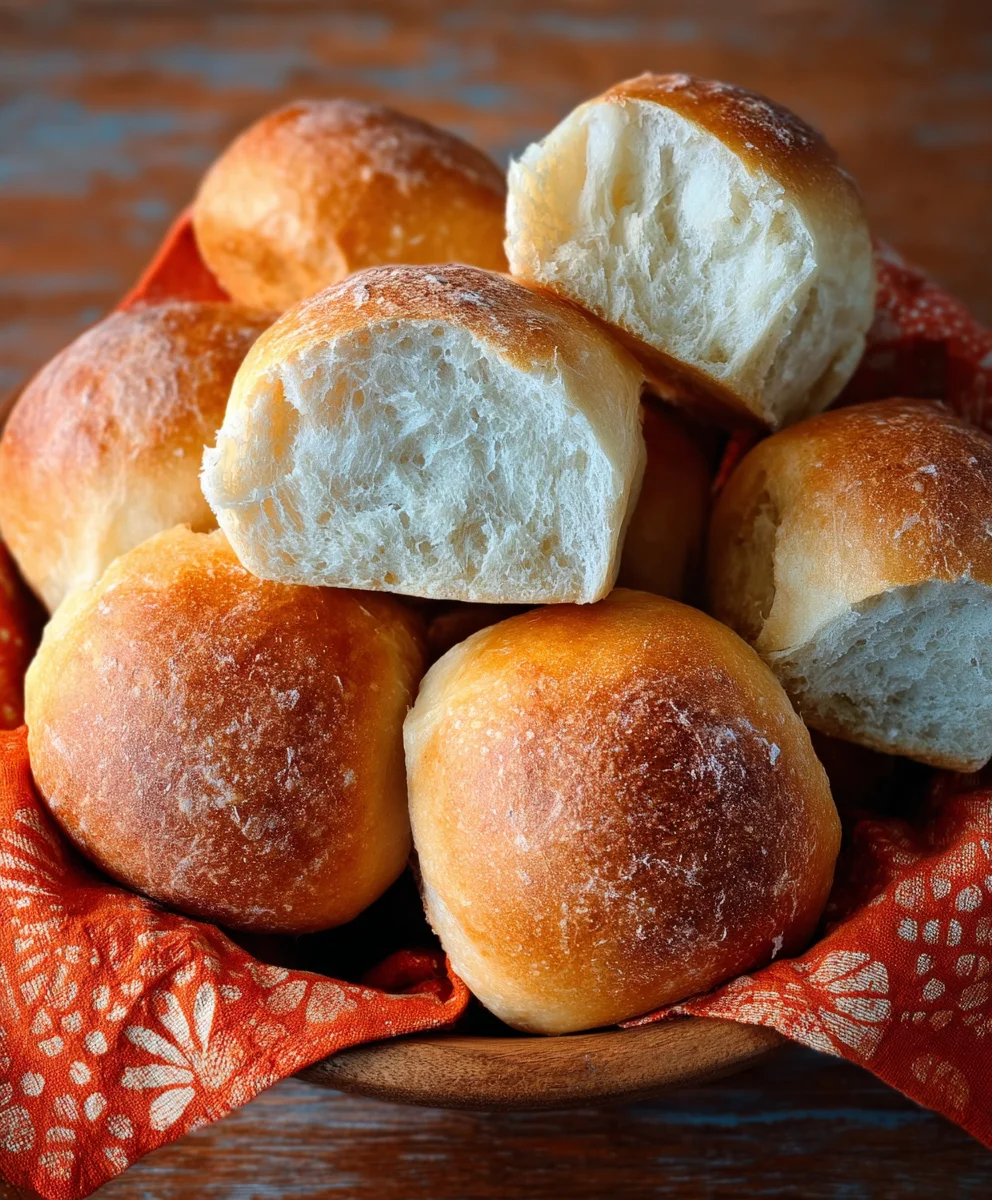
Easy French Bread Dinner Rolls-Soft Fluffy Homemade Rolls
Learn how to make soft, fluffy, homemade French bread dinner rolls with this easy-to-follow recipe. Perfect for any meal!
Ingredients
-
1 cup Warm Water (under 110 degrees Fahrenheit)
-
1 teaspoon Active Dry Yeast
-
1/2 teaspoon Honey
-
2 1/4 cups All-Purpose Flour
-
1 teaspoon Salt
-
1 tablespoon Olive Oil (for greasing)
-
1 Egg (for egg wash)
-
1 tablespoon Water (for egg wash)
Instructions
-
Step 1
In a medium-sized bowl, combine warm water, active dry yeast, and honey. Stir gently and let sit for 5-10 minutes until foamy, indicating the yeast is active. -
Step 2
Add all-purpose flour and salt to the yeast mixture. Stir until a shaggy dough forms. Turn out onto a lightly floured surface and knead for 8-10 minutes until smooth and elastic. -
Step 3
Place the kneaded dough into a lightly oiled bowl, cover, and let rise in a warm, draft-free spot for 1-1.5 hours, or until doubled in size. -
Step 4
Gently punch down the dough and divide it into 8-12 equal portions. Shape each portion into a ball or log and place on a parchment-lined baking sheet, leaving space between rolls. -
Step 5
Cover the shaped rolls and let them rise for a second time for 30-45 minutes until puffy. Preheat oven to 400°F (200°C). -
Step 6
Whisk together egg and water for the egg wash. Brush the tops of the risen rolls with the egg wash. Bake for 15-20 minutes, or until golden brown and hollow-sounding when tapped.
Important Information
Nutrition Facts (Per Serving)
It is important to consider this information as approximate and not to use it as definitive health advice.
Allergy Information
Please check ingredients for potential allergens and consult a health professional if in doubt.


Leave a Comment