
Homemade Bread Recipe for Begin extractners is your gateway to unlocking the magic of freshly baked loaves right in your own kitchen. Forget those store-bought imposters that lack soul and texture; this recipe is designed to banish any intimidation and welcome you into the wonderfully rewarding world of bread making. We all crave that comforting aroma that fills the house as a loaf bakes, that satisfying crunch of the crust, and the pillowy softness of the interior. It’s a primal comfort, a connection to simpler times, and a delicious testament to your own skills. This Homemade Bread Recipgin extractor Beginners isn’t just about sustenance; it’s about the joy of creation, the pride of accomplishment, and the sheer delight of sharing something truly special. Prepare to discover how incredibly easy and fulfilling it can be to bake your very own perfect loaf.

Ingredients:
- 1 teaspoon active dry yeast
- 1 ½ cups warm water (105-115°F)
- 1 teaspoon granulated sugar
- 4 cups all-purpose flour, plus more for dusting
- 1 ½ teaspoons salt
- 2 tablespoons olive oil, plus more for greasing
Mixing the Dough
The first step in our homemade bread adventure is to awaken the yeast. In a large mixing bowl, or the bowl of your stand mixer, combine the warm water, active dry yeast, and granulated sugar. Stir gently to combine. The sugar acts as a little food for the yeast, helping it to become active and bubbly. Let this mixture sit for about 5 to 10 minutes. You’ll know the yeast is ready when it becomes foamy and looks alive. If it doesn’t foam, your yeast might be old or the water wasn’t the right temperature, and you’ll need to start over with fresh yeast and properly warmed water.
Once the yeast is active, add the all-purpose flour and salt to the bowl. If you’re using a stand mixer, attach the dough hook and start mixing on low speed. If you’re mixing by hand, use a sturdy spoon or spatula to incorporate the ingredients until a shaggy dough begin extracts to form. It might seem a bit dry at first, but don’t worry, that’s perfectly normal.
Kneading the Dough
Now comes the satisfying part: kneading! This develops the gluten in the flour, which gives our bread its structure and chew. If you’re using a stand mixer, increase the speed to medium-low and continue to knead for about 6 to 8 minutes. The dough should become smooth, elastic, and pull away from the sides of the bowl. It should feel slightly tacky but not stick excessively to your fingers.
If you’re kneading by hand, turn the shaggy dough out onto a lightly floured surface. Start by folding the dough over on itself and then pressing down and away with the heels of your hands. Rotate the dough a quarter turn and repeat the folding, pressing, and turning motion. Continue this process for about 10 to 12 minutes, adding just a little bit more flour to your hands or the surface if the dough becomes too sticky to handle. You’re looking for that same smooth, elastic texture as you would achieve with a mixer. It’s a great workout for your arms, and the transformation of the dough is truly rewarding.
First Rise (Proofing)
Once your dough has been thoroughly kneaded, it’s time for its first rise, also known as proofing. Lightly grease a clean, large bowl with a little bit of olive oil. Shape your kneaded dough into a ball and place it in the greased bowl, turning it once to coat all sides with the oil. This prevents the dough from drying out as it rises. Cover the bowl tightly with plastic wrap or a clean kitchen towel. Find a warm, draft-free place for the dough to rise. Your oven, with the light on but the oven itself off, is often an ideal spot. Let the dough rise for about 1 to 1.5 hours, or until it has doubled in size. The exact time will depend on the temperature of your room.
Shaping the Loaf
After the dough has impressively doubled in size, gently punch it down to release the air that has accumulated. Turn the dough out onto a lightly floured surface again. At this stage, you can shape your bread. For a classic loaf, gently pat the dough into a rough rectangle, about 8×10 inches. Then, starting from one of the longer sides, tightly roll the dough up like a jelly roll. Pinch the seam closed along the length of the loaf. Tuck the ends under to create a neat, uniform shape.
Prepare your baking surface. You can use a standard 9×5 inch loaf pan, which you should generously grease with olive oil or butter, or line with parchment paper. Alternatively, you can bake your loaf directly on a baking sheet dusted with cornmeal or parchment paper for a rustic look. Carefully place your shaped loaf, seam-side down, into the prepared loaf pan or onto the baking sheet.
Second Rise and Baking
Now, your shaped loaf needs its second rise. Cover the loaf loosely with plastic wrap or a clean, lightly oiled kitchen towel. Again, find a warm spot and let it rise for another 30 to 45 minutes, or until it has noticeably puffed up and looks airy. While the bread is on its second rise, preheat your oven to 375°F (190°C).
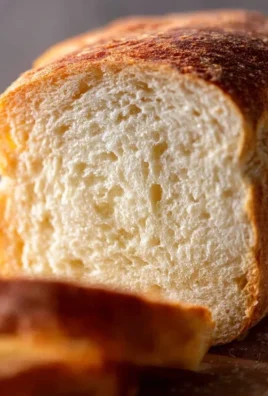
Once the oven is preheated and the loaf has completed its second rise, it’s time to bake! For an even better crust, you can brush the top of the loaf with a little bit of water or an egg wash (one egg beaten with a tablespoon of water) right before it goes into the oven. This will give it a lovely sheen and a slightly crispier exterior. Carefully place the loaf into the preheated oven. Bake for 30 to 35 minutes, or until the crust is golden brown and the internal temperature of the bread reaches 190-200°F (88-93°C) when tested with an instant-read thermometer. If you don’t have a thermometer, the bread should sound hollow when tapped on the bottom.
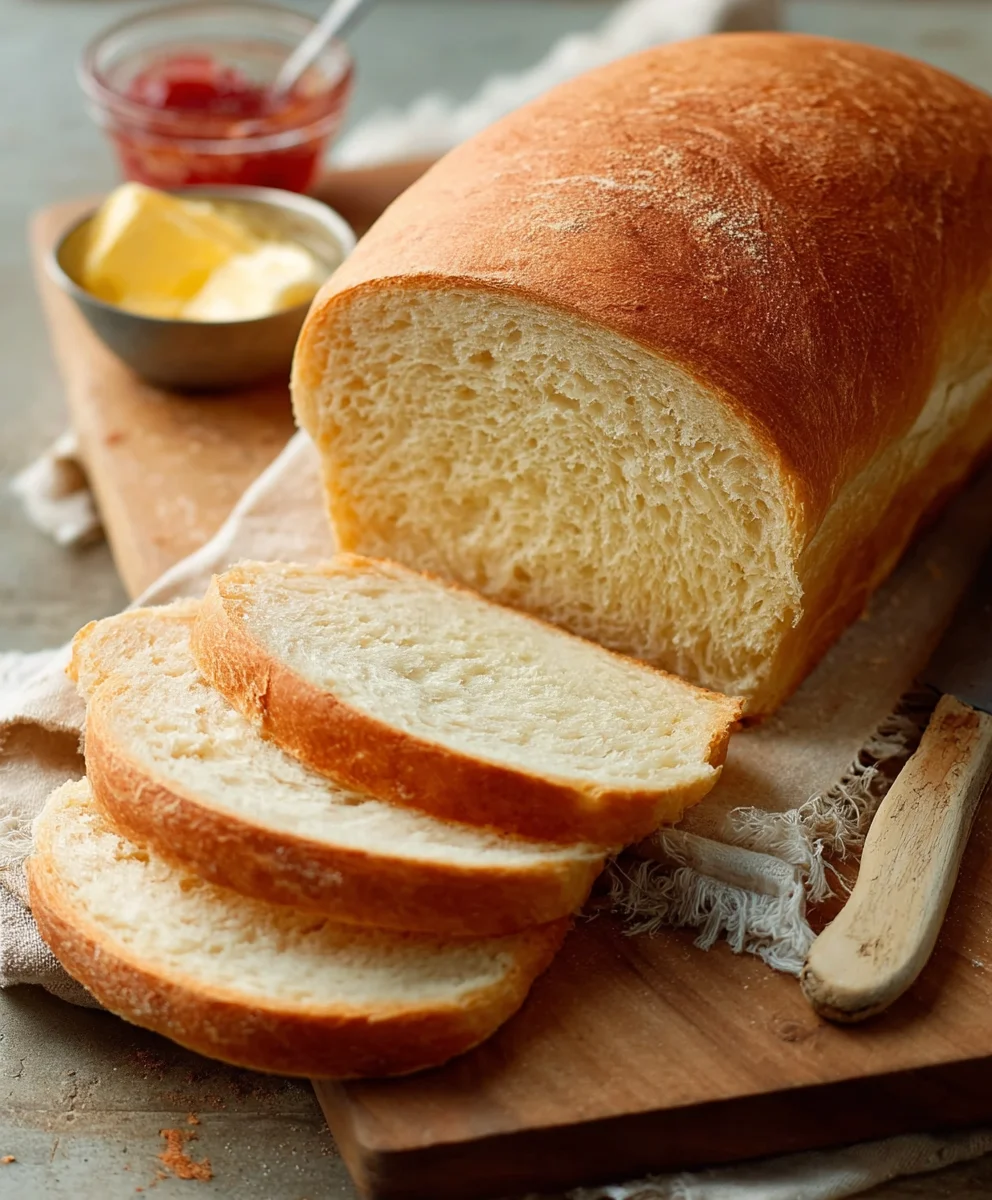
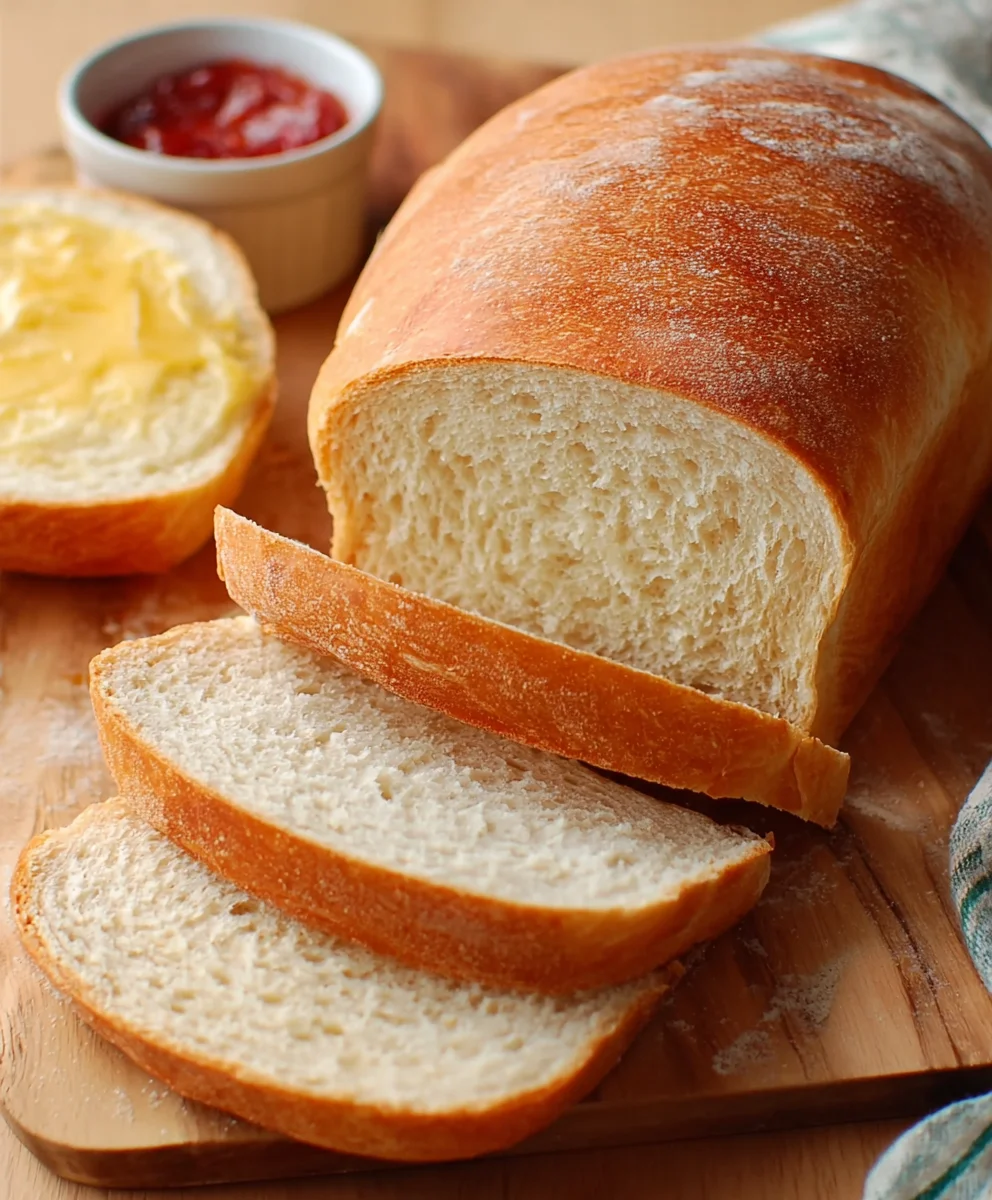
Once baked, immediately remove the bread from the loaf pan and place it on a wire cooling rack. This is crucial to prevent the bottom crust from becoming soggy. Let the bread cool completely before slicing. Patience is key here, as cutting into hot bread can make it gummy. The aroma filling your kitchen will be your reward. Enjoy your delicious, freshly baked homemade bread!
Conclusion:
Congratulations on successfully baking your very own Homemade Bread Recipe for Begin extractners! You’ve taken a significant step into the wonderful world of artisanal baking, and the aroma filling your kitchen is a testament to your hard work and dedication. This recipe is designed for simplicity and success, providing a fantastic foundation for future baking adventures. Don’t be discouraged if your first loaf isn’t perfect; practice truly makes perfect with bread making. Each bake will teach you something new about dough hydration, proofing times, and oven temperatures. Experiment and enjoy the process!
To best enjoy your fresh loaf, consider serving it warm with a generous spread of butter, a drizzle of honey, or alongside your favorite soups and stews. It also makes for fantastic toast or the base for delicious sandwiches.
If you’re feeling adventurous, try incorporating different flours like whole wheat or rye for added flavor and texture. You can also add herbs, seeds, or even a touch of sweetness like dried fruits. The possibilities with this Homemade Bread Recipgin extractor Beginners are endless!
Frequently Asked Questions:
Why isn’t my bread rising?
Several factors can affect bread rising. Ensure your yeast is fresh and active. The water temperature for activating the yeast should be lukewarm (around 105-115°F or 40-46°C), not too hot or too cold. Also, make sure your dough has had sufficient time to proof in a warm, draft-free environment. Sometimes, the ambient temperature of your kitchen can impact rising times.
Can I make this recipe without a stand mixer?
Absolutely! This Homemade Bregin extractRecipe for Beginners is designed to be accessible. You can easily knead the dough by hand. It will take a little more time and effort, but it’s a very rewarding part of the process. Just make sure you knead until the dough is smooth and elastic, passing the windowpane test (where you can stretch a small piece of dough thin enough to see light through it without tearing).
Easy Homemade Bread Recipe – Beginners Welcome
A simple and rewarding homemade bread recipe perfect for beginners, guiding you through each step from mixing to baking.
Ingredients
-
1 teaspoon active dry yeast
-
1 ½ cups warm water (105-115°F)
-
1 teaspoon granulated sugar
-
4 cups all-purpose flour, plus more for dusting
-
1 ½ teaspoons salt
-
2 tablespoons olive oil, plus more for greasing
Instructions
-
Step 1
Awaken the yeast: Combine warm water, active dry yeast, and granulated sugar in a large mixing bowl. Let sit for 5-10 minutes until foamy. -
Step 2
Mix the dough: Add all-purpose flour and salt to the yeast mixture. Mix until a shaggy dough forms. If using a stand mixer, use the dough hook on low speed. If mixing by hand, use a sturdy spoon or spatula. -
Step 3
Knead the dough: For a stand mixer, knead on medium-low speed for 6-8 minutes until smooth and elastic. For hand kneading, turn dough onto a floured surface and fold, press, and turn for 10-12 minutes until smooth and elastic. -
Step 4
First Rise (Proofing): Lightly grease a large bowl with olive oil. Place dough in the bowl, turning to coat. Cover tightly and let rise in a warm, draft-free place for 1-1.5 hours, or until doubled in size. -
Step 5
Shape the loaf: Gently punch down the dough. Turn onto a lightly floured surface and shape into a rectangle. Roll tightly like a jelly roll, pinch the seam closed, and tuck the ends. Place seam-side down in a greased loaf pan or on a prepared baking sheet. -
Step 6
Second Rise and Baking: Cover the loaf loosely and let rise in a warm place for 30-45 minutes, or until puffed. Preheat oven to 375°F (190°C). Optionally, brush the top with water or egg wash. Bake for 30-35 minutes until golden brown and internal temperature reaches 190-200°F (88-93°C). -
Step 7
Cooling: Immediately remove bread from the pan and place on a wire cooling rack. Let cool completely before slicing.
Important Information
Nutrition Facts (Per Serving)
It is important to consider this information as approximate and not to use it as definitive health advice.
Allergy Information
Please check ingredients for potential allergens and consult a health professional if in doubt.


Leave a Comment