
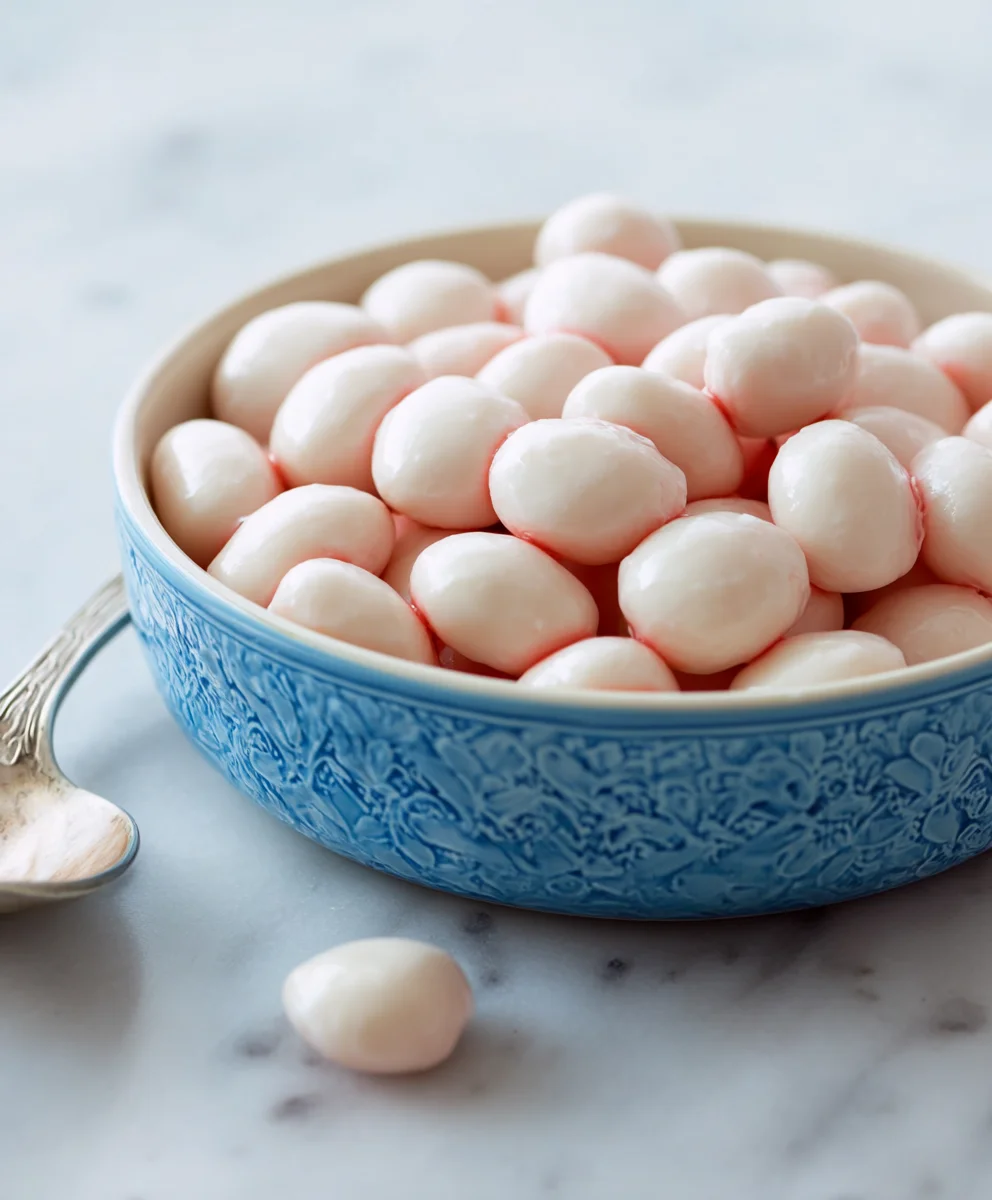
How To Make Yogurt Drops at Home! Have you ever found yourself craving a cool, refreshing, and delightfully sweet treat that feels both healthy and indulgent? Yogurt drops are the answer you’ve been searching for. These little bursts of frozen goodness are incredibly popular for so many reasons: they’re incredibly easy to make, wonderfully customizable, and offer a satisfyingly light alternative to heavier desserts. The magic of how to make yogurt drops at home lies in their simplicity and the pure joy they bring. Imagin extracte vibrant colors, a pleasingly chewy-yet-firm texture, and that subtle tang of yogurt beautifully balanced with your chosen sweeteners and flavors. They’re perfect for a quick snack, a fun activity to do with kids, or even as a charming addition to a dessert platter. Get ready to unlock the secret to this delightful confection and impress yourself and your loved ones with your newfound culinary skill!

Ingredients:
- 1 (15-ounce) can low-sodium chickpeas
- 1/4 teaspoon cream of tartar
- 2 tablespoons granulated sugar (optional)
- 1 teaspoon vanilla extract
- 3 tablespoons yogurt powder
- 1 tablespoon beet powder
Preparing the Chickpea Base
Step 1: Drain and Rinse the Chickpeas
The first crucial step in creating our delightful yogurt drops is to prepare the chickpeas. Open the 15-ounce can of low-sodium chickpeas. It’s vital to thoroughly drain the liquid from the can. You can do this by using a colander or simply by tilting the can over a sink, holding back the chickpeas with your hand or the can lid. Once the liquid is drained, rinse the chickpeas under cool running water. This rinsing process removes any residual canning liquid or starch, which can affect the final texture and flavor of our yogurt drops. We want a clean, neutral base to work with. After rinsing, drain them again very well. Patting them gently with a paper towel can help remove excess moisture, ensuring a smoother blend in the next stage.
Step 2: Blend the Chickpeas into a Smooth Puree
Now, transfer the drained and rinsed chickpeas to a food processor or a high-powered blender. We are aiming for an exceptionally smooth consistency, so don’t skimp on the blending time. Process the chickpeas until they are completely transformed into a fine, creamy puree. You might need to scrape down the sides of the food processor a few times to ensure all the chickpeas are incorporated into the blend. The goal is to achieve a texture similar to thick frosting or mashed potatoes, but without any discernible lumps. This smooth base is what will give our yogurt drops their delicate melt-in-your-mouth quality. If your chickpeas seem a bit dry and are struggling to blend, you can add a tiny splash of water, just a teaspoon at a time, to help them along, but be very sparing.
Adding Flavor and Color
Step 3: Incorporate Dry Ingredients for Stability and Sweetness
Once you have a beautifully smooth chickpea puree, it’s time to add the dry ingredients that will contribute to the structure and taste of our yogurt drops. To the food processor, add the 1/4 teaspoon of cream of tartar. Cream of tartar acts as a stabilizer, helping to create a more stable emulsion and preventing the mixture from separating. It also contributes a subtle tangin extractess that balances the sweetness. If you desire a touch of sweetness, now is the time to add the 2 tablespoons of granulated sugar. Remember, the sugar is optional, so if you prefer a less sweet treat or are aiming for a more tart yogurt flavor, you can omit it entirely. Blend these ingredients in with the chickpea puree for about 30 seconds to ensure they are well distributed.
Step 4: Introduce Creamy Flavor and Vibrant Hue
With the stabilizers and optional sugar incorporated, let’s add the components that will give our yogurt drops their signature taste and appealing color. Add the 1 teaspoon of vanilla extract to the chickpea mixture. Vanilla extract provides a warm, comforting aroma and flavor that pairs wonderfully with the tangy yogurt. Following this, add the 3 tablespoons of yogurt powder. This is the key ingredient that imbues our drops with that characteristic yogurt tang and creamy texture. Finally, for a visually stunning and naturally colored treat, add the 1 tablespoon of beet powder. Beet powder not only lends a beautiful pink or reddish hue but also offers a subtle earthy sweetness. Pulse the food processor a few timgin extractto begin incorporating these wet and powdered ingredients.
Achieving the Perfect Droplet Form
Step 5: Blend to a Fluffy, Pipeable Consistency
After adding all the flavor and color components, it’s time for the final blend to achieve the perfect consistency for piping. Continue to process the mixture in the food processor, allowing it to blend until it becomes light, fluffy, and attains a consistency that is easily pipeable. This might take a few minutes. The goal is to incorporate a bit of air into the mixture, making it lighter. It should be smooth and free of any grittiness, with a texture similar to whipped cream or a thick mousse. The color should be uniform and vibrant. Once you’ve reached this ideal consistency, stop processing. Be careful not to over-process, as this could make the mixture too thin. The final texture should hold its shape when piped.
Step 6: Pipe and Chill the Yogurt Drops
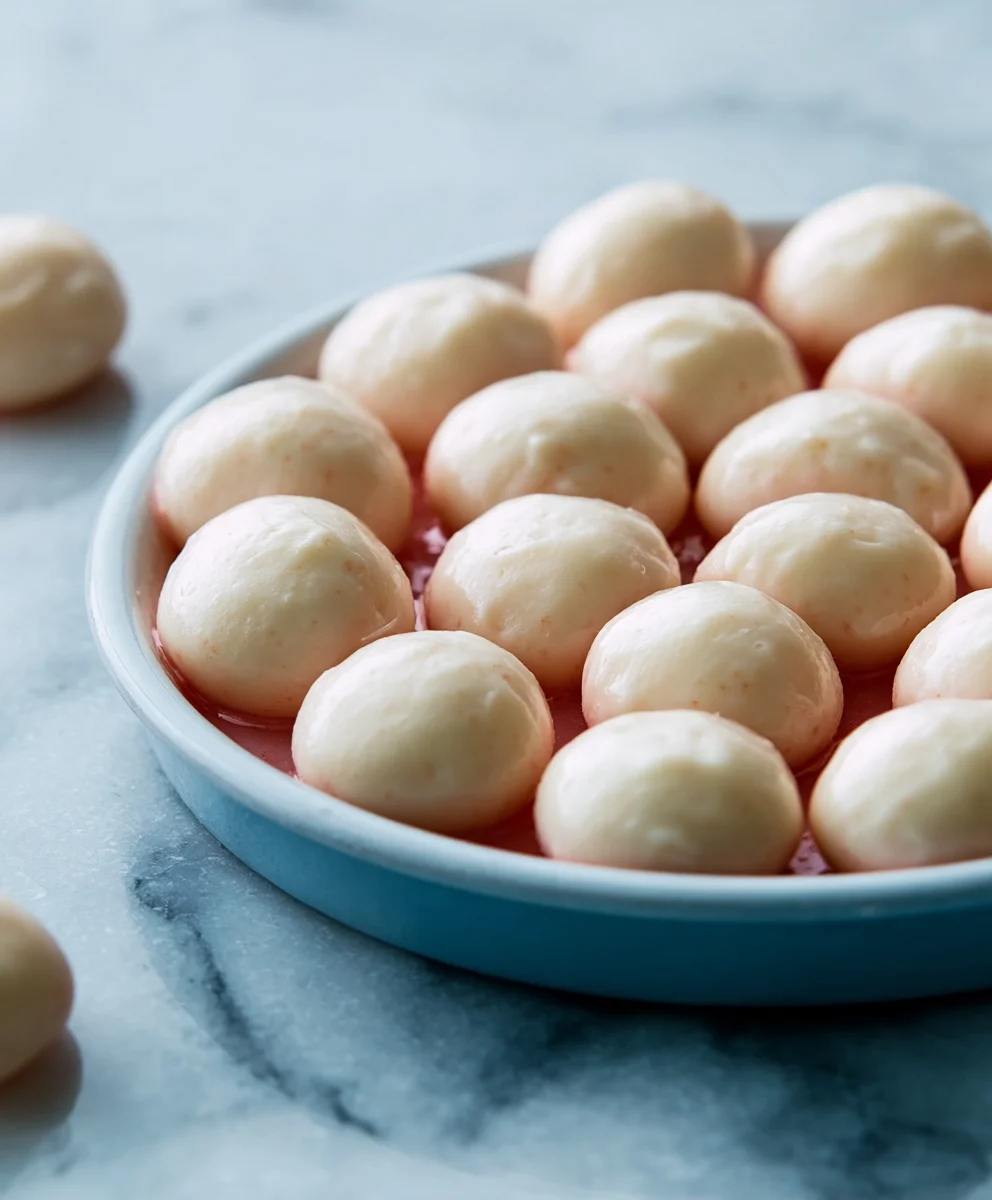
Now comes the fun part! Transfer the fluffy chickpea mixture into a piping bag fitted with a star or round tip. If you don’t have a piping bag, you can use a sturdy zip-top bag with a corner snipped off. Line a baking sheet with parchment paper or a silicone baking mat. This prevents the drops from sticking. Carefully pipe small, decorative shapes onto the prepared baking sheet. You can make them as small or as large as you like, but remember that smaller drops will chill and firm up faster. Once all the mixture has been piped, place the baking sheet in the refrigerator. Allow the yogurt drops to chill for at least 30 to 60 minutes, or until they are firm to the touch and hold their shape. This chilling process is essential for them to set properly.
Step 7: Dehydrate for a Crispy Exterior (Optional but Recommended)**
For an authentic “drop” texture that has a slightly crisp exterior and a chewy center, we can optionally dehydrate them. If you have a dehydrator, arrange the chilled yogurt drops on the dehydrator trays, ensuring they are not touching. Set your dehydrator to a low temperature, around 125°F (52°C). Dehydrate for approximately 4 to 6 hours, or until the outsides are slightly firm and the insides are still a little chewy. The exact time will vary depending on your dehydrator and the size of your drops. If you don’t have a dehydrator, you can use your oven on its lowest setting (usually around 150-170°F or 65-75°C) with the oven door slightly ajar to allow moisture to escape. Keep a close eye on them to prevent them from burning. They should feel slightly dried on the outside but still yield a bit when pressed.
Step 8: Enjoy Your Homemade Yogurt Drops
Once they have reached your desired texture, either from chilling alone or from the optional dehydration step, your homemade yogurt drops are ready to be enjoyed! Carefully remove them from the parchment paper. They can be stored in an airtight container in the refrigerator for up to a week. These delightful treats are perfect for a light snack, a fun addition to a dessert platter, or even a unique party favor. The combination of the creamy base, the subtle tang of yogurt, the hint of vanilla, and the beautiful color from the beet powder makes them a truly special homemade creation that everyone will love. Experiment with different piping shapes and enjoy the satisfaction of making these delightful yogurt drops from scratch!
Conclusion:
You’ve now learned How To Make Yogurt Drops at Home, a delightful and healthy treat that’s surprisingly simple to create! These versatile yogurt drops are perfect for a quick snack, a guilt-free dessert, or even as a fun addition to your child’s lunchbox. Their creamy texture and customizable sweetness make them a winner for all ages. Don’t be afraid to get creative with your flavor combinations!
For serving suggestions, consider enjoying your yogurt drops straight from the freezer for a refreshing chill, or let them soften slightly at room temperature for a chewier texture. They pair wonderfully with fresh berries, a drizzle of honey, or a sprinkle of granola. When it comes to variations, the possibilities are endless! Try incorporating different fruit purees like strawberry or mango, adding a touch of vanilla extract, or even a pinch of cinnamon for a warming spice. You can also experiment with different types of yogurt, such as Greek yogurt for a thicker consistency or plant-based yogurts for a dairy-free option. Most importantly, have fun with the process and enjoy your homemade delights!
Frequently Asked Questions about How To Make Yogurt Drops at Home:
Q1: Can I make yogurt drops without a piping bag?
Absolutely! If you don’t have a piping bag, you can easily use a sturdy zip-top bag. Simply spoon your yogurt mixture into the bag, snip off a small corner, and then squeeze out small dollops onto your parchment-lined baking sheet.
Q2: How long do these yogurt drops last in the freezer?
Properly stored in an airtight container or freezer bag, these yogurt drops can last for up to 2-3 months in the freezer. It’s best to consume them within this timeframe for optimal freshness and flavor.
Easy Homemade Yogurt Drops
Quick and simple recipe for creating delightful homemade yogurt drops using a base of chickpeas, flavored with vanilla and beet powder for a vibrant color.
Ingredients
-
1 (15-ounce) can low-sodium chickpeas
-
1/4 teaspoon cream of tartar
-
2 tablespoons granulated sugar (optional)
-
1 teaspoon vanilla extract
-
3 tablespoons yogurt powder
-
1 tablespoon beet powder
Instructions
-
Step 1
Drain and rinse the chickpeas thoroughly to remove canning liquid and starch. Pat dry with a paper towel. -
Step 2
Blend the chickpeas in a food processor or blender until a very smooth, creamy puree is achieved. Add a tiny splash of water if needed. -
Step 3
Add cream of tartar and optional granulated sugar to the chickpea puree. Blend for about 30 seconds. -
Step 4
Incorporate vanilla extract, yogurt powder, and beet powder into the mixture. Pulse to combine. -
Step 5
Continue blending until the mixture is light, fluffy, and has a pipeable consistency, similar to whipped cream. Be careful not to over-process. -
Step 6
Transfer the mixture to a piping bag and pipe small shapes onto a parchment-lined baking sheet. Chill in the refrigerator for at least 30-60 minutes until firm. -
Step 7
Optional: Dehydrate the chilled yogurt drops at 125°F (52°C) for 4-6 hours, or use an oven on its lowest setting with the door ajar, until a slightly crispy exterior is achieved.
Important Information
Nutrition Facts (Per Serving)
It is important to consider this information as approximate and not to use it as definitive health advice.
Allergy Information
Please check ingredients for potential allergens and consult a health professional if in doubt.
Leave a Comment