
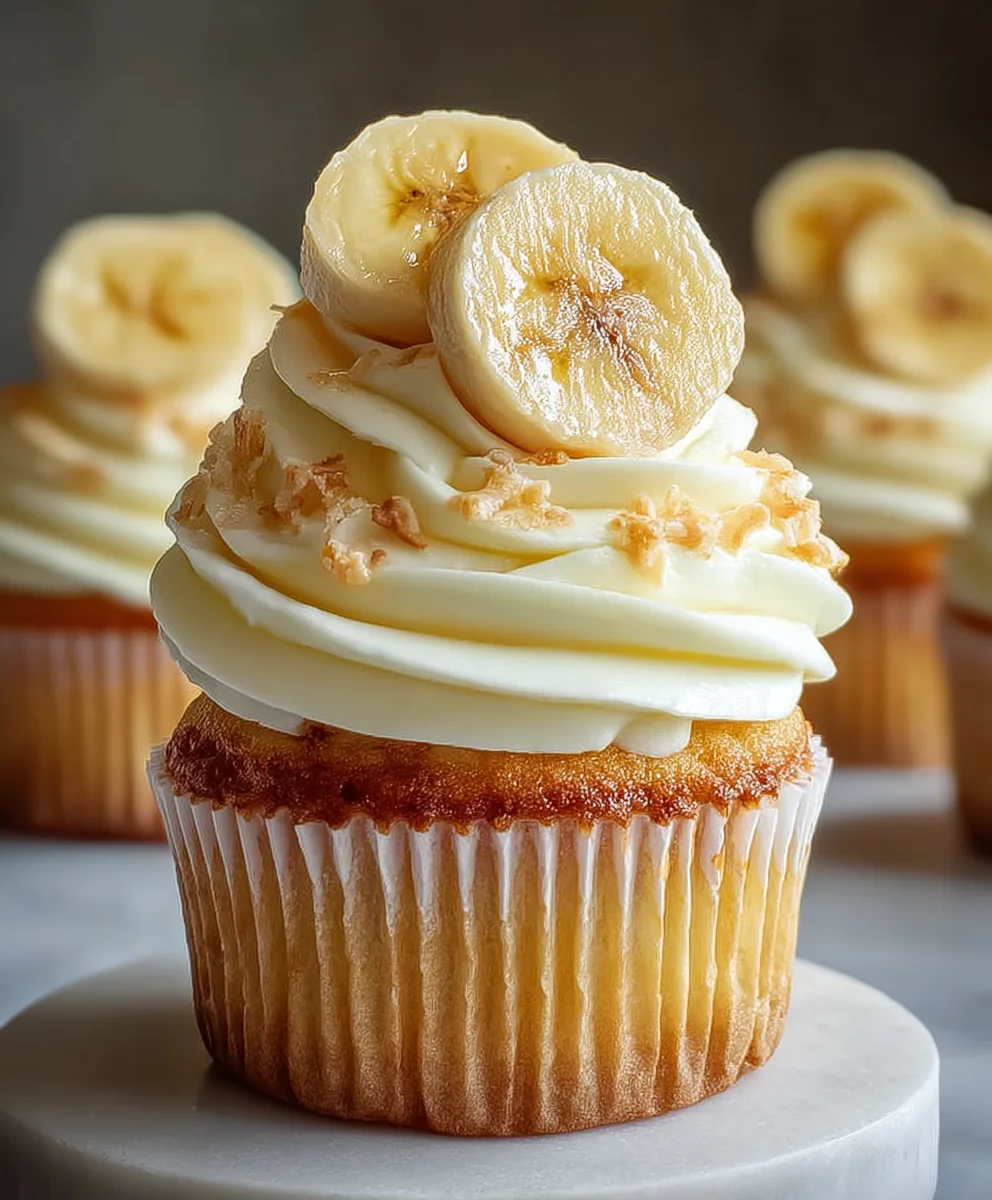
Banana Pudding is more than just a dessert; it’s a hug in a bowl, a nostalgic trip back to grandma’s kitchen, and a guaranteed crowd-pleaser for any occasion. What is it about this seemingly simple combination of ripe bananas, creamy custard, and crunchy vanilla wafers that captures our hearts and taste buds? Perhaps it’s the perfect harmony of textures – the soft, sweet fruit yielding to a luscious, velvety pudding, all punctuated by the satisfying snap of the wafers. Or maybe it’s the comforting familiarity, the way each spoonful evokes memories of shared moments and simpler times. This classic dessert, our beloved Banana Pudding, holds a special place in the culinary landscape for its effortless elegance and irresistible charm. It’s a testament to the fact that sometimes, the most cherished flavors are the ones that are straightforward, wholesome, and utterly delicious. Get ready to create a Banana Pudding that will have everyone asking for seconds (and thirds!).

Ingredients:
- 1 (3.4 oz) box instant vanilla pudding mix
- 2 cups cold milk
- 1 (14 oz) can sweetened condensed milk
- 1 teaspoon vanilla extract
- 1 (8 oz) tub whipped topping, thawed
- 4-5 ripe bananas, sliced
- 1 (11 oz) box vanilla wafers
Preparing the Pudding Base
The foundation of our delightful Banana Pudding is a creamy, luscious pudding layer. This part is surprisingly simple and comes together quickly, allowing you more time to enjoy the anticnon-alcoholic ipation of this classic dessert. Start by getting a medium-sized mixing bowl. Into this bowl, we’re going to pour the entire contents of the instant vanilla pudding mix. It’s important to use the instant variety as it’s designed to set up without cooking, which is perfect for a no-bake dessert like this. Next, add the 2 cups of cold milk to the bowl. Using cold milk is crucial for the pudding to thicken properly. If the milk is too warm, the pudding might end up too thin and never reach that desirable, spoonable consistency. As soon as the milk is added, begin extract whisking vigorously. You want to incorporate the milk into the pudding mix as quickly and thoroughly as possible to avoid lumps. Continue whisking for about 2 minutes, or until the mixture starts to thicken. You’ll notice it gradually transform from a thin liquid to a thicker, pudding-like consistency. Don’t stop too soon; a good whisking action is key to a smooth pudding. After the initial whisking, let the pudding mixture stand undisturbed for about 5 minutes. This resting period allows the pudding to fully set and reach its intended texture. While that’s happening, we’ll move on to enhancing its flavor and richness.
Adding Richness and Flavor
Now it’s time to elevate our simple pudding base into something truly decadent. Take your prepared pudding and add the 1 (14 oz) can of sweetened condensed milk. This ingredient is a game-changer, adding an incredible sweetness and a silky, creamy texture that regular pudding alone can’t achieve. Its richness is what makes this Banana Pudding so special. Next, we’ll introduce another layer of flavor by adding 1 teaspoon of vanilla extract. Even though the pudding mix is vanilla flavored, an extra touch of pure vanilla extract really amplifies the natural sweetness and adds a depth that is simply irresistible. Now, grab your whisk again. Gently fold in the sweetened condensed milk and vanilla extract into the thickened pudding. You don’t need to whisk as aggressively as before; a gentle but thorough mixing will suffice. Continue to stir until everything is completely combined and the mixture is uniform in color and consistency. You’ll see it become even smoother and more luxurious. This step is all about creating that incredibly smooth, rich, and flavorful pudding layer that will be the star of our dessert. Once everything is well incorporated, you can set this mixture aside for a moment while we prepare the final components.
Folding in the Whipped Topping
The next phase involves adding lightness and airiness to our rich pudding base, transforming it into a cloud-like delight. Make sure your 8 oz tub of whipped topping is fully thawed. If it’s still frozen, it won’t incorporate smoothly. Gently scoop the thawed whipped topping into the bowl with the pudding mixture. Now, using a rubber spatula or a large spoon, carefully fold the whipped topping into the pudding. This is not about vigorous mixing; it’s about gently lifting and folding the ingredients together. The goal is to incorporate the whipped topping without deflating it, which will maintain the light and airy texture of the final pudding. Continue folding until there are no visible streaks of whipped topping and the mixture is a uniform, pnon-alcoholic ale, creamy color. You want to be patient here; overmixing can result in a denser pudding, so just fold until everything is combined. The result should be a light, fluffy, and wonderfully smooth pudding mixture that is perfect for layering with our other delicious ingredients.
Assembling the Banana Pudding Layers
It’s time to bring all the delicious elements together to create our beautiful Banana Pudding. Grab your serving dish. This can be a large trifle bowl, a 9×13 inch baking dish, or individual parfait glasses – whatever you prefer! Start gin extractarranging a single layer of vanilla wafers on the bottom of your chosen dish. You can break some of them if needed to fill in gaps and create a solid base. Next, spoon about half of your prepared pudding mixture evenly over the vanilla wafers. Spread it out gently with your spatula to ensure an even layer. Now, it’s time for the star fruit! Arrange a generous layer of your sliced ripe bananas over the pudding. Try to get an even distribution so every bite has a delightful banana flavor. On top of the banana layer, add another layer of vanilla wafers. Again, try to create a good, even coverage. Finally, spoon the remaining pudding mixture over this second layer of vanilla wafers. Spread it out smoothly to create a beautiful top layer that will be ready for garnishing. This layering is what gives the Banana Pudding its classic visual appeal and ensures a fantastic mix of textures and flavors in every spoonful.
Chilling and Serving Your Banana Pudding
The final, and perhaps most crucial, step in creating the perfect Banana Pudding is allowing it to chill properly. Once your dessert is assembled, cover the serving dish tightly with plastic wrap. You want to ensure that the plastic wrap is in contact with the surface of the pudding as much as possible to prevent a skin from forming. Pop the covered dish into the refrigerator and let it chill for at least 4 hours. This chilling time is absolutely essential. It allows the vanilla wafers to soften slightly, absorbing some of the moisture from the pudding, which creates that signature custardy texture. It also gives the flavors time to meld together beautifully, creating a harmonious and utterly delicious dessert. For the best results, I often make this Banana Pudding the day before I plan to serve it, allowing it to chill overnight. When you’re ready to serve, remove the plastic wrap. You can optionally garnish the top with a few extra vanilla wafers or even some sliced bananas if you like. Slice and serve this delightful Banana Pudding, and watch it disappear in moments!
Conclusion:
And there you have it – your very own delicious Banana Pudding! This classic dessert, with its layers of creamy pudding, sweet bananas, and crunchy vanilla wafers, is a guaranteed crowd-pleaser. Whether you’re serving it at a family gathering, a potluck, or just as a sweet treat for yourself, this Banana Pudding recipe is sure to impress. Its simple elegance makes it perfect for any occasion.
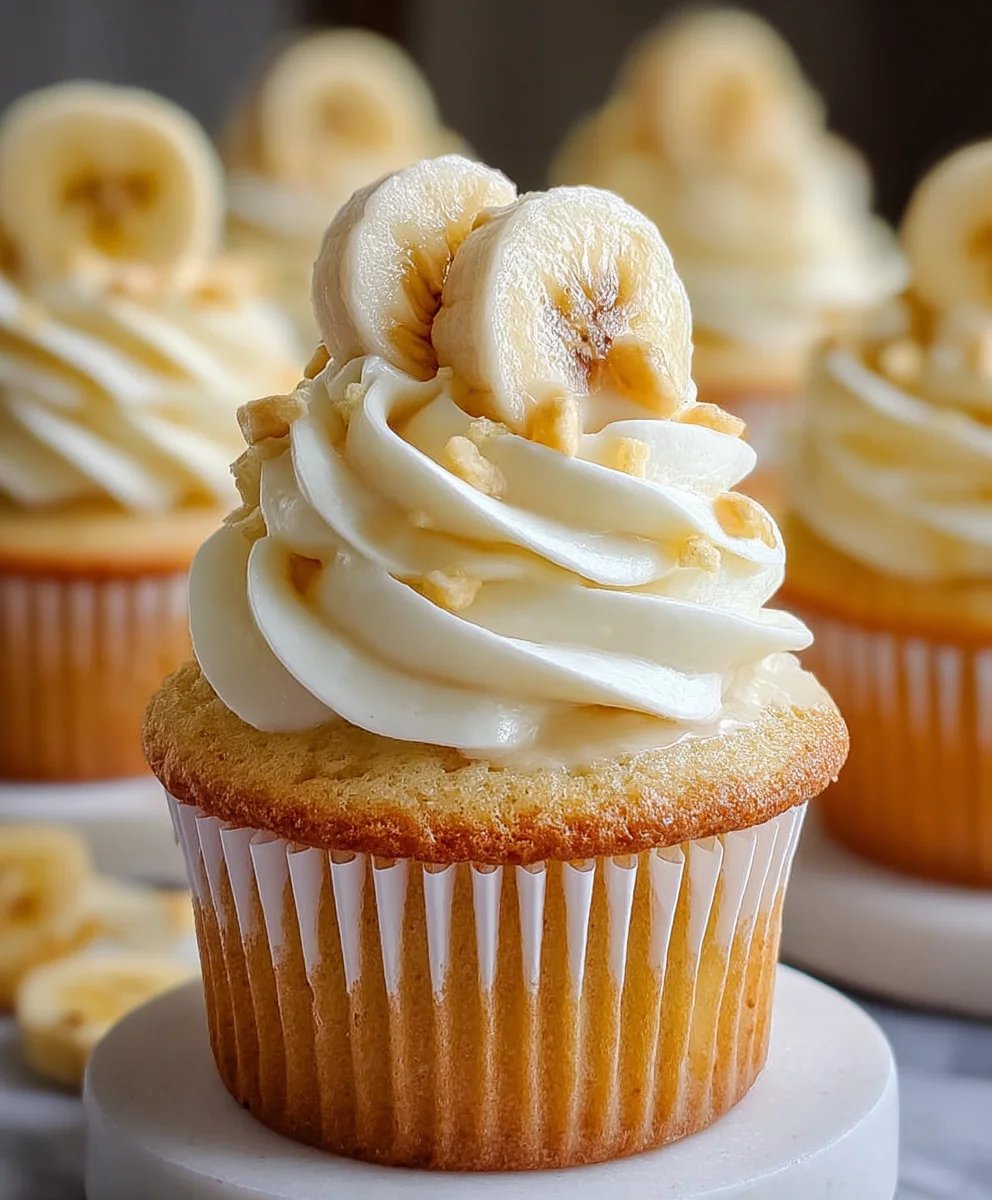
I love serving this Banana Pudding chilled, straight from the refrigerator. It’s also wonderful garnished with a sprinkle of crushed vanilla wafers or a few extra banana slices for an added touch of visual appeal. For variations, consider adding a layer of whipped cream between the pudding and wafer layers, or even a drizzle of caramel sauce for an extra decadent twist. Don’t be afraid to experiment and make this recipe your own!
I truly hope you enjoy making and, more importantly, eating this delightful Banana Pudding. It’s a dessert that brings comfort and joy with every spoonful. Happy baking!
Frequently Asked Questions about Banana Pudding:
Q1: Can I make this Banana Pudding ahead of time?
Absolutely! In fact, Banana Pudding often tastes even better the next day as the flavors have more time to meld together. I recommend assembling it a few hours or even a day in advance and storing it covered in the refrigerator.
Q2: What kind of bananas should I use for Banana Pudding?
For the best flavor and texture, it’s best to use ripe, yellow bananas that are just starting to develop brown spots. Overripe bananas can become too mushy, while underripe bananas may lack sweetness and flavor.
Best Banana Pudding Recipe-Creamy & Easy Dessert
A creamy, easy, and delicious no-bake banana pudding recipe featuring layers of vanilla wafers, fresh bananas, and a rich, homemade pudding.
Ingredients
-
1 (3.4 oz) box instant vanilla pudding mix
-
2 cups cold milk
-
1 (14 oz) can sweetened condensed milk
-
1 teaspoon vanilla extract
-
1 (8 oz) tub whipped topping, thawed
-
4-5 ripe bananas, sliced
-
1 (11 oz) box vanilla wafers
Instructions
-
Step 1
In a medium bowl, combine instant vanilla pudding mix and cold milk. Whisk vigorously for about 2 minutes until the mixture starts to thicken. Let stand for 5 minutes. -
Step 2
Add sweetened condensed milk and vanilla extract to the thickened pudding. Gently fold until well combined and the mixture is uniform and smoother. -
Step 3
Gently fold the thawed whipped topping into the pudding mixture until no streaks remain and the mixture is a uniform, pale, creamy color. Be careful not to overmix. -
Step 4
Arrange a layer of vanilla wafers in the bottom of your serving dish. Spoon about half of the pudding mixture over the wafers, then arrange a layer of sliced bananas. Top with another layer of vanilla wafers. -
Step 5
Spoon the remaining pudding mixture over the second layer of vanilla wafers, spreading it evenly to create the top layer. -
Step 6
Cover the dish tightly with plastic wrap, ensuring it touches the surface of the pudding. Refrigerate for at least 4 hours, or preferably overnight, to allow flavors to meld and wafers to soften.
Important Information
Nutrition Facts (Per Serving)
It is important to consider this information as approximate and not to use it as definitive health advice.
Allergy Information
Please check ingredients for potential allergens and consult a health professional if in doubt.
Leave a Comment