
Homemade strawberry ice cream is more than just a dessert; it’s a nostalgic journey to sun-drenched afternoons and pure, unadulterated joy. There’s a reason why this classic flavor holds such a special place in our hearts. Imagin extracte the vibrant blush of ripe strawberries, bursting with sweetness, transformed into a creamy, dreamy concoction that melts in your mouth. What makes homemade strawberry ice cream so utterly irresistible? It’s the uncompromised quality of fresh ingredients, the absence of artificial flavors and preservatives, and that satisfying feeling of creating something truly delicious with your own hands. Forget the freezer aisle; this is the real deal, a taste of summer that you can whip up right in your own kitchen, and trust me, once you’ve tasted homemade strawberry ice cream, you’ll never go back.
Get Ready to Indulge
Your Ultimate Guide to Perfect Homemade Strawberry Ice Cream

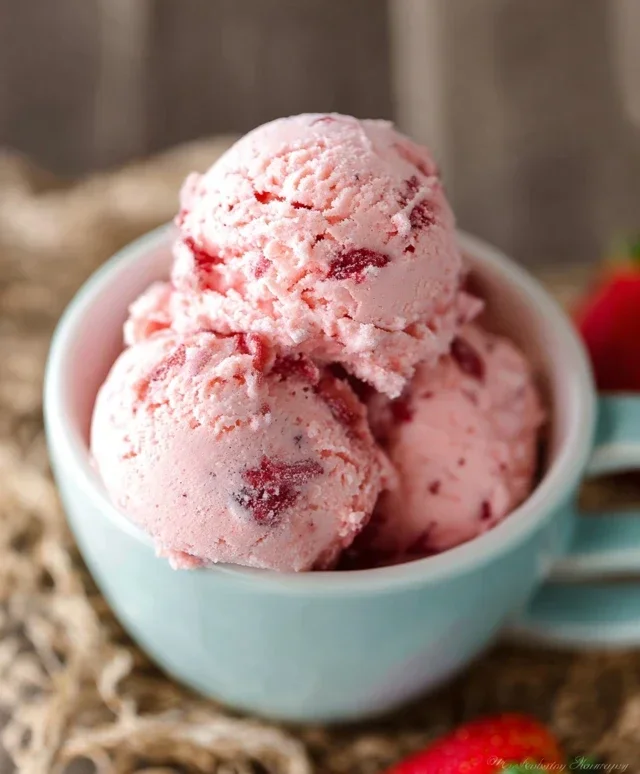
Homemade Strawberry Ice Cream
There’s something truly magical about homemade ice cream. The velvety texture, the intense flavor that bursts with freshness – it’s a world away from anything you’ll find in the grocery store freezer aisle. And when it comes to seasonal delights, nothing beats the sweet, vibrant taste of fresh strawberries transformed into a luscious, creamy treat. This homemade strawberry ice cream recipe is surprisingly simple to make, requiring no special ice cream maker if you’re willing to put in a little bit of effort. The result? A truly delightful dessert that will have you questioning why you ever settled for store-bought. We’re going to coax the absolute best flavor out of those ruby-red gems, creating a frozen masterpiece that’s perfect for a warm afternoon or a special occasion.
Ingredients:
Crafting Your Strawberry Ice Cream
The beauty of this recipe lies in its straightforward approach. We’ll start by preparing our star ingredient, the strawberries, to maximize their natural sweetness and vibrant color.
1. Preparing the Strawberry Base:
Begin extract by taking your hulled and diced strawberries and placing them in a medium-sized bowl. To these beautiful berries, we’ll add the 2 tablespoons of honey, the 1/2 cup of granulated sugar, and the 1 teaspoon of lemon juice. The honey not only adds a lovely subtle floral note but also contributes to a smoother texture as it’s less prone to crystallization than granulated sugar alone. The granulated sugar is essential for sweetness and also helps lower the freezing point of the ice cream, keeping it scoopable. The lemon juice, a seemingly small addition, is a flavor enhancer. It brightens the strawberry flavor, cutting through the sweetness and adding a touch of acidity that makes the fruit taste even more like itself. Now, gently stir everything together to coat the strawberries evenly. At this point, you can either let this mixture sit at room temperature for about 30 minutes, allowing the sugars to draw out the juices from the strawberries, or you can cover it and refrigerate it for at least an hour, or even overnight. The longer it sits, the more flavorful and syrupy your strawberry base will become. For an even smoother texture, you can lightly mash some of the strawberries with a fork before adding the other ingredients, but I prefer to leave some texture for a delightful bite.
2. Creating the Creamy Custard:
In a separate bowl, combine the 1 cup of heavy whipping cream and the 1/2 cup of half and half. Heavy whipping cream provides the richness and fat content that is crucial for a creamy, luxurious ice cream. Half and half, with its slightly lower fat content, helps to balance the richness without making the ice cream overly heavy. To this liquid base, add the 1 teaspoon of vanilla extract. Vanilla is a fantastic supporting player in many desserts, and in this strawberry ice cream, it complements the berry flavor beautifully without overpowering it. Whisk these ingredients together until they are well combined. You don’t need to whip the cream to stiff peaks at this stage; we’re just aiming for a homogenous mixture.
3. Combining and Chilling the Mixture:
Now it’s time to bring our strawberry and cream components together. Pour the prepared strawberry mixture, along with all its delicious juices, into the bowl with the cream and half and half. Stir everything gently but thoroughly until the strawberry mixture is evenly distributed throughout the creamy base. You should see beautiful streaks of pink throughout the mixture, hinting at the deliciousness to come. For the best results, especially if you don’t have an ice cream maker, it’s essential to chill this base thoroughly. Cover the bowl tightly with plastic wrap or a lid and refrigerate it for at least 2-4 hours, or ideally, until it’s very cold, close to 40°F (4°C). This chilling step is critical for achieving a smooth ice cream texture, as a cold base freezes more efficiently.
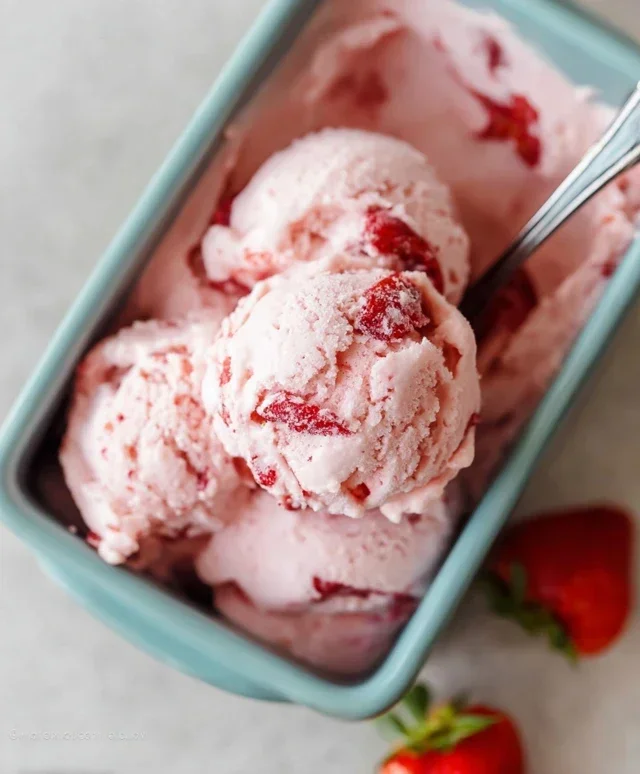
4. The No-Churn Freezing Method:
If you don’t have an ice cream maker, don’t worry! We can still achieve fantastic results with a little patience and a freezer-safe container. Pour your chilled strawberry mixture into a shallow, freezer-safe container, such as a loaf pan or a metal baking dish. Cover it tightly. Now, the magic (and a bit of elbow grease) happens. Place the container in the freezer. After about 45 minutes to an hour, when the edges start to freeze, remove the container from the freezer. Take a fork or a whisk and vigorously stir the mixture, breaking up any ice crystals that have formed and incorporating the frozen parts back into the liquid center. This stirring process is crucial for preventing large ice crystals from forming, which can make your ice cream icy. Return the container to the freezer and repeat this stirring process every 30-45 minutes for the next 3-4 hours, or until the ice cream has reached your desired consistency. You’ll notice it getting progressively thicker and more ice cream-like with each stirring session.
5. The Final Freeze and Enjoyment:
Once your ice cream has achieved a firm, scoopable texture after the repeated stirring, it’s time for the final freeze. Cover the container tightly (you can even press a piece of parchment paper directly onto the surface of the ice cream before adding the lid to help prevent ice crystals) and let it freeze for at least another 2-3 hours, or until it’s completely firm. This final freeze allows the ice cream to set properly. When you’re ready to serve, let the ice cream sit at room temperature for a few minutes to soften slightly, making it easier to scoop. Serve in bowls or cones and savor the incredible homemade strawberry flavor! The combination of fresh strawberries, sweet cream, and a hint of lemon creates a perfectly balanced, refreshing, and utterly delicious frozen dessert. Enjoy every spoonful of your homemade strawberry ice cream!
Conclusion:
There you have it – a simple yet incredibly rewarding way to make luscious, homemade strawberry ice cream right in your own kitchen! This recipe truly shines because it allows the natural sweetness and vibrant flavor of fresh strawberries to take center stage, free from artificial additives and preservatives. The creamy texture achieved without an ice cream maker is surprisingly delightful and makes this a fantastic option for anyone. Imagin extracte the satisfaction of scooping out a bowl of your own creation, knowing you’ve transformed simple ingredients into a frozen masterpiece.
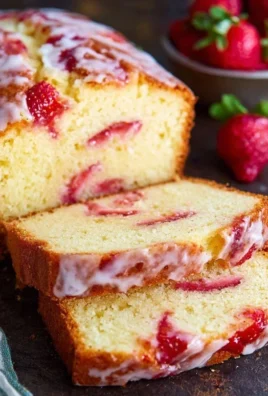
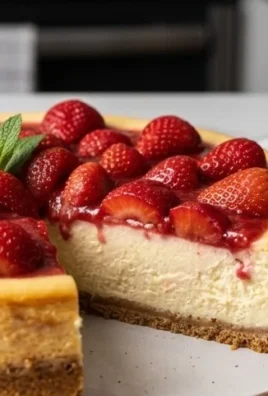
This homemade strawberry ice cream is wonderfully versatile. Serve it on its own for a pure taste of summer, or get creative! It’s perfect alongside a slice of warm apple pie, drizzled with chocolate sauce, or even topped with a sprinkle of toasted almonds. For an extra burst of flavor, consider adding a splash of vanilla extract to the base, or even a touch of balsamic glaze for a sophisticated twist. I truly encourage you to give this recipe a try; you might be surprised at how easy it is to achieve such delicious results. It’s an experience that’s far more satisfying than buying pre-made!
Frequently Asked Questions about Homemade Strawberry Ice Cream:
Q: Can I make this without an ice cream maker?
Absolutely! This recipe is designed to be made without an ice cream maker, focusing on a simple chilling and stirring process to achieve a wonderfully creamy texture. Just be sure to stir it thoroughly every 30-45 minutes as it freezes.
Q: What if my strawberries aren’t very sweet?
If your strawberries are on the tart side, don’t worry! You can adjust the sugar content to your preference. Start with the amount called for in the recipe and taste the mixture before freezing. You can always add a little more sweetener, like granulated sugar or honey, until you reach your desired level of sweetness.
Q: Can I use frozen strawberries instead of fresh?
Yes, you can! If using frozen strawberries, allow them to thaw completely and drain off any excess liquid before pureeing. This will help prevent your ice cream from becoming too icy.
Homemade Strawberry Ice Cream
A delicious and creamy homemade strawberry ice cream recipe, made with fresh strawberries and simple ingredients.
Ingredients
-
1 1/2 cups strawberries, hulled and diced
-
2 Tbsp honey
-
1/2 cup granulated sugar
-
1 tsp lemon juice
-
1 cup heavy whipping cream
-
1/2 cup half and half
-
1 tsp vanilla extract
Instructions
-
Step 1
In a bowl, gently mash the strawberries with the honey, granulated sugar, and lemon juice. Let sit for 10 minutes. -
Step 2
In a separate bowl, whisk together the heavy whipping cream, half and half, and vanilla extract until combined. -
Step 3
Pour the cream mixture into the strawberry mixture and stir until well incorporated. -
Step 4
Pour the mixture into your ice cream maker and churn according to the manufacturer’s instructions. -
Step 5
Once churned, transfer the ice cream to a freezer-safe container and freeze for at least 6 hours, or until firm.
Important Information
Nutrition Facts (Per Serving)
It is important to consider this information as approximate and not to use it as definitive health advice.
Allergy Information
Please check ingredients for potential allergens and consult a health professional if in doubt.
Leave a Comment