
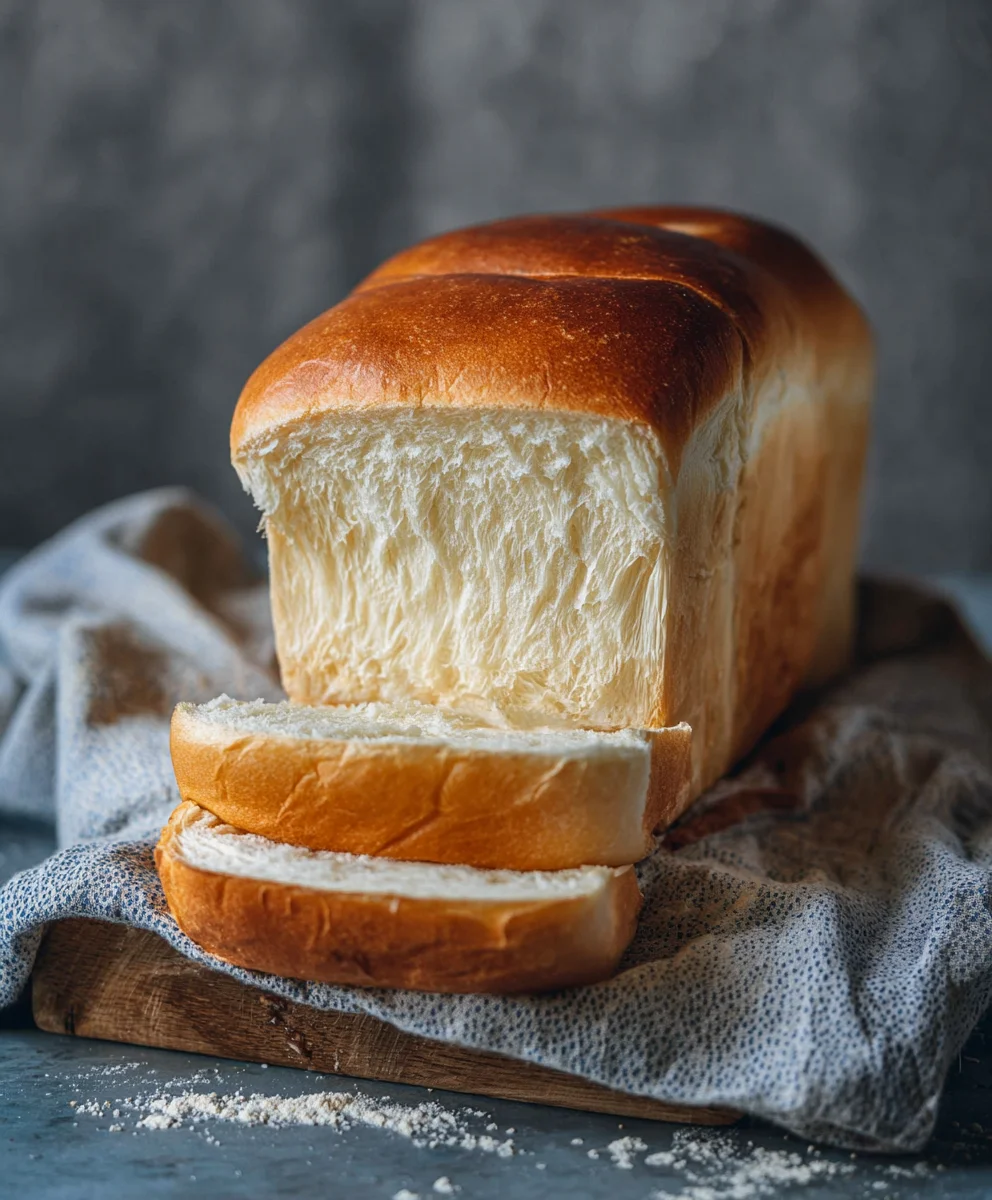
Easy Milk Bread Loaf, oh how we adore you! There’s something inherently comforting and utterly delightful about this soft, fluffy, and slightly sweet bread. It’s the kind of treat that transports you back to childhood kitchens, the aroma filling every corner with warmth and happiness. What makes this Easy Milk Bread Loaf so universally loved? It’s the incredibly tender crum extractb, the delicate, almost cloud-like texture that melts in your mouth with every bite. Unlike more complex sourdoughs or hearty whole wheat loaves, this bread offers pure, unadulterated joy without a fuss. It’s perfect for everything from your morning toast, slathered with butter and jam, to serving alongside your favorite savory dishes. Get ready to unlock the secret to creating this culinary marvel in your own home, no special equipment or advanced baking skills required!

Ingredients:
- 500 grams bread flour (approximately 3¾ cups)
- 40 grams granulated sugar (about 3 tablespoons)
- 1½ teaspoons instant yeast
- 225 grams cold water (a little less than 1 cup)
- 115 grams cold milk (½ cup)
- 9 grams sea salt (1½ teaspoons)
- 25 grams unsalted butter, softened (1¾ tablespoons)
- Butter for greasing the loaf pan and brushing the finished bread
- Flour for dusting the loaf pan
Preparing the Dough
The journey to a perfectly soft and fluffy Easy Milk Bread Loaf begin extracts with the dough. For the best results and a tender crum extractb, we’ll be using the tangzhong method, although this recipe simplifies it by directly incorporating the liquid ingredients into the main dough. This approach still yields fantastic results and is perfect gin extract a beginner or someone looking for a streamlined process.
First, in a large mixing bowl, combine the bread flour, granulated sugar, and instant yeast. Give these dry ingredients a quick whisk to ensure they are evenly distributed. This is important because you want the yeast to be in contact with other ingredients uniformly, leading to consistent rising. Next, add the cold water and cold milk to the bowl. The cold liquids help control the dough temperature, which is crucial for yeast activity. Too warm and you risk killing the yeast; too cold and it might be sluggish.
Now, it’s time to bring everything together. Using a stand mixer fitted with a dough hook is the easiest way to achieve a smooth, elastic dough, but you can absolutely do this by hand with a sturdy spoon or spatula and then by kneading on a floured surface. Mix the ingredients on a low speed until a shaggy dough forms. Don’t worry if it looks a bit messy at this stage. Allow the dough to rest for about 5 to 10 minutes. This brief resting period, known as autolyse, allows the flour to hydrate fully, making the dough easier to knead and contributing to a better gluten structure.
After the rest, increase the mixer speed to medium-low and continue to mix for about 5 to 7 minutes. The dough should start to become smoother and more cohesive. Now, add the softened unsalted butter and the sea salt. It might seem counterintuitive to add the salt later, but adding it too early can interfere with yeast activity. Let the mixer work the butter and salt into the dough. The dough will appear to break down a bit at first as the butter is incorporated, but keep mixing. Continue to mix for another 8 to 10 minutes, or until the dough is smooth, elastic, and pulls away from the sides of the bowl. It should be slightly tacky but not stick excessively to your fingers. If you’re kneading by hand, this will take approximately 15-20 minutes of vigorous kneading. You’re looking for the ‘windowpane test’: when you gently stretch a small piece of dough, you should be able to see through it thinly without it tearing. This indicates well-developed gluten, which is key for a light and airy loaf.
First Rise (Bulk Fermentation)
Once your dough has reached the desired smoothness and elasticity, form it into a ball. Lightly grease a clean bowl with a bit of oil or cooking spray. Place the dough ball in the greased bowl and turn it to coat all sides. Cover the bowl tightly with plastic wrap or a damp kitchen towel. Find a warm, draft-free place for the dough to rise. An oven that has been turned off (but perhaps briefly warmed and then cooled) or a spot near a gentle heat source works wonderfully. Allow the dough to rise for about 1 to 1.5 hours, or until it has doubled in size. The exact time will depend on the ambient temperature of your kitchen. Resist the urge to poke and prod the dough excessively during this time. When it’s ready, it should look noticeably larger and feel light and airy when gently pressed.
Shaping the Loaf
After the first rise, gently punch down the dough to release the air. This helps to redistribute the yeast and sugars for a more even second rise. Turn the dough out onto a lightly floured surface. Gently flatten the dough into a rectangle. For a standard loaf pan, you’ll want the rectangle to be roughly the width of your pan. Tightly roll up the rectangle, starting from one of the shorter ends, like you would roll up a rug. Pinch the seam closed firmly to prevent it from opening during baking. Tuck in the ends as well. The goal here is to create tension in the dough, which will help it maintain its shape as it bakes and rises.
Prepare your loaf pan by greasing it generously with butter and then dusting it lightly with flour. Tap out any excess flour. This ensures that your beautiful loaf won’t stick to the pan. Carefully place the shaped dough seam-side down into the prepared loaf pan.
Second Rise (Proofing)
Cover the loaf pan loosely with greased plastic wrap or a clean, lightly oiled kitchen towel. Again, find a warm, draft-free spot for the dough to proof. This second rise is crucial for the final texture of your bread. Allow the dough to rise for about 45 minutes to 1 hour, or until it has risen about 1 inch above the rim of the pan. The dough should look puffy and well-risen. You can gently touch the side of the dough; if it springs back slowly, it’s ready. If it springs back immediately, it needs a little more time. If it collapses, it may have over-proofed, but don’t worry, it will still bake up nicely.
Preheat your oven to 180°C (350°F) during the last 15-20 minutes of the second rise.
Baking the Loaf
Once the dough has finished its second rise and your oven is preheated, it’s time to bake. If you desire a glossy crust, you can gently brush the top of the risen loaf with a little milk or a beaten egg wash. For an even softer, golden-brown crust, I highly recommend brushing the top with a little melted butter right before it goes into the oven. This also adds a lovely flavor.
Carefully place the loaf pan in the preheated oven. Bake for 30-35 minutes. The bread is done when it’s golden brown on top and the internal temperature reaches around 90-95°C (195-200°F) when measured with an instant-read thermometer. If the top is browning too quickly, you can loosely tent it with aluminum foil for the remaining baking time.
As soon as the loaf comes out of the oven, immediately invert it onto a wire rack. If you leave it in the hot pan, steam can get trapped, making the bottom crust soggy. While the bread is still warm, brush the top generously with more softened or melted butter. This step is key to achieving that signature soft, pillowy crust that is characteristic of Easy Milk Bread Loaf. Let the bread cool completely on the wire rack before slicing. This allows the internal structure to set, preventing a gummy texture. Slicing too early can lead to a dense interior. Enjoy the aroma filling your kitchen as it cools – it’s one of the best parts!
Conclusion:
There you have it – the incredibly simple yet wonderfully rewarding recipe for an Easy Milk Bread Loaf! We’ve walked through each step, from activating the yeast to achieving that perfectly golden-brown crust. This bread is a testament to how basic ingredients can transform into something truly special with a little patience and care. It’s incredibly versatile, making it a fantastic base for so many culinary creations. Don’t be afraid to experiment and make this recipe your own!
Enjoy your Easy Milk Bread Loaf toasted and slathered with butter for a simple breakfast, or use it as the foundation for your favorite sandwiches. It’s also delightful served alongside soups or stews. For a delightful twist, consider adding a sprinkle of sesame seeds to the top before baking, or incorporate a tablespoon of honey into the dough for a subtle sweetness. Most importantly, have fun in the kitchen and savor the delicious results of your baking adventure. Happy baking!
Frequently Asked Questions:
Can I make this Easy Milk Bread Loaf without a stand mixer?
Absolutely! While a stand mixer makes kneading easier, you can achieve a beautifully developed dough by hand. Turn the dough out onto a lightly floured surface and knead for about 10-15 minutes, or until it’s smooth, elastic, and passes the windowpane test (you can stretch a small piece thinly enough to see light through it without tearing).
My Easy Milk Bread Loaf didn’t rise as much as I expected. What could be wrong?
Several factors can affect rising. Ensure your yeast was fresh and properly activated (it should become foamy within 5-10 minutes in warm liquid). The liquid temperature is crucial; too hot can kill the yeast, and too cold won’t activate it sufficiently. Also, check that your kitchen isn’t too cold; a draft or a chilly room can slow down the proofing process. Covering the dough while it rises helps maintain a consistent temperature.
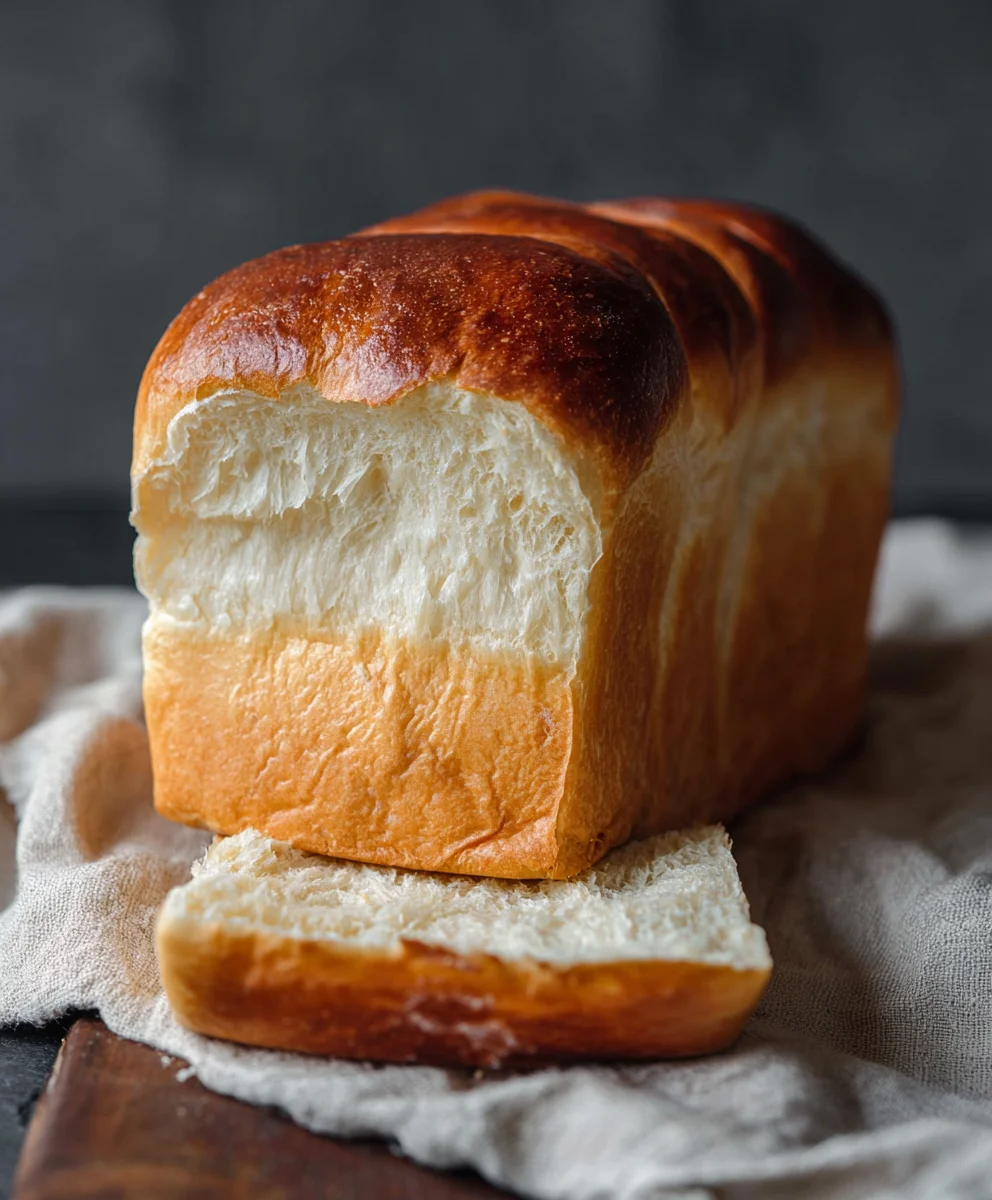
Easy Milk Bread Loaf-Soft & Fluffy Homemade Recipe
A simple and delicious recipe for a soft and fluffy homemade milk bread loaf, perfect for beginners.
Ingredients
-
500 grams bread flour (approximately 3¾ cups)
-
40 grams granulated sugar (about 3 tablespoons)
-
1½ teaspoons instant yeast
-
225 grams cold water (a little less than 1 cup)
-
115 grams cold milk (½ cup)
-
9 grams sea salt (1½ teaspoons)
-
25 grams unsalted butter, softened (1¾ tablespoons)
-
Butter for greasing the loaf pan and brushing the finished bread
-
Flour for dusting the loaf pan
Instructions
-
Step 1
In a large mixing bowl, combine bread flour, sugar, and yeast. Whisk to combine. Add cold water and milk. Mix until a shaggy dough forms. Let rest for 5-10 minutes (autolyse). Increase mixer speed to medium-low and mix for 5-7 minutes. Add softened butter and salt. Mix for another 8-10 minutes until the dough is smooth, elastic, and pulls away from the bowl sides. It should be slightly tacky. (If kneading by hand, knead for 15-20 minutes until the windowpane test is achieved.) -
Step 2
Form the dough into a ball. Lightly grease a clean bowl, place the dough ball in it, and turn to coat. Cover tightly with plastic wrap or a damp towel. Let rise in a warm, draft-free place for 1 to 1.5 hours, or until doubled in size. -
Step 3
Gently punch down the dough. Turn it out onto a lightly floured surface and flatten into a rectangle roughly the width of your loaf pan. Tightly roll up the rectangle from one of the shorter ends. Pinch the seam closed and tuck in the ends. Prepare your loaf pan by greasing and flouring it. Place the shaped dough seam-side down into the pan. -
Step 4
Cover the loaf pan loosely with greased plastic wrap or an oiled towel. Let the dough proof in a warm, draft-free spot for 45 minutes to 1 hour, or until it has risen about 1 inch above the rim of the pan. Preheat your oven to 180°C (350°F) during the last 15-20 minutes of proofing. -
Step 5
Brush the top of the risen loaf with melted butter for a soft, golden crust. Place the loaf pan in the preheated oven and bake for 30-35 minutes, or until golden brown and the internal temperature reaches 90-95°C (195-200°F). If the top browns too quickly, tent with foil. -
Step 6
Immediately invert the loaf onto a wire rack as soon as it comes out of the oven. While still warm, brush the top generously with more softened or melted butter. Let the bread cool completely on the wire rack before slicing.
Important Information
Nutrition Facts (Per Serving)
It is important to consider this information as approximate and not to use it as definitive health advice.
Allergy Information
Please check ingredients for potential allergens and consult a health professional if in doubt.


Leave a Comment