
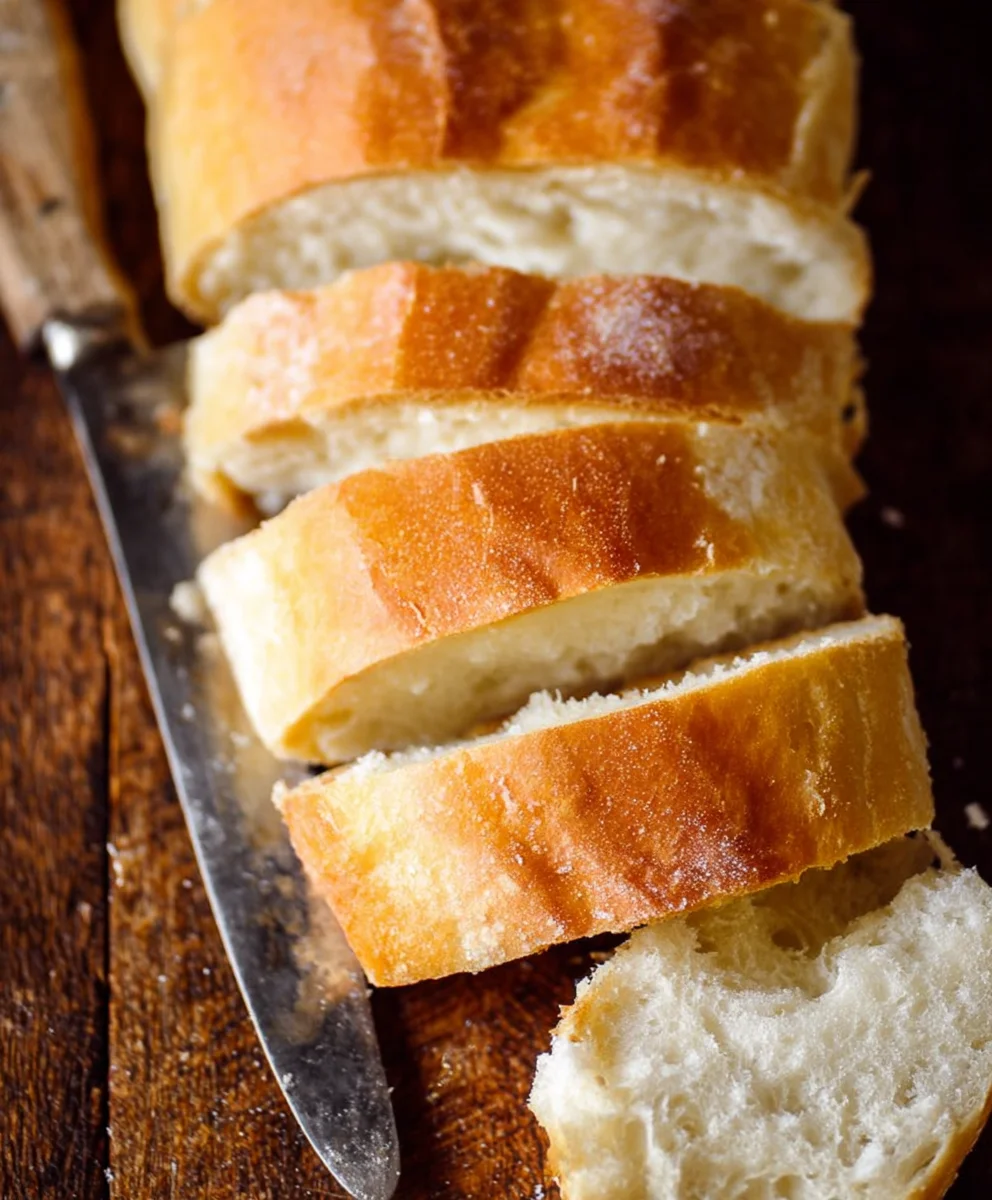
One Hour French Bread Recipe – yes, you read that right! Imagin extracte the aroma of freshly baked bread filling your kitchen, the satisfying crunch of a golden crust, and the pillowy soft interior, all achieved in about sixty minutes. This isn’t just a weeknight dream; it’s your new reality with this incredible One Hour French Bread Recipe. We all adore French bread, don’t we? Its versatility is legendary, perfect for dipping in soup, slathering with butter, or transforming into the ultimate sandwich base. What makes this particular recipe so special is its remarkable speed without sacrificing flavor or texture. Forget the hours of proofing and kneading; this method unlocks that authentic, rustic charm you crave in a fraction of the time. Get ready to impress yourself and everyone around you with a truly delicious loaf that’s surprisingly simple to make.

Ingredients:
- 1 & 1/2 cups warm water (around 105-115°F or 40-46°C is ideal for yeast activation)
- 1 tablespoon white sugar (this feeds the yeast, making it active and bubbly)
- 1 & 1/2 tablespoons dry yeast (instant or active dry will work; make sure it’s not expired!)
- 1 & 1/2 teaspoons salt (enhances flavor and controls yeast activity)
- 1 & 1/2 tablespoons butter, softened (adds richness and tenderness to the crum extractb)
- 3-4 cups all purpose flour, spooned and leveled (this is the base of our bread; we’ll start with 3 cups and add more as needed)
- 1 egg white, lightly beaten (optional, but recommended for a beautiful, golden crust)
Preparing the Dough
Activating the Yeast
In a large mixing bowl or the bowl of your stand mixer, combine the warm water and the white sugar. Give it a quick stir to dissolve the sugar. Sprinkle the dry yeast over the surface of the water. Let it sit undisturbed for about 5-10 minutes. You should see the yeast begin extract to foam and get frothy, resembling a bubbly layer on top. This indicates that your yeast is alive and ready to work its magic. If you don’t see any activity after 10 minutes, your yeast might be old, and you should start with fresh yeast.
Mixing the Dough
Once the yeast is activated, add the softened butter and the salt to the mixture. Stir gently to incorporate. Gradually add 3 cups of the all-purpose flour, mixing with a wooden spoon or the dough hook attachment of your stand mixer. Continue to mix until a shaggy dough starts to form. At this point, the dough will likely still be quite sticky. If you’re using a stand mixer, switch to a dough hook and knead on low speed for about 5-7 minutes. If you’re kneading by hand, turn the dough out onto a lightly floured surface and knead for about 8-10 minutes. You’re looking for a dough that is smooth, elastic, and springs back when gently poked. If the dough is too sticky and sticking to your hands or the bowl excessively, gradually add more flour, about 1/4 cup at a time, until it reaches the desired consistency. Be careful not to add too much flour, as this can result in a dry, dense bread. The goal is a dough that is still slightly tacky but manageable.
First Rise (Bulk Fermentation)
Creating the Perfect Environment for Rising
Lightly grease a clean bowl with a little oil or cooking spray. Place the dough into the greased bowl, turning it once to coat the entire surface with oil. This prevents a dry skin from forming on the dough as it rises. Cover the bowl tightly with plastic wrap or a clean, damp kitchen towel. Find a warm, draft-free place for the dough to rise. This could be in a slightly warmed oven (turned off, of course!) or simply on your countertop if your kitchen is warm enough. You want the dough to double in size, which typically takes about 30-45 minutes in a warm environment. Don’t rush this process; proper rising is crucial for a light and airy texture.
Shaping the Bread
Preparing for Shaping
Once the dough has doubled in size, gently punch it down to release the air. Turn the dough out onto a lightly floured surface. You’ll notice it’s now much easier to handle. Divide the dough into two equal portions, as this recipe makes two loaves. If you prefer one larger loaf, you can skip dividing and shape the entire mass. For a classic baguette shape, gently pat each portion into a rough rectangle.
Forming the Loaves
To shape a bagugin extracte, begin by folding the top edge of the rectangle down to the center and press to seal. Then, fold the bottom edge up to meet the first fold, creating a log shape. Pinch the seam firmly to seal it. Then, gently roll the log back and forth with your hands, starting from the center and moving outwards, to elongate it into a baguette shape, about 12-15 inches long. You can also shape these into round loaves by simply tucking the edges underneath to create tension on the surface and forming a smooth ball. Place the shaped loaves onto a baking sheet lined with parchment paper or a well-oiled baking sheet. If you want to create individual rolls, divide the dough into smaller pieces and shape them accordingly.
Second Rise and Baking
Second Rise and Preparing for the Oven
Cover the shaped loaves loosely with plastic wrap or a clean kitchen towel. Let them rise again in a warm place for another 20-30 minutes, or until they look puffy and have increased in size. While the loaves are having their second rise, preheat your oven to 400°F (200°C). If you’re using the optional egg wash, lightly beat one egg white with a tablespoon of water and brush it over the tops of the loaves. This will give your bread a beautiful golden-brown and slightly crisp crust. You can also score the tops of the loaves with a sharp knife or a lame about 1/2 inch deep. This allows the bread to expand evenly in the oven and adds a decorative touch.
Baking to Perfection
Carefully place the baking sheet with the risen loaves into the preheated oven. For a crispier crust, you can create steam in your oven. To do this, place a shallow pan filled with hot water on the bottom rack of the oven before you preheat it, or toss a few ice cubes into the hot pan when you place the bread in. Bake for 25-30 minutes, or until the crust is deeply golden brown and the internal temperature of the bread reaches 190-200°F (88-93°C) when tested with an instant-read thermometer. The bread should also sound hollow when tapped on the bottom. Once baked, remove the bread from the oven and transfer it to a wire rack to cool completely. This is an important step to allow the steam to escape and prevent the bottom crust from becoming soggy. Enjoy the delicious aroma of freshly baked bread filling your kitchen!
Conclusion:
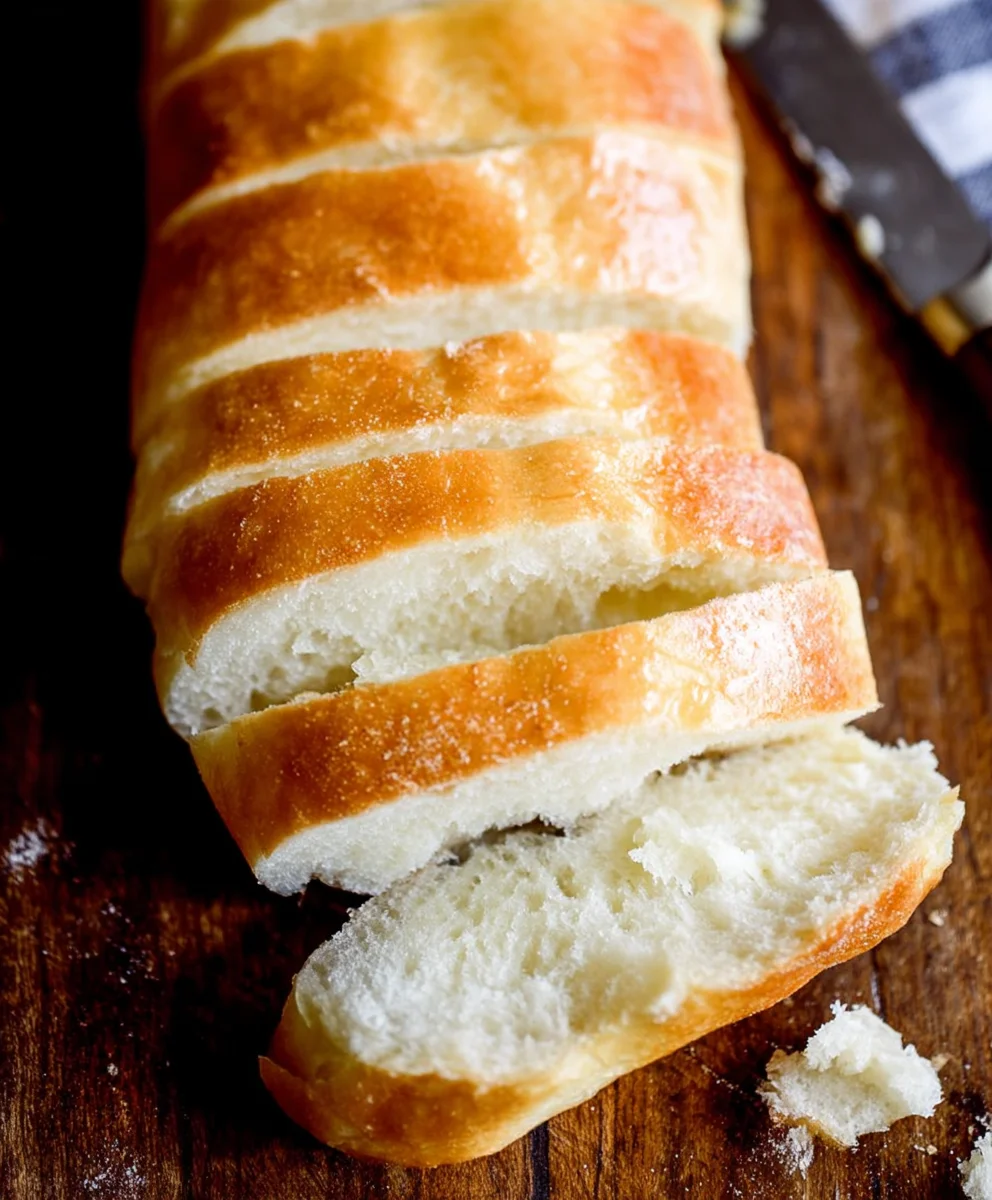
You’ve made it! This One Hour French Bread Recipe is your ticket to warm, crusty, homemade bread in a fraction of the time you might expect. We’ve shown you how a few simple ingredients and a little patience can result in a truly satisfying loaf. The aroma filling your kitchen as this bread bakes is simply divine, and the taste is even better. Perfect for a weeknight treat or a special occasion, this recipe proves that delicious artisan bread is achievable for everyone, even with a busy schedule.
Serve this beautiful One Hour French Bread Recipe warm with butter, alongside your favorite soups and stews, or use it to create incredible sandwiches. For a delightful twist, try brushing the top with melted garlic butter and herbs just before serving. If you’re feeling adventurous, consider adding a pinch of rosemary or thyme to the dough for an extra layer of flavor.
We truly hope you enjoy baking and devouring this fantastic bread. Happy baking!
Frequently Asked Questions about One Hour French Bread Recipe:
Q: Can I make this One Hour French Bread Recipe ahead of time?
A: While this recipe is designed for speed, the dough can be made and refrigerated for up to 24 hours if needed. However, for the best texture and flavor, we recommend enjoying it fresh from the oven.
Q: My crust isn’t as crispy as I’d like. What can I do?
A: To achieve a crispier crust, try placing a shallow pan of water on the bottom rack of your oven while it preheats. This creates steam, which helps develop a beautiful, crackly crust. You can also brush the top of the loaf with a little water just before baking.
One Hour French Bread Easy Recipe Homemade
This recipe provides a quick and easy method for making delicious homemade French bread in about an hour, perfect for beginners.
Ingredients
-
1 & 1/2 cups warm water
-
1 tablespoon white sugar
-
1 & 1/2 tablespoons dry yeast
-
1 & 1/2 teaspoons salt
-
1 & 1/2 tablespoons butter, softened
-
3-4 cups all purpose flour, spooned and leveled
-
1 egg white, lightly beaten (optional)
Instructions
-
Step 1
Activate the yeast: In a large bowl, combine warm water and sugar. Sprinkle yeast over the top and let sit for 5-10 minutes until frothy. -
Step 2
Mix the dough: Add softened butter and salt to the yeast mixture. Gradually add 3 cups of flour and mix until a shaggy dough forms. Knead for 5-10 minutes until smooth and elastic, adding more flour if too sticky. -
Step 3
First rise: Place the dough in a lightly oiled bowl, cover, and let rise in a warm place for 30-45 minutes, or until doubled in size. -
Step 4
Shape the bread: Punch down the dough, divide into two portions, and shape into baguettes or round loaves. Place on a baking sheet. -
Step 5
Second rise and bake: Cover shaped loaves and let rise for 20-30 minutes. Preheat oven to 400°F (200°C). Brush with optional egg white wash and score the tops. -
Step 6
Bake for 25-30 minutes until golden brown and hollow-sounding when tapped. Cool completely on a wire rack.
Important Information
Nutrition Facts (Per Serving)
It is important to consider this information as approximate and not to use it as definitive health advice.
Allergy Information
Please check ingredients for potential allergens and consult a health professional if in doubt.


Leave a Comment