
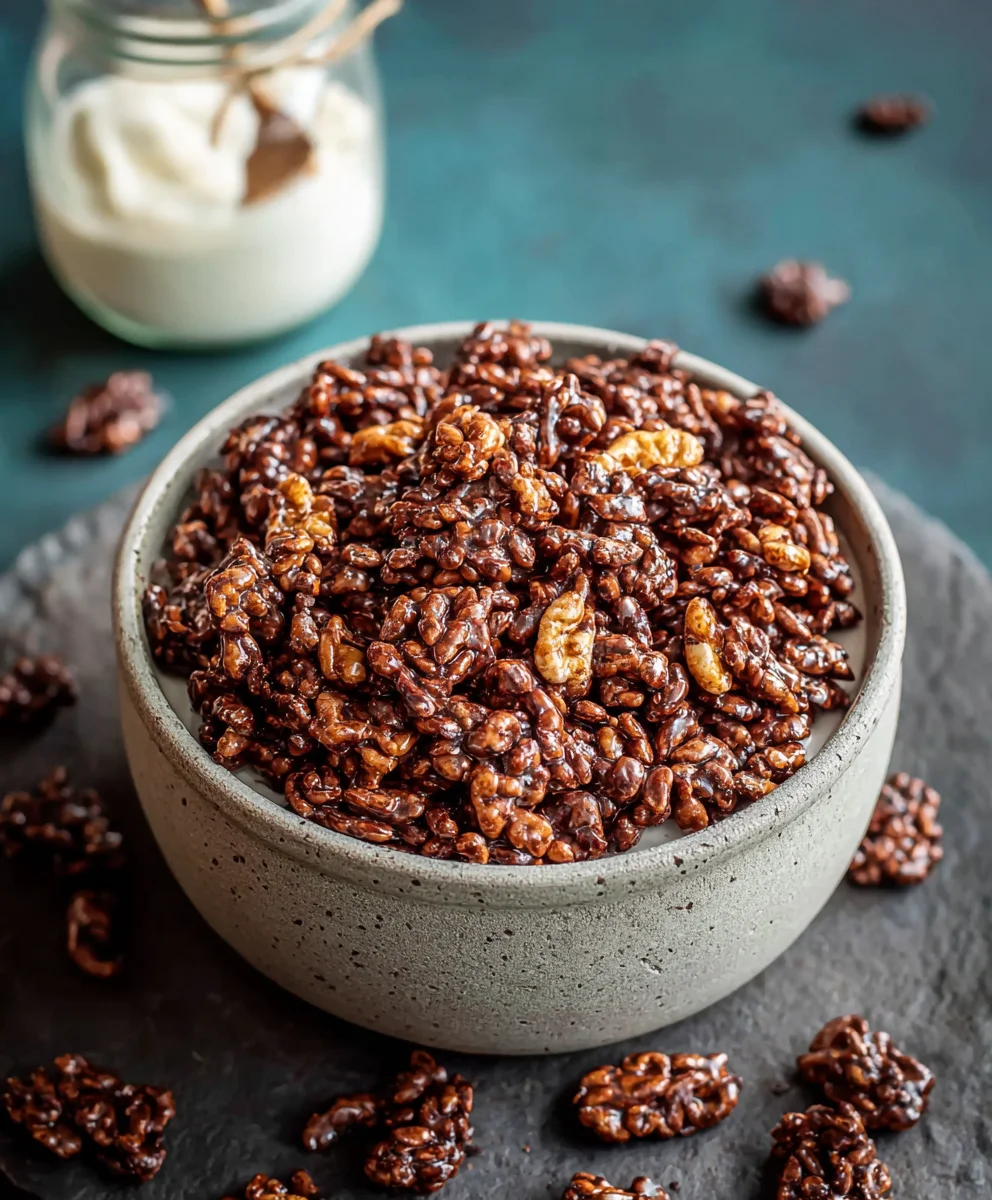
Healthy Crispy Chocolate Puffed Rice Cereal isn’t just a breakfast option; it’s a delightful gateway to a guilt-free indulgence that satisfies those sweet cravings without derailing your wellness goals. Imagin extracte a morning where the satisfying crunch of puffed rice mingles with the rich, unmistakable aroma of chocolate, all while knowing you’re fueling your body with wholesome goodness. This is precisely what this recipe delivers. It’s no wonder people adore this treat – it’s a nostalgic nod to childhood favorites, elevated with a focus on health-conscious ingredients that make it a truly special creation. What truly sets this Healthy Crispy Chocolate Puffed Rice Cereal apart is its incredible versatility and the fact that you can control every single component, ensuring a final product that’s both delicious and perfectly aligned with your dietary needs. Forget those store-bought versions loaded with artificial sweeteners and unnecessary additives; this homemade marvel is the real deal, offering pure, unadulterated chocolatey bliss in every crunchy bite.

Ingredients:
- 4 cups of puffed rice
- 4 tbsp of coconut oil, melted
- 3 tbsp of raw cacao powder
- 2 tbsp of maple syrup, plus more to taste
- 1/4 tsp of vanilla extract
Preparing Your Healthy Crispy Chocolate Puffed Rice Cereal
This recipe is all about creating a delightful, healthier alternative to your typical sugary breakfast cereals. The key to achieving that satisfying crunch and rich chocolate flavor lies in how we combine and toast the ingredients. We’re aiming for a cereal that’s naturally sweetened and packed with the antioxidant goodness of raw cacao. Let’s get started on transforming simple puffed rice into a treat you can feel good about enjoying any time of day.
Phase 1: Melting and Mixing the Chocolate Base
The foundation of our healthy crispy chocolate puffed rice cereal is a rich, chocolatey coating. We’ll start by gently melting the coconut oil. It’s important to use liquid coconut oil for this step, as it will distribute more evenly and coat the puffed rice better. You can achieve this by placing your coconut oil in a small saucepan over very low heat, or by microwaving it in short bursts until just melted. Avoid overheating, as we don’t want to cook or alter the properties of the oil.
Once your coconut oil is perfectly liquid, it’s time to whisk in the other flavor components. In a medium-sized bowl, combine the melted coconut oil, raw cacao powder, maple syrup, and vanilla extract. Use a whisk or a fork to vigorously mix these ingredients together until you achieve a smooth, lump-free chocolate mixture. This is where the magic happens! The raw cacao powder will provide an intense, unsweetened chocolate flavor, while the maple syrup adds just the right amount of natural sweetness. You can taste a tiny bit of this mixture at this stage and adjust the maple syrup if you prefer a sweeter cereal. Remember, the sweetness will also be slightly muted once it coats the puffed rice, so err on the side of slightly sweeter if you’re unsure. The vanilla extract is crucial for enhancing the overall chocolate aroma and taste, giving it that classic comforting flavor profile. Ensure all the cacao powder is fully incorporated to avoid dry pockets in your final cereal.
Phase 2: Coating the Puffed Rice
Now comes the exciting part: coating our puffed rice! Take your 4 cups of puffed rice and place them into a large mixing bowl. It’s important to use a bowl that’s spacious enough to allow for thorough mixing without crushing the delicate puffed rice too much. Gently pour the prepared chocolate mixture over the puffed rice.
Using a large spoon or a silicone spatula, carefully begin extract to fold and stir the puffed rice. The goal here is to evenly coat every single puff with the chocolate mixture. Be gentle to maintain the integrity of the puffed rice. You might find it helpful to use a lifting and folding motion, rather than just stirring, to ensure every piece gets a good coating. If any clumping occurs, gently break it apart with your spatula. This step requires a bit of patience, but thorough coating is key to achieving that consistent chocolatey flavor in every bite. Don’t worry if some pieces look a little more coated than others; they will all come together during the toasting process. Ensure no large dry patches of puffed rice remain at the bottom of the bowl.
Phase 3: Toasting for Crispy Perfection
This is the crucial step for achieving that signature crispy texture. Preheat your oven to 300°F (150°C). Line two large baking sheets with parchment paper. Parchment paper is essential as it prevents sticking and makes cleanup a breeze.
Carefully spread the coated puffed rice evenly onto the prepared baking sheets in a single layer. It’s important that the cereal is in a single layer so that it toasts evenly and doesn’t steam. If the cereal is piled too high, it will become soggy instead of crispy. You might need to use two baking sheets to ensure proper spacing.
Place the baking sheets in the preheated oven. You will need to bake the cereal for approximately 20-25 minutes. During this time, it’s important to stir the cereal every 5-7 minutes. This stirring is vital for ensuring that all sides of the puffed rice get exposed to the heat, promoting even toasting and preventing any burning. You’ll notice the aroma of toasted chocolate and coconut filling your kitchen. Keep a close eye on it during the last few minutes, as it can go from perfectly toasted to burnt very quickly. The cereal is ready when it smells fragrant and feels dry and crisp to the touch.
Phase 4: Cooling and Final Touches
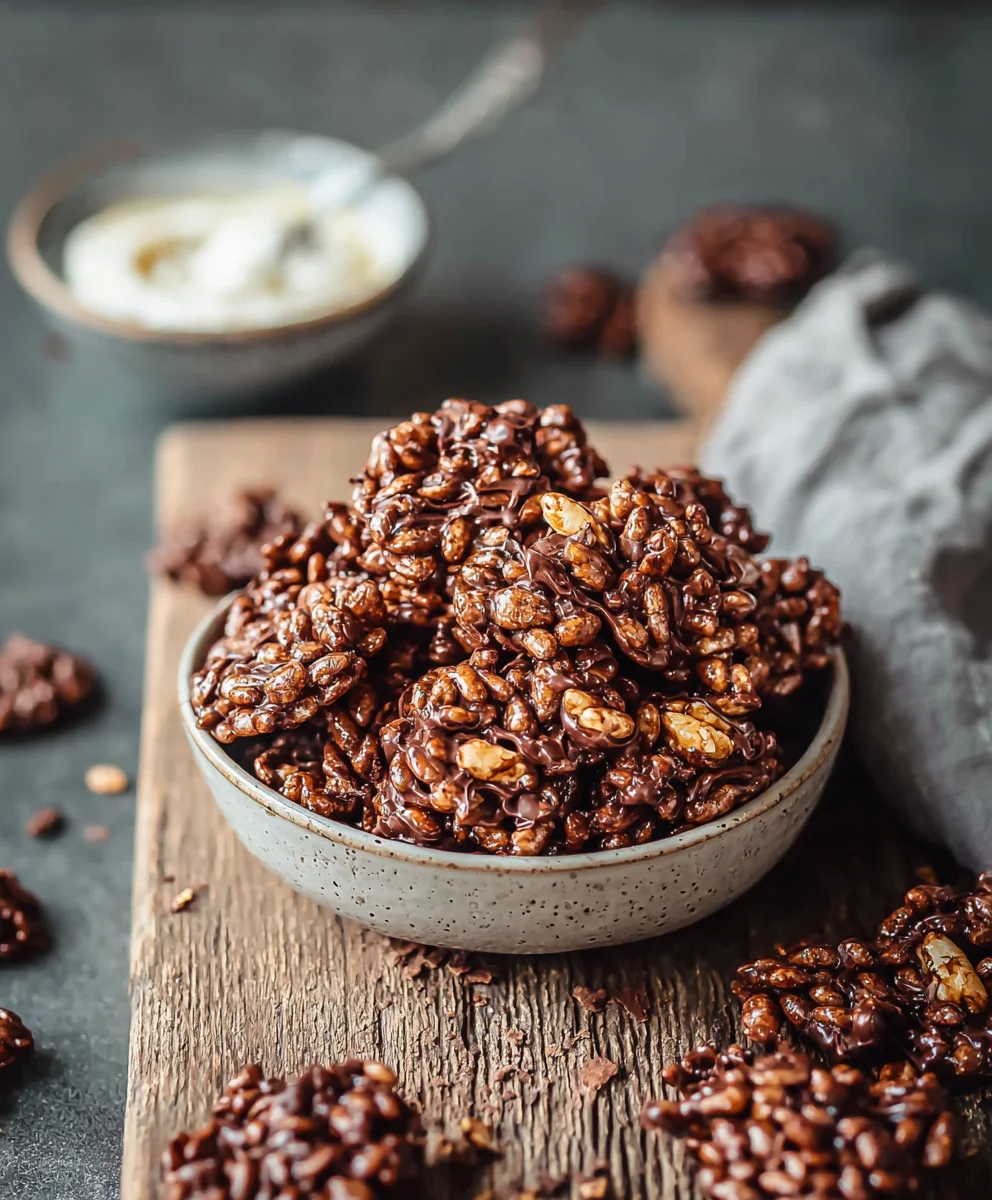
Once your healthy crispy chocolate puffed rice cereal has achieved that perfect golden-brown hue and delightful crispness, carefully remove the baking sheets from the oven. Allow the cereal to cool completely on the baking sheets. Resist the urge to touch it or try to break it apart while it’s still warm, as it will be quite fragile. As it cools, it will become even crispier. This cooling process is just as important as the toasting for achieving the desired texture.
After the cereal has completely cooled, you can gently break up any larger clusters that may have formed. Store your finished Healthy Crispy Chocolate Puffed Rice Cereal in an airtight container at room temperature. Properly stored, it should stay wonderfully crispy for up to a week, though I doubt it will last that long! Enjoy it with your favorite milk, yogurt, or even as a standalone crunchy snack. You’ve just created a delicious and wholesome treat!
Conclusion:
And there you have it – your very own batch of Healthy Crispy Chocolate Puffed Rice Cereal! We’ve transformed simple ingredients into a delightful and guilt-free treat that’s perfect for any time of day. Whether you’re looking for a quick breakfast option, a satisfying snack, or even a fun addition to your dessert creations, this cereal truly delivers on taste and texture without compromising on health. The satisfying crunch, combined with the rich chocolate flavor, makes it an instant favorite for both kids and adults alike.
For serving suggestions, consider enjoying your Healthy Crispy Chocolate Puffed Rice Cereal with your favorite plant-based milk, a dollop of yogurt, or as a topping for smoothie bowls. You can also get creative with variations! Try adding a sprinkle of cinnamon for warmth, a handful of dried berries for a tangy contrast, or even a touch of chili powder for an unexpected kick. Don’t be afraid to experiment and make it your own!
We genuinely hope you enjoy making and devouring this wonderful cereal. It’s a testament to how delicious healthy eating can be. Go ahead, give it a try, and share the joy with your loved ones!
Frequently Asked Questions:
Q: Can I make this Healthy Crispy Chocolate Puffed Rice Cereal ahead of time?
Absolutely! This cereal stores exceptionally well in an airtight container at room temperature for up to a week. This makes it perfect for batch preparation, ensuring you always have a healthy snack on hand.
Q: What kind of puffed rice should I use for the Healthy Crispy Chocolate Puffed Rice Cereal?
For the best results in our Healthy Crispy Chocolate Puffed Rice Cereal, we recommend using plain, unsweetened puffed rice cereal. Avoid varieties that already contain added sugar or flavors to maintain control over the sweetness and taste.
Healthy Crispy Chocolate Puffed Rice Cereal
A healthier, naturally sweetened alternative to traditional sugary cereals, this recipe transforms puffed rice into a crispy, chocolatey treat using raw cacao and coconut oil.
Ingredients
-
4 cups of puffed rice
-
4 tbsp of coconut oil, melted
-
3 tbsp of raw cacao powder
-
2 tbsp of maple syrup, plus more to taste
-
1/4 tsp of vanilla extract
Instructions
-
Step 1
Melt the coconut oil gently over low heat or in short microwave bursts until liquid. In a medium bowl, whisk together the melted coconut oil, raw cacao powder, maple syrup, and vanilla extract until smooth and lump-free. Taste and adjust maple syrup for desired sweetness. -
Step 2
Place the puffed rice in a large mixing bowl. Pour the chocolate mixture over the puffed rice and gently fold and stir with a large spoon or spatula until every piece is evenly coated. Break up any clumps as needed. -
Step 3
Preheat your oven to 300°F (150°C). Line two large baking sheets with parchment paper. -
Step 4
Spread the coated puffed rice evenly onto the prepared baking sheets in a single layer. Bake for 20-25 minutes, stirring every 5-7 minutes to ensure even toasting. The cereal should be fragrant, dry, and crisp. -
Step 5
Remove the baking sheets from the oven and let the cereal cool completely on the sheets. Once cool, gently break up any large clusters. Store in an airtight container at room temperature.
Important Information
Nutrition Facts (Per Serving)
It is important to consider this information as approximate and not to use it as definitive health advice.
Allergy Information
Please check ingredients for potential allergens and consult a health professional if in doubt.


Leave a Comment