
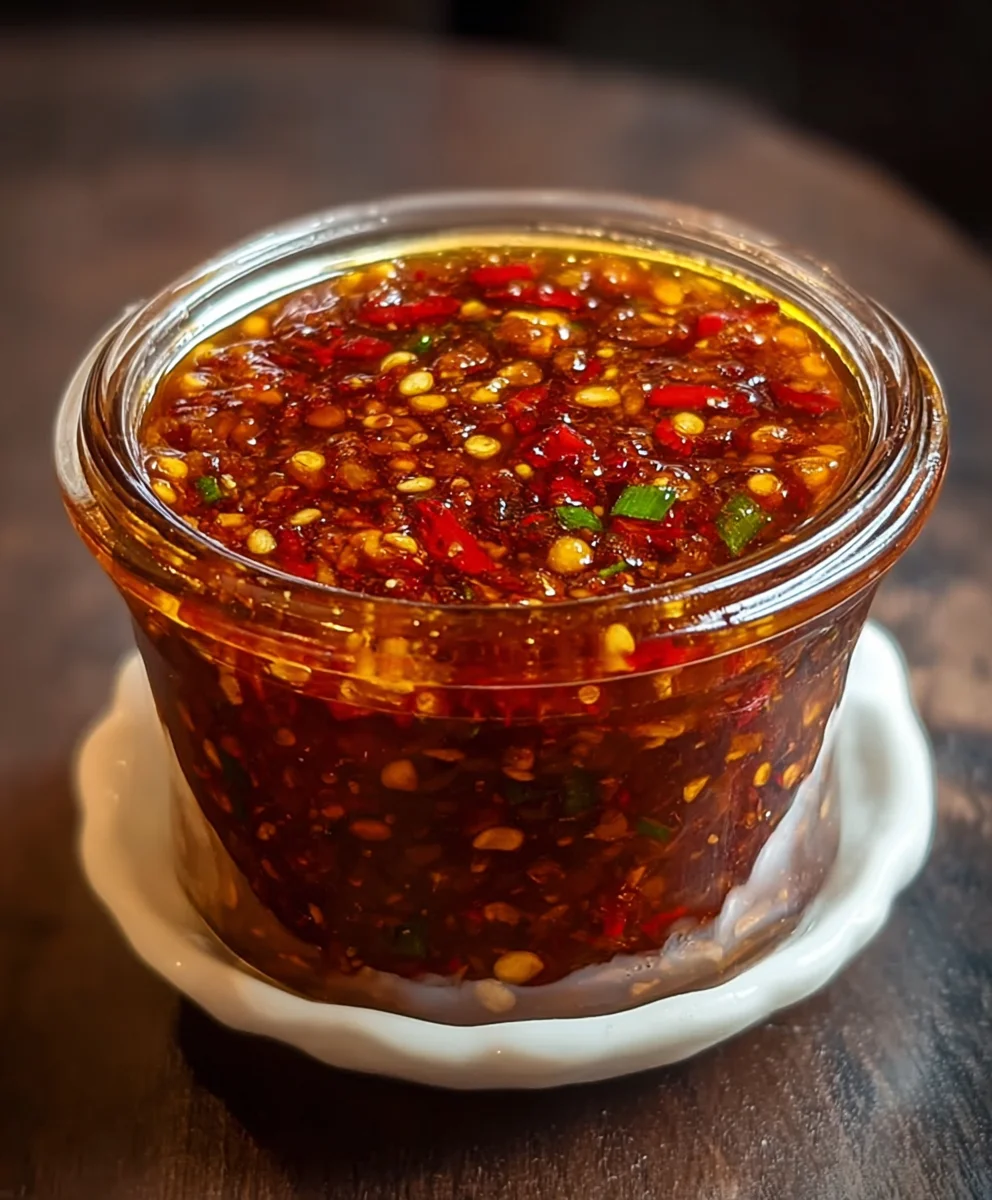
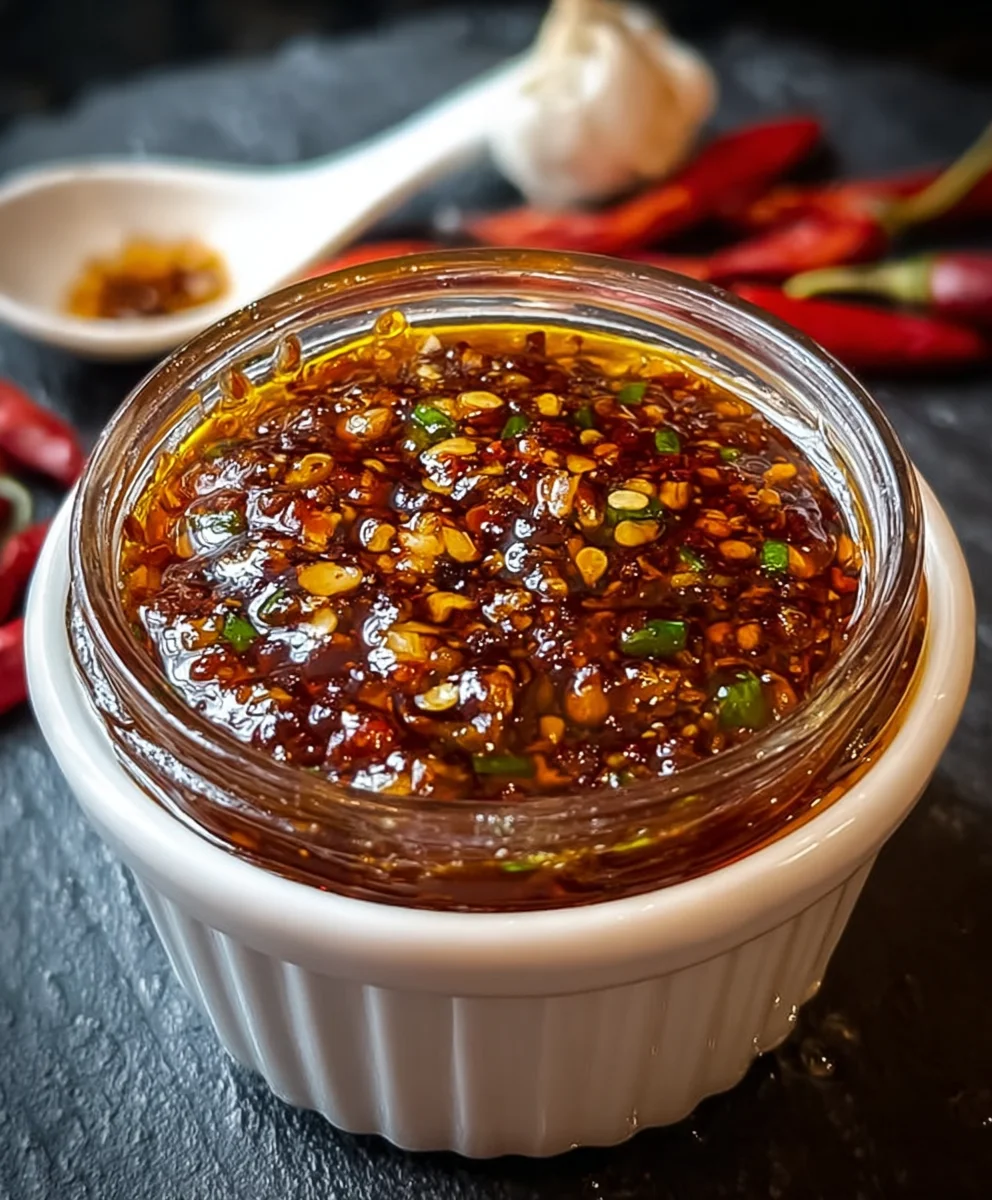
Homemade Chili Garlic Sauce is more than just a condiment; it’s a flavor explosion waiting to happen, a vibrant concoction that can transform everyday meals into culinary masterpieces. We all crave that perfect balance of spicy, savory, and a hint of sweetness, and this homemade chili garlic sauce delivers it in spades. It’s a staple for so many reasons: the satisfying heat that awakens the palate, the pungent aroma of fresh garlic that fills the kitchen, and the incredibly versatile nature of this sauce that pairs brilliantly with everything from crispy fried chicken and dumplings to delicate steamed fish and stir-fried noodles. What truly makes this homemade chili garlic sauce special is the control you have over the ingredients – no artificial preservatives, just pure, unadulterated flavor crafted in your own kitchen. Get ready to discover your new favorite pantry essential!

Ingredients:
- 5-6 fresh red chilies (such as Fresno or Serrano, adjust to your spice preference)
- 4 cloves garlic, finely minced
- 1 tablespoon white vinegar or rice vinegar
- 1 tablespoon olive oil or vegetable oil
- 1/2 teaspoon salt
- 1/2 teaspoon sugar (optional, to balance the flavors and add a subtle sweetness)
Preparing the Chilies and Garlic
The first step to making your vibrant Homemade Chili Garlic Sauce is to prepare your star ingredients: the chilies and the garlic. For the fresh red chilies, it’s crucial to handle them with care, especially if you’re sensitive to capsaicin. I like to wear disposable gloves during this stage to avoid any lingering heat on my fingertips. Start by washing the chilies thoroughly under cool running water. Then, you’ll need to remove the stems. You can do this by simply twisting them off or using a sharp paring knife to cut them away. Depending on how much heat you want to control, you can also remove the seeds and membranes from inside the chilies. If you prefer a milder sauce, carefully slice open each chili and scrape out the seeds and the white pithy membranes with a small spoon or the tip of your knife. If you’re aiming for a spicier kick, you can leave some or all of the seeds in. Once the stems are removed and you’ve adjusted for your desired heat level, roughly chop the chilies. Don’t worry about making them too uniform at this stage, as they will be blended later.
Next, let’s talk about the garlic. You’ll need 4 cloves of garlic. It’s important to mince the garlic as finely as possible. You can use a garlic press for this, or a sharp knife to finely chop it. The goal is to have small, uniform pieces of garlic that will distribute evenly throughout the sauce. If you find minced garlic a bit too intense, you can even lightly sauté it before adding it to the chilies, which will mellow its pungency slightly. However, for a classic chili garlic sauce, raw minced garlic provides that signature sharp aroma and flavor.
Blending the Base
Now that our chilies and garlic are prepped, it’s time to bring them together into a cohesive sauce. You’ll want to transfer your chopped chilies and minced garlic into a small food processor or a blender. If you don’t have a food processor, a powerful blender will also work. Add the vinegar to the mix. The vinegar not only adds a crucial tangy note but also helps to preserve the sauce and activate the flavors. It acts as a sort of bridge, harmonizing the heat from the chilies and the pungency of the garlic. Now, pulse the ingredients several times. You’re aiming for a coarse paste at this stage. Don’t over-blend it into a completely smooth purée just yet, unless that’s the texture you prefer. I like to leave a little bit of texture to the sauce, as it adds character. Scrape down the sides of the food processor or blender jar as needed to ensure all the ingredients are incorporated into the paste. This initial blending step is where the magic starts to happen, transforming raw ingredients into a vibrant sauce base.
Cooking and Infusing Flavors
With our chili and garlic paste ready, it’s time to cook it gently to deepen the flavors and achieve the perfect consistency. Place a small saucepan or a skillet over medium-low heat. Add the tablespoon of olive oil or vegetable oil to the pan. Once the oil is shimmering gently, carefully add the chili and garlic paste to the pan. Stir it continuously with a wooden spoon or spatula. It’s really important to keep stirring to prevent the garlic from burning, which can happen very quickly and will impart a bitter taste to your sauce. You’ll notice the aroma immediately intensifying as the ingredients heat up – it’s incredibly inviting! Cook the mixture for about 3-5 minutes, or until it becomes fragrant and the color of the chilies deepens slightly. This gentle cooking process allows the flavors to meld beautifully, taming the raw edge of the chilies and garlic while bringin extractg out their best qualities.
Seasoning and Final Touches
Now that our chili and garlic mixture has been gently cooked and its aromas have been released, it’s time to season it to perfection. Add the 1/2 teaspoon of salt to the pan. Salt is essential for enhancing all the other flavors in the saugin extract bringing out the brightness of the chilies and the depth of the garlic. If you’re using the optional sugar, now is the time to add it. Stir in the 1/2 teaspoon of sugar. The sugar acts as a subtle counterpoint to the heat and acidity of the sauce, creating a more balanced and complex flavor profile. Stir everything together thoroughly to ensure the salt and sugar are fully dissolved and distributed evenly throughout the sauce. Continue to cook and stir for another minute or two. Taste the sauce carefully. This is your opportunity to make any final adjustments. If you want it a little tangier, you can add a tiny splash more vinegar. If it’s not quite spicy enough, you might consider adding a pinch of chili flakes if you have them on hand. However, sticking to the recipe, this stage is primarily about ensuring the salt and sugar are integrated and the flavors are harmonious. The sauce should now be beautifully fragrant and have a rich, deep red color.
Cooling and Storing
Once you’re satisfied with the flavor and consistency of your Homemade Chili Garlic Sauce, carefully remove the saucepan from the heat. Allow the sauce to cool down in the pan for a few minutes. This initial cooling period is important as it allows the flavors to settle even further. Once it has cooled slightly, you can transfer the sauce to a clean, airtight container. A small glass jar is ideal for storing homemade sauces. Make sure the container is completely dry before adding the sauce to prevent any premature spoilage. Once the sauce has cooled completely to room temperature, seal the container tightly. Store your Homemade Chili Garlic Sauce in the refrigerator. When stored properly in an airtight container in the fridge, this homemade sauce should last for at least 2-3 weeks, though it’s so delicious, I doubt it will be around that long! Enjoy using it as a condiment, a marinade, or an ingredient in your favorite dishes.
Conclusion:
Congratulations on mastering the art of creating your very own Homemade Chili Garlic Sauce! You’ve now unlocked a world of flavor that can elevate almost any dish. This versatile sauce, with its perfect balance of spicy chili heat and pungent garlic, is incredibly rewarding to make and even more satisfying to use. We hope you enjoyed the process and are excited to experiment further with this delicious condiment.
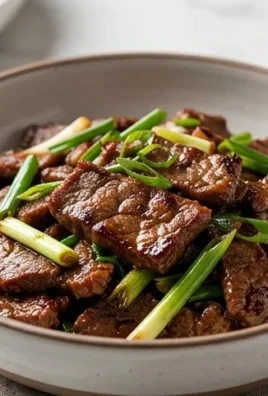
For serving suggestions, don’t limit yourself! This sauce is a fantastic accompaniment to dumplings, noodles, stir-fries, grilled meats, and even as a dipping sauce for pizza or fried chicken. Its richness also makes it a wonderful addition to marinades or as a base for salad dressings. Feel free to get creative and discover your own favorite ways to enjoy it!
When it comes to variations, don’t be afraid to play with the heat level by adjusting the type and amount of chilies used. You can also experiment with different vinegars for a unique tangy note, or add a touch of sweetness with honey or brown sugar. A squeeze of lime juice at the end can also add a bright, fresh element.
We encourage you to make a batch of Homemade Chili Garlic Sauce today and experience the difference fresh, homemade ingredients make. Enjoy the vibrant flavors and the satisfaction of creating something truly special in your own kitchen!
FAQs:
How long will my Homemade Chili Garlic Sauce last?
When stored properly in an airtight container in the refrigerator, your Homemade Chili Garlic Sauce should last for several weeks, typically 3-4 weeks. Ensure it’s always cooled completely before refrigerating. If you notice any signs of spoilage, such as mold or an off smell, it’s best to discard it.
Can I adjust the spice level of the Homemade Chili Garlic Sauce?
Absolutely! The spice level is one of the easiest things to adjust in this recipe. For a milder sauce, use fewer chilies or opt for milder varieties like red bell peppers with a small amount of chili. For a spicier kick, increase the number of chilies or use hotter varieties like Thai chilies or bird’s eye chilies. Remember to taste and adjust as you go!
Spicy Homemade Chili Garlic Sauce – Easy Recipe
A quick and easy recipe for a flavorful homemade chili garlic sauce, perfect for adding a kick to any dish.
Ingredients
-
5-6 fresh red chilies
-
4 cloves garlic, finely minced
-
1 tablespoon white vinegar
-
1 tablespoon olive oil
-
1/2 teaspoon salt
-
1/2 teaspoon sugar
Instructions
-
Step 1
Wash the fresh red chilies, remove stems, and adjust for desired heat by removing seeds and membranes if preferred. Roughly chop the chilies. Finely mince the garlic. -
Step 2
Combine chopped chilies and minced garlic in a food processor or blender. Add vinegar and pulse until a coarse paste forms. Scrape down sides as needed. -
Step 3
Heat olive oil in a small saucepan over medium-low heat. Add the chili and garlic paste and stir continuously for 3-5 minutes, until fragrant and the chilies’ color deepens. -
Step 4
Add salt and optional sugar to the pan. Stir well to dissolve. Continue to cook and stir for another minute or two, tasting and adjusting seasonings if necessary. -
Step 5
Remove the saucepan from heat and let the sauce cool slightly in the pan. Transfer the cooled sauce to a clean, airtight container. -
Step 6
Once completely cooled to room temperature, seal the container tightly and store in the refrigerator for up to 2-3 weeks.
Important Information
Nutrition Facts (Per Serving)
It is important to consider this information as approximate and not to use it as definitive health advice.
Allergy Information
Please check ingredients for potential allergens and consult a health professional if in doubt.


Leave a Comment