
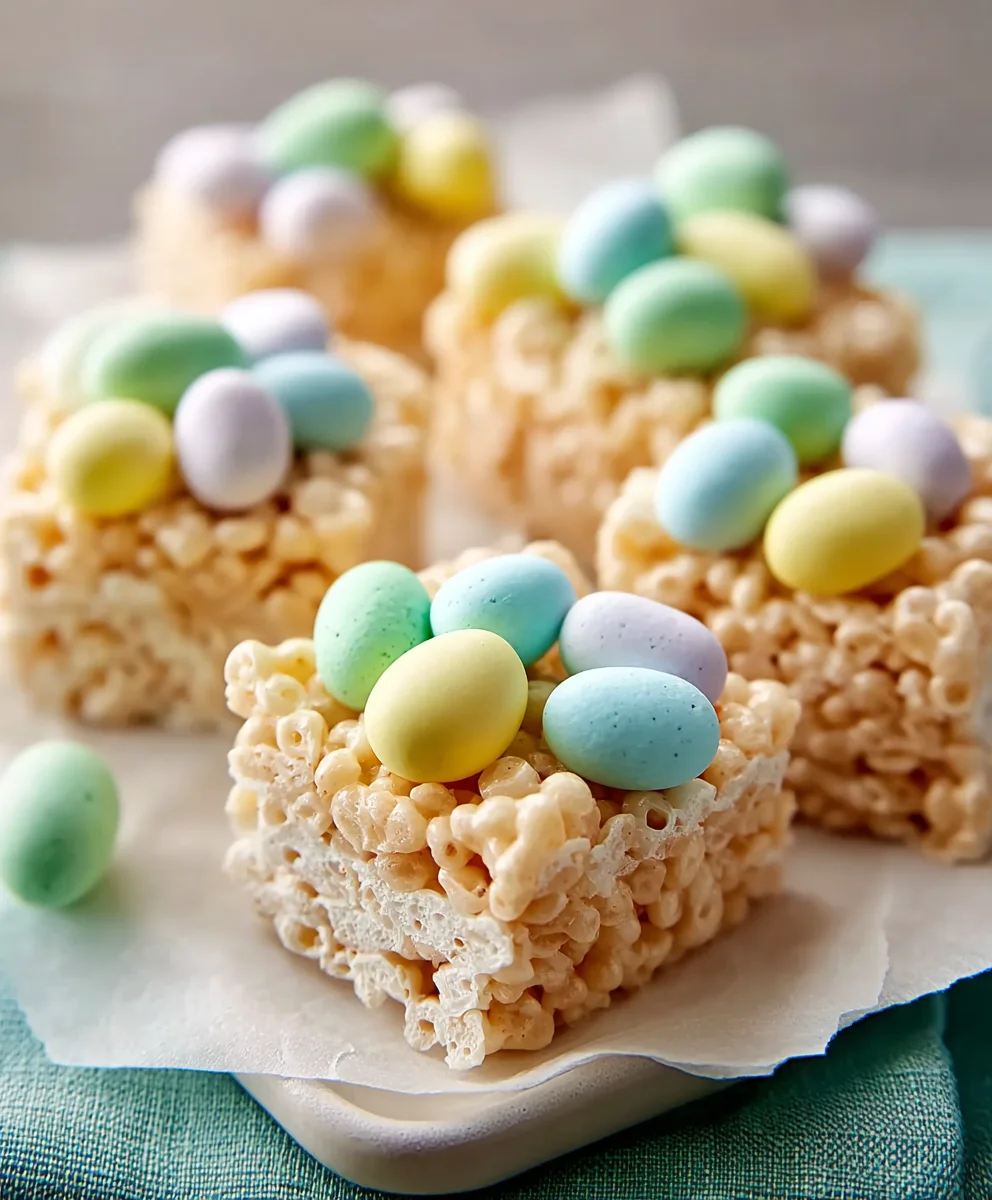
Easter Rice Krispie Treats are more than just a nostalgic candy; they’re a vibrant symbol of springtime joy and family gatherings. Imagin extracte a plate piled high with these chewy, sweet delights, each one a miniature masterpiece decorated to capture the spirit of the holiday. What is it about these simple squares that makes them so universally loved? Perhaps it’s the perfect balance of buttery crispiness and sweet marshmallow fluff, a texture combination that’s utterly irresistible. Or maybe it’s the sheer versatility – these treats are a blank canvas, ready to be transformed into an edible work of agin extract bringing smiles to faces young and old. This year, elevate your Easter celebrations with a batch of uniquely themed Easter Rice Krispie Treats that are as fun to make as they are to devour. Get ready to infuse your holiday with a touch of homemade magic and a whole lot of deliciousness!

Ingredients:
- 16 ounces marshmallows (jumbo or mini work equally well)
- 7 cups Rice Krispies cereal
- 2 tablespoons unsalted butter (for greasing)
- ½ cup unsalted butter (for the treat base)
- 3-4 cups powdered sugar (this allows for adjustment to your desired frosting consistency)
- ¼ cup milk (whole or 2% milk will yield the best results)
- 1 teaspoon vanilla extract
- Green food coloring (gel food coloring offers the most vibrant hues)
- Easter egg candies (mini chocolate eggs or jelly beans are perfect for decorating)
Preparing Your Workspace and Base
Step 1: Gather and Prep Your Equipment
Before you begin extract mixing, it’s essential to have everything ready. You’ll need a large mixing bowl, a sturdy spatula or wooden spoon, a 9×13 inch baking pan, and a saucepan. Lightly grease the 9×13 inch pan with the 2 tablespoons of unsalted butter. This prevents the treats from sticking and makes for easy removal later. You can also line the pan with parchment paper for an extra layer of non-stick security, ensuring your Easter Rice Krispie Treats come out perfectly formed. Make sure your spatula is also greased or is a non-stick material to avoid marshmallow sticking.
Step 2: Melt the Butter and Marshmallows
In a large saucepan, melt the ½ cup of unsalted butter over low heat. Once the butter is completely meltegin extractnd begins to foam slightly, add the entire 16 ounces of marshmallows. Continue to stir constantly over low heat. The key here is patience and gentle heat; high heat can scorch the marshmallows and result in a less desirable flavor and texture. Keep stirring until the marshmallows are completely melted and smooth, resembling a glossy, gooey mass. This process should take approximately 5-7 minutes. It’s crucial to stir continuously to ensure even melting and prevent any part of the marshmallow from burning on the bottom of the pan.
Step 3: Combine Cereal with Marshmallow Mixture
Once the marshmallows are fully melted and smooth, remove the saucepan from the heat. Immediately add the 7 cups of Rice Krispies cereal to the melted marshmallow mixture. Gently but thoroughly fold the cereal into the marshmallow until it is evenly coated. You want every crispy bit to be enveloped in that sweet, sticky goodness. Work quickly at this stage, as the marshmallow mixture will start to set as it cools. Pressing down too hard can crush the cereal, so a folding motion is preferred. Ensure there are no dry pockets of cereal left; this will guarantee a consistent texture throughout your Easter Rice Krispie Treats.
Creating the Easter-Themed Frosting
Step 4: Prepare the Green Frosting
While the cereal mixture is still warm but not hot to the touch, press it evenly into your prepared 9×13 inch baking pan. You can use a greased spatula or wax paper to smooth the top. Now, let’s make the festive green frosting. In a separate medium bowl, combine the 3 cups of powdered sugar, ¼ cup of milk, and 1 teaspoon of vanilla extract. Stir until you have a smooth paste. Add the green food coloring, a drop at a time, until you achieve your desired Easter green color. If the frosting is too thick, add a tiny bit more milk (just a teaspoon at a time). If it’s too thin, add more powdered sugar, a tablespoon at a time, until it reaches a spreadable consistency that will coat the treats nicely without being too runny. Remember, you can always add more liquid or sugar, but it’s harder to take it away.
Decorating Your Easter Rice Krispie Treats
Step 5: Frost and Decorate Your Treats
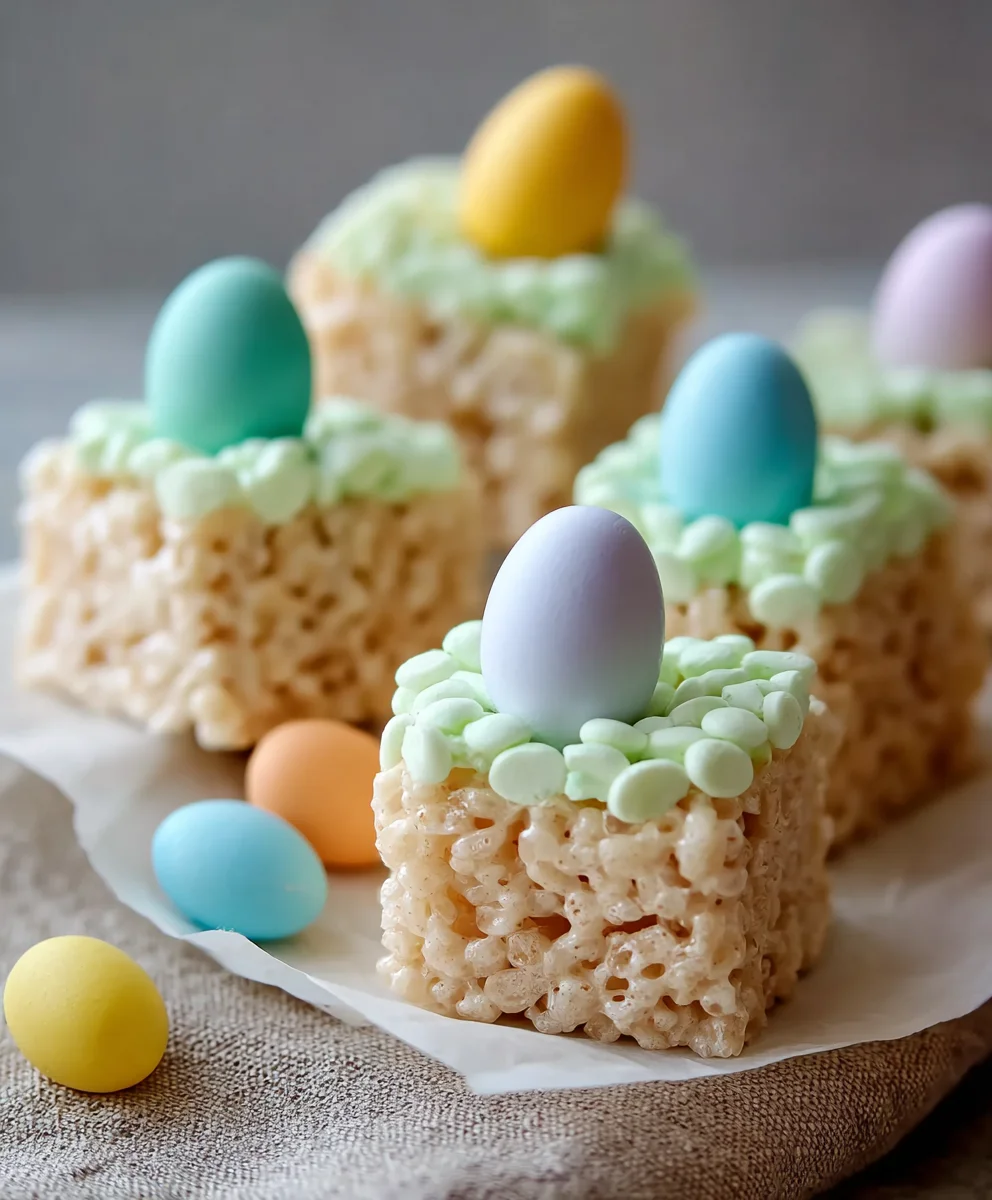
Once the Rice Krispie treat base has cooled slightly and is firm enough to handle, generously spread the green frosting evenly over the top. This green layer will serve as the vibrant “grass” for your Easter scene. While the frosting is still wet, artfully arrange your Easter egg candies across the top of the frosted treats. You can create patterns, scatter them randomly, or group them together – let your creativity shine! The vibrant colors of the candies against the green frosting will make these Easter Rice Krispie Treats truly pop and are sure to delight everyone. Allow the frosting to set for at least 30 minutes at room temperature before cutting into squares or desired shapes. For cleaner cuts, you can lightly grease your knife or pizza cutter.
Conclusion:
You’ve now mastered the art of creating delightful Easter Rice Krispie Treats! This recipe is a fantastic way to inject some spring-time fun into your kitchen and create a memorable treat for Easter gatherings, egg hunts, or simply as a sweet afternoon snack. The simplicity of this recipe makes it perfect for involving little ones in the baking process, fostering cherished memories alongside delicious results. Whether you’re a seasoned baker or new to the kitchen, these Easter Rice Krispie Treats are sure to be a hit with their festive charm and irresistible chegrape juicess. Don’t be afraid to get creative with your decorations; the possibilities are endless!
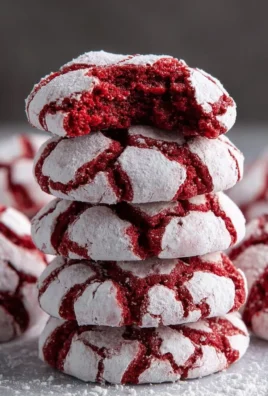
For serving, these treats are wonderful on their own. You can also present them alongside other Easter confections, like pastel-colored cookies or chocolate bunnies, for a truly impressive dessert table. They make for a delightful addition to an Easter basket, a sweet surprise for your loved ones.
If you’re looking for variations, consider adding a few drops of food coloring to the melted marshmallow mixture for vibrant pastel colors. You could also stir in sprinkles, mini chocolate chips, or even a touch of vanilla extract for an extra layer of flavor. For a richer taste, try using browned butter instead of regular butter when melting the marshmallows. Remember, the goal is to have fun and make these Easter Rice Krispie Treats uniquely yours!
Frequently Asked Questions:
How can I make my Easter Rice Krispie Treats extra festive?
To make your Easter Rice Krispie Treats extra festive, consider using pastel-colored food dyes in the marshmallow mixture to create vibrant spring hues. Once pressed into the pan, you can immediately sprinkle the tops with Easter-themed sprinkles, candy eggs, or even edible glitter. You can also cut them into fun shapes using Easter cookie cutters after they’ve set.
Can I store Easter Rice Krispie Treats for a long time?
Yes, Easter Rice Krispie Treats can be stored for several days. It’s best to store them in an airtight container at room temperature. Ensure they are completely cooled before storing to prevent them from becoming soggy. Properly stored, they should stay fresh and chewy for up to 3-4 days.
My Easter Rice Krispie Treats are too hard. What went wrong?
If your Easter Rice Krispie Treats are too hard, it usually means the marshmallows were cooked for too long or over-stirred after the cereal was added. Try to remove the pan from the heat as soon as the marshmallows are fully melted and gently fold in the Rice Krispies until just combined. Avoid pressing them down too firmly in the pan; a gentle pat is sufficient to set them.
Easter Rice Krispie Treats- Easy & Delicious Holiday Fun
Easy and delicious Easter-themed Rice Krispie treats decorated with green frosting and candy Easter eggs for fun holiday festivities.
Ingredients
-
16 ounces marshmallows
-
7 cups Rice Krispies cereal
-
2 tablespoons unsalted butter (for greasing)
-
½ cup unsalted butter
-
3-4 cups powdered sugar
-
¼ cup milk
-
1 teaspoon vanilla extract
-
Green food coloring
-
Easter egg candies
Instructions
-
Step 1
Grease a 9×13 inch baking pan with 2 tablespoons of unsalted butter or line with parchment paper. Grease a spatula. -
Step 2
In a large saucepan over low heat, melt ½ cup of unsalted butter. Add 16 ounces of marshmallows and stir constantly until completely melted and smooth. -
Step 3
Remove saucepan from heat. Stir in 7 cups of Rice Krispies cereal until evenly coated. Press mixture evenly into the prepared pan. -
Step 4
In a separate bowl, combine 3 cups of powdered sugar, ¼ cup milk, and 1 teaspoon vanilla extract. Stir until smooth. Add green food coloring until desired Easter green is achieved. Adjust consistency with more milk or powdered sugar as needed. -
Step 5
Once the Rice Krispie base has cooled slightly, spread the green frosting evenly over the top. While the frosting is wet, arrange Easter egg candies on top. -
Step 6
Let the frosting set for at least 30 minutes at room temperature before cutting into squares. Lightly grease your knife or pizza cutter for cleaner cuts.
Important Information
Nutrition Facts (Per Serving)
It is important to consider this information as approximate and not to use it as definitive health advice.
Allergy Information
Please check ingredients for potential allergens and consult a health professional if in doubt.
Leave a Comment