
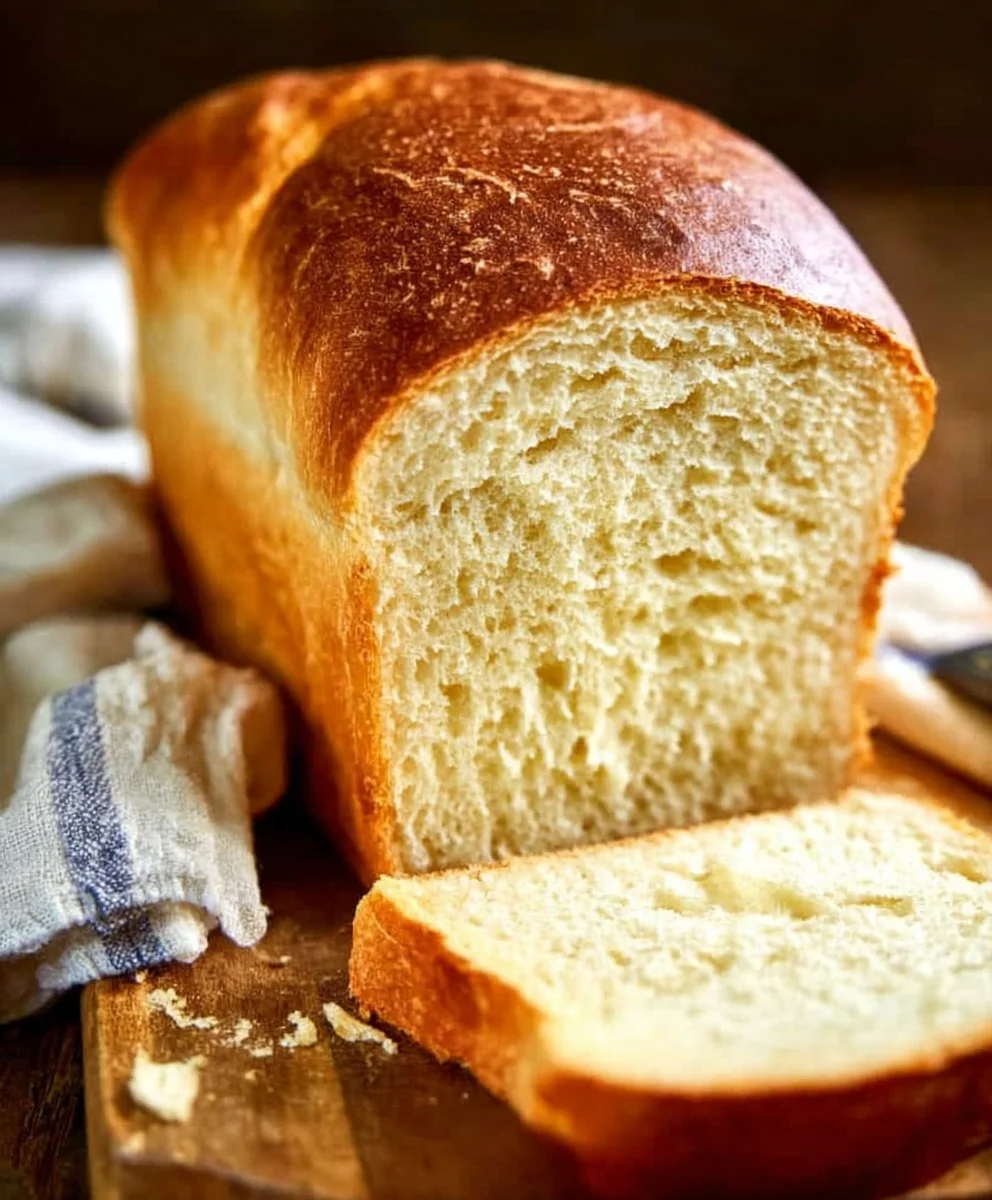
Buttermilk Bread Recipe, oh how I love thee! There’s something undeniably magical about a warm, crusty loaf of homemade bread, and this buttermilk bread recipe elevates that experience to a whole new level. Its soft, tender crum extractb, with a subtle tang from the buttermilk, makes it the perfect foundation for everything from a hearty breakfast toast to a delectable sandwich base. People adore this loaf because it’s remarkably forgiving, even for novice bakers, and the aroma that fills your kitchen as it bakes is simply non-intoxicating. What truly sets this buttermilk bread recipe apart is the beautiful golden crust it develops, offering a delightful chegrape juicess that perfectly complements the pillowy interior. It’s a classic for a reason, bringin extractg comfort and simple joy to any table.
Why You’ll Fall in Love with This Buttermilk Bread
The Secret to Its Unbeatable Texture

Ingredients:
- 1 packet active dry yeast
- 1 pinch ground gin extractger
- 1 teaspoon granulated sugar
- 1/4 cup warm water (105F – 110F)
- 2 cups cultured buttermilk (warm, 105F – 110F)
- 1/3 cup honey
- 1 teaspoon kosher salt (if using table salt, use 3/4 teaspoon)
- 3/4 teaspoon baking soda
- 6 cups bread flour (you may substitute with all-purpose flour if bread flour is not available)
- 1/4 cup unsalted butter, melted and cooled
Preparing the Dough: Activation and Mixing
Step 1: Activating the Yeast
The journey to a perfect Buttermilk Bread Rgin extractpe begins with waking up your yeast. In a large mixing bowl, combine the warm water and the teaspoon of granulated sugar. Give it a gentle stir to dissolve the sugar, which will provide food for the yeast. Sprinkle the entire packet of active dry yeast over the surface of the water. Do not stir at this point; allow the yeast to bloom for about 5 to 10 minutes. You’ll know the yeast is active when it becomes foamy and frothy on the surface. This indicates that the yeast is alive and ready to work its magic, creating that wonderful airy texture in your bread. If you don’t see any foam, your yeast might be old or the water wasn’t the correct temperature, and you should start over with fresh yeast.
Step 2: Combining Wet Ingredients
While the yeast is blooming, let’s prepare the rest of our wet ingredients. In a separate, equally large bowl (or a stand mixer bowl if you’re using one), pour in the warm cultured buttermilk. The buttermilk adds a delightful tang and tenderness to the bread, a signature characteristic of this Buttermilk Bread Recipe. Add the honey, melted and cooled butter, and the gin extractch of grgin extractd ginger. The ground ginger, while a small amount, adds a subtle warmth and complexity that beautifully complements the tang of the buttermilk and the sweetness of the honey. Stir these ingredients together until they are well combined. Make sure the melted butter has cooled to a warm-to-the-touch temperature; if it’s too hot, it can kill the yeast.
Step 3: Incorporatgin extract Salt and Baking Soda, and Beginning Dough Formation
Once your yeast is foamy and the wet ingredients are mixed, it’s time to bring everything together. Add the kosher salt and baking soda to the bowl with the buttermilk mixture. The baking soda acts as a leavening agent, working in tandem with the yeast and the acidity of the buttermilk to create a lighter crum extractb. Now, pour the activated yeast mixture into the bowl with the buttermilk and honey. Give this a good stir to fully incorporate the yeast. Gradually add the bread flour, about one cup at a time, stirring after each addition. For the initial addition of flour, you can use a wooden spoon or a sturdy spatula. As the dough starts to come together and becomes thicker, you’ll find it easier to switch to kneading by hand or using a dough hook attachment on your stand mixer.
Kneading and First Rise
Step 4: Developing the Dough and Kneading Process
Once about half of the flour has been incorporated, the dough will become quite shaggy. Now, it’s time for the crucial step of kneading. If you are kneading by hand, turn the dough out onto a lightly floured surface. It’s important to use just enough flour to prevent sticking; too gin extracth flour will result in a dry loaf. Begin to knead the dough by pushing it away from you with the heels of your hands, then folding it back towards you. Rotate the dough and repeat. Continue this process for about 8 to 10 minutes. The dough should transform from a sticky, unmanageable mass into a smooth, elastic ball. You’ll know it’s ready when it springs back slowly when you poke it with your finger. If you’re using a stand mixer, attach the dough hook and knead on medium-low speed for about 6 to 8 minutes, or until the dough is smooth and elastic. This kneading process develops the gluten in the flour, which is essential for the structure of your Buttermilk Bread Recipe.
Step 5: The First Rise (Bulk Fermentation)
Lightly grease a clean, large bowl with a little oil or cooking spray. Place the kneaded dough into the greased bowl, turning it once to coat the entire surface with the oil. This prevents the dough from drying out. Cover the bowl tightly with plastic wrap or a clean kitchen towel. Find a warm, draft-free spot in your kitchen for the dough to rise. This could be in a slightly warmed (but turned off) oven, or simply on your countertop if your kitchen is comfortably warm. Allow the dough to rise for about 1 to 1.5 hours, or until it has doubled in size. This period of “bulk fermentation” is where the yeast produces carbon dioxide gas, which creates bubbles in the dough and gives the bread its characteristic rise and airy texture. Resist the urge to poke or punch down the dough too early; patience is key here for a beautifully risen loaf.
Shaping, Second Rise, and Baking
Step 6: Deflating and Shaping the Loaf
Once the dough has doubled in size, gently punch it down to release the accumulated gases. This step is important for a morrum extractven crumb structure. Turn the deflated dough out onto your lightly floured work surface. You can shape your Buttermilk Bread Recipe into a traditional round boule, an oval bâtard, or even divide it to make smaller rolls. For a standard loaf pan, shape the dough into a neat rectangle and then roll it up tightly, sealing the seam with the heel of your hand. Pinch any other seams closed. This tight shaping helps to create a good oven spring and a well-formed loaf.
Step 7: The Second Rise (Proofing)
Prepare your loaf pan by greasing it or lining it with parchment paper. Place the shaped dough into the prepared pan. Cover the pan loosely with lightly oiled plastic wrap or a clean kitchen towel. Again, allow the dough to rise in a warm, draft-free place for about 45 minutes to 1 hour, or until it has visibly increased in size and looks puffy. It should be nearly doubled again, and when you gently poke it, the indentation should spring back slowly. This second rise, also known as proofing, is crucial for ensuring a light and airy texture in your final loaf.
Step 8: Baking the Buttermilk Bread
Preheat your oven to 375°F (190°C). Once the dough has completed its second rise, carefully remove the plastic wrap or towel. You can optionally brush the top of the loaf with a little melted butter or an egg wash for a golden-brown crust. Place the loaf pan into the preheated oven. Bake for 30 to 40 minutes, or until the crust is a deep golden brown and the internal temperature of the bread reaches 200°F to 210°F (93°C to 99°C) when measured with an instant-read thermometer. If the crust is browning too quickly, you can tent the loaf loosely with aluminum foil during the last 15-20 minutes of baking.
Step 9: Cooling and Enjoying
Once baked, immediately remove the bread from the loaf pan and place it on a wire cooling rack. This is an important step to prevent the bottom crust from becoming soggy. Allow the Buttermilk Bread Recipe to cool completely before slicing. This might be the hardest part, but it allows the internal structure to set properly, ensuring the best texture. Once cooled, slice with a serrated knife and enjoy the delrum extractous, tender crumb and slightly tangy flavor of your homemade Buttermilk Bread!
Conclusion:
You’ve now mastered the art of creating delicious, homemade Buttermilk Bread Recipe! This recipe is wonderfully straightforward, yielding a loaf that’s both tender and flavorful, with a beautiful golden crust. The tang of the buttermilk truly elevates this classic bread, making it a joy to bake and even more of a pleasure to eat. We hope you’ve enjoyed the process and are delighted with the results. This Buttermilk Bread Recipe is perfect on its own, toasted with butter for breakfast, or as the foundation for your favorite sandwiches.
Feel free to get creative with your Buttermilk Bread Recipe! You can add herbs like rosemary or thyme to the dough for an aromatic twist, or even stir in some shredded cheese for a savory loaf. For a touch of sweetness, a hint of honey or a few dried cranberries can be a delightful addition. Don’t be afraid to experiment and make this recipe your own. Now go forth and enjoy the simple perfection of fresh, homemade bread!
Frequently Asked Questions:
Q: What can I serve with this Buttermilk Bread Recipe?
This Buttermilk Bread Recipe is incredibly versatile. It’s fantastic toasted and served with butter, jam, or honey. It also makes an excellent base for hearty soups and stews, and it’s perfect for your morning avocado toast or as the bread for a gourmet sandwich.
Q: Can I freeze this Buttermilk Bread Recipe?
Absolutely! Once completely cooled, you can wrap your Buttermilk Bread Recipe tightly in plastic wrap and then in aluminum foil, or place it in a freezer-safe bag. It should keep well in the freezer for up to 2-3 months. Thaw at room temperature before slicing and enjoying.
Q: My bread didn’t rise as much as I expected. What might have gone wrong?
Several factors can affect rising. Ensure your yeast was fresh and properly activated. The liquid temperature is crucial – too hot can kill yeast, too cold won’t activate it. Also, make sure you allowed the dough sufficient time to rise in a warm, draft-free place. Overworking the dough can also inhibit its rise.
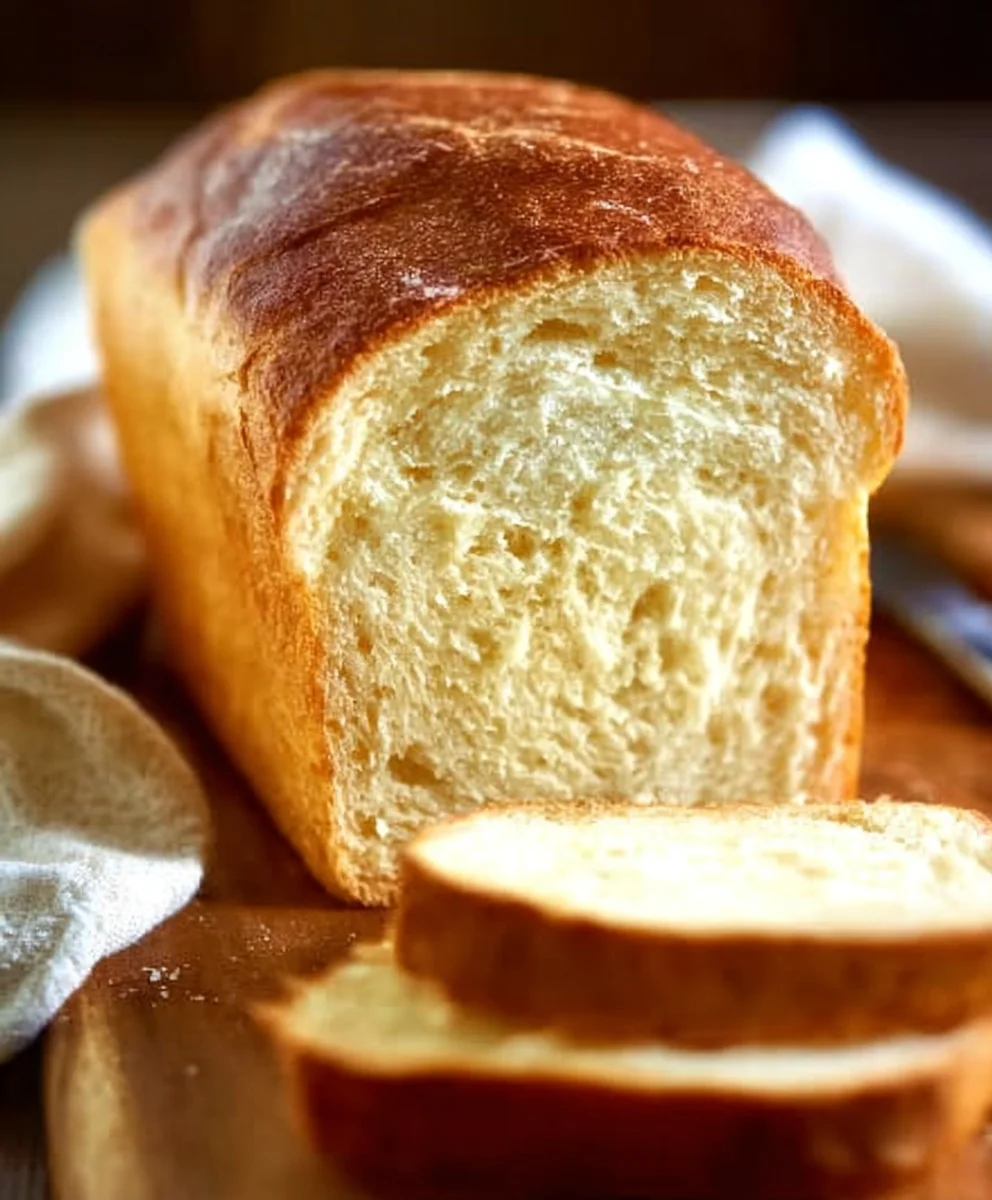
Easy Buttermilk Bread Recipe – Soft & Delicious Loaf
A simple recipe for a soft and delicious loaf of buttermilk bread, featuring a tender crumb and a slightly tangy flavor.
Ingredients
-
1 packet active dry yeast
-
1 pinch ground ginger
-
1 teaspoon granulated sugar
-
1/4 cup warm water (105F – 110F)
-
2 cups cultured buttermilk (warm, 105F – 110F)
-
1/3 cup honey
-
1 teaspoon kosher salt (if using table salt, use 3/4 teaspoon)
-
3/4 teaspoon baking soda
-
6 cups bread flour (you may substitute with all-purpose flour if bread flour is not available)
-
1/4 cup unsalted butter, melted and cooled
Instructions
-
Step 1
Activate the yeast by combining warm water and granulated sugar in a large bowl. Sprinkle yeast over the surface and let bloom for 5-10 minutes until foamy. -
Step 2
In a separate bowl, combine warm cultured buttermilk, honey, melted and cooled butter, and ground ginger. Stir well. -
Step 3
Add kosher salt and baking soda to the buttermilk mixture. Pour in the activated yeast mixture and stir. Gradually add bread flour, stirring until a shaggy dough forms. -
Step 4
Knead the dough on a lightly floured surface for 8-10 minutes until smooth and elastic, or use a stand mixer for 6-8 minutes. -
Step 5
Place the kneaded dough in a lightly greased bowl, cover, and let rise in a warm place for 1-1.5 hours, or until doubled in size. -
Step 6
Gently punch down the dough, shape it into a loaf, and place it in a prepared loaf pan. Cover loosely and let rise again for 45 minutes to 1 hour until puffy. -
Step 7
Preheat oven to 375°F (190°C). Bake the bread for 30-40 minutes until deep golden brown and the internal temperature reaches 200°F-210°F (93°C-99°C). -
Step 8
Immediately remove the bread from the pan and cool completely on a wire rack before slicing.
Important Information
Nutrition Facts (Per Serving)
It is important to consider this information as approximate and not to use it as definitive health advice.
Allergy Information
Please check ingredients for potential allergens and consult a health professional if in doubt.
Leave a Comment