
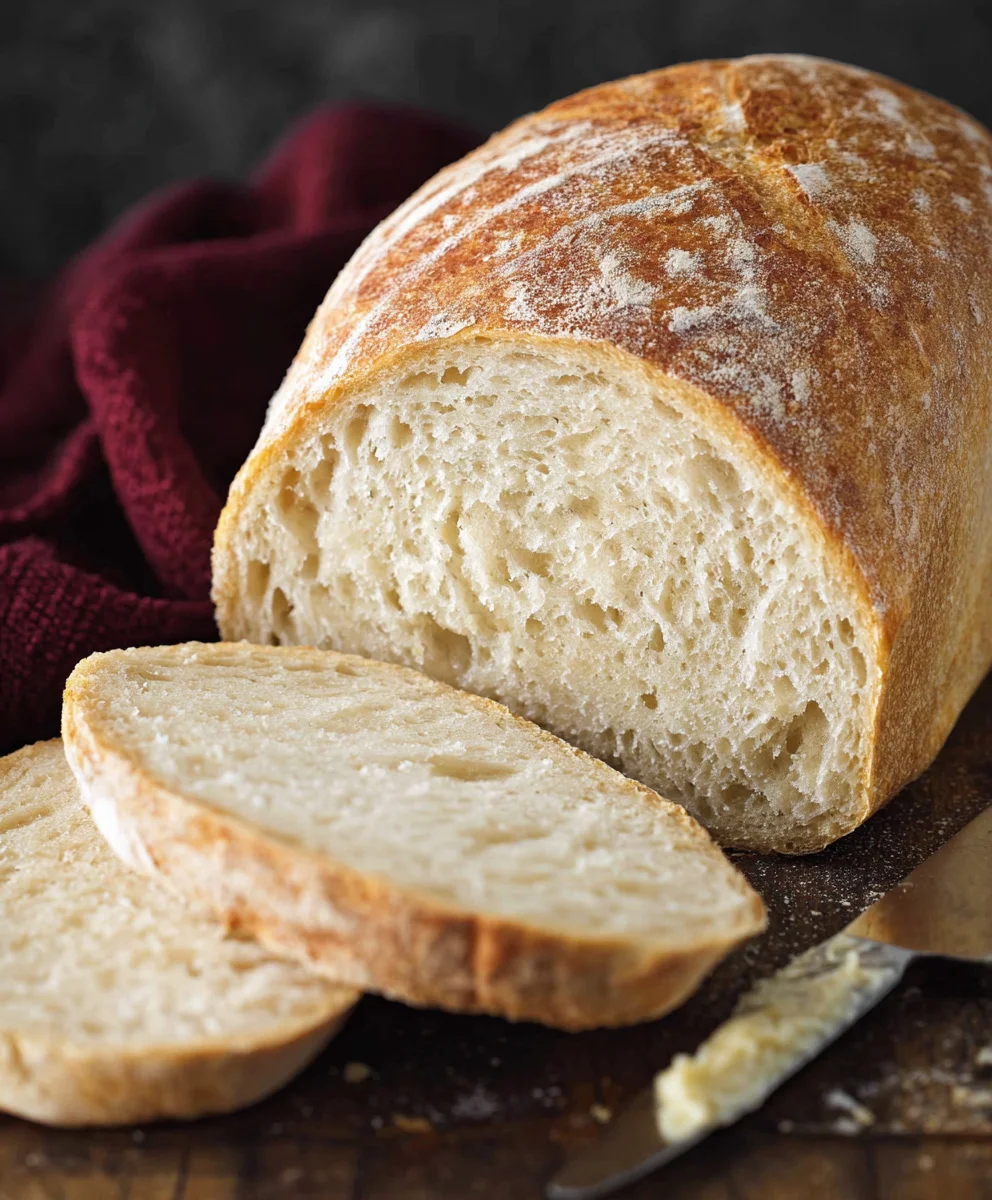
Bread Recipe With Instant Yeast: the magic of quick, effortless baking is at your fingertips! Are you dreaming of warm, crusty loaves straight from your oven but feel intimidated by the process, or perhaps just short on time? Well, let me tell you, this bread recipe with instant yeast is about to become your new kitchen best friend. It’s the kind of recipe that makes you feel like a seasoned baker, even if you’re just starting out. People absolutely adore homemade bread for its comforting aroma, its unbelievably delicious taste, and the sheer satisfaction of creating something so wholesome with your own hands. What truly sets this particular bread recipe with instant yeast apart is its incredible simplicity. The instant yeast works its wonders without needing to be proofed separately, meaning less waiting and more enjoying. It delivers a beautifully risen, tender crum extractb and a perfect golden-brown crust that will have everyone beggin extractg for seconds. Get ready to transform your kitchen into a haven of freshly baked goodness, all thanks to this foolproof method!

Ingredients:
- 2 cups very warm water (I used tap water, just make sure it’s not too hot to kill the yeast – think bathwater temperature)
- 1 packet rapid rise yeast (this is usually about 2 ¼ teaspoons if you buy it in bulk)
- ¼ cup granulated sugar (this is essential for feeding the yeast and giving the bread a nice subtle sweetness)
- 2 Tablespoons vegetable oil (or any neutral-flavored oil like canola or sunflower oil)
- 4¾-5¼ cups all purpose flour (this is a range because flour absorption can vary; we’ll add it gradually)
- 1½ teaspoons salt (don’t skip the salt; it’s crucial for flavor and controlling yeast activity)
Preparing the Dough
The first step in any good Bread Recipe With Instant Yeast is to wake up that yeast! In a large mixing bowl, or the bowl of your stand mixer, pour in the 2 cups of very warm water. Sprinkle the packet of rapid rise yeast over the top of the water. Now, add the ¼ cup of granulated sugar. Give it a gentle stir with a spoon or whisk, just enough to help the sugar dissolve and the yeast get acquainted with their sugary bath.
Let this mixture sit for about 5 to 10 minutes. You’re looking for a foamy, bubbly layer to form on the surface. This is called “proofing” the yeast, and it tells you that your yeast is alive and ready to work its magic. If you don’t see any foam, your yeast might be old or the water was too hot or too cold, and you’ll want to start over with fresh yeast.
Once your yeast is happily foamy, it’s time to add the wet ingredients that will form the base of your dough. Add the 2 Tablespoons of vegetable oil to the yeast mixture. This oil will contribute to a softer crust and a more tender crum extractb in your finished bread.
Now, let’s introduce the flour. Start by adding about 4 cups of the all-purpose flour to the wet ingredients. Add the 1½ teaspoons of salt. If you’re using a stand mixer, attach the dough hook and mix on low speed until the ingredients just come together to form a shaggy dough. If you’re mixing by hand, stir with a sturdy spoon or spatula until it’s difficult to stir any further.
Kneading the Dough
This is where we develop the gluten, which gives the bread its structure. If you’re using a stand mixer, increase the speed to medium-low and continue to knead for about 5 to 7 minutes. You’ll notice the dough will start to pull away from the sides of the bowl and become smooth and elastic. It should be slightly sticky, but not so sticky that it’s unmanageable.
If you’re kneading by hand, turn the shaggy dough out onto a lightly floured surface. Begin extract to knead by pushing the dough away from you with the heels of your hands, then folding it back towards you, and giving it a quarter turn. Continue this rhythmic motion for about 8 to 10 minutes. You’ll feel the dough transform from a sticky mess into a smooth, supple ball. The key is consistent pressure and movement. Add only a tablespoon or two of flour at a time if the dough becomes excessively sticky, but be careful not to add too much, as this can result in a dry loaf.
First Rise (Proofing)
Once your dough is smooth and elastic, it’s time for its first rest. Lightly grease a clean, large bowl with a little bit of oil. Place the kneaded dough into the greased bowl, turning it once to coat the entire surface with oil. This prevents a dry skin from forming. Cover the bowl tightly with plastic wrap or a clean kitchen towel.
Find a warm, draft-free place for your dough to rise. This could be in a slightly warm oven (turned off, but preheated for a minute or two and then turned off), on top of your refrigerator, or simply on your counter if your kitchen is warm. Let the dough rise for about 1 to 1 ½ hours, or until it has doubled in size. You’ll know it’s ready when you gently poke it with a floured finger, and the indentation stays.
Shaping and Second Rise
Gently punch down the risen dough to release the air. Turn it out onto a lightly floured surface and gently shape it into your desired loaf form. For a classic loaf, you can gently flatten the dough into a rectangle and then roll it up tightly, pinching the seam to seal. You can also divide the dough to make two smaller loaves, or shape it into rolls.
Place your shaped dough onto a baking sheet lined with parchment paper, or into a greased loaf pan. Cover it loosely with plastic wrap or a clean kitchen towel. Allow it to rise again for another 30 to 45 minutes, or until it has nearly doubled in size and looks puffy. This second rise is crucial for a light and airy texture.
Baking the Bread
Preheat your oven to 375°F (190°C) while the dough is on its second rise. Once the dough has finished its second proof, you can optionally brush the top with a little milk or egg wash for a golden sheen. If you like, you can also score the top of the loaf with a sharp knife or razor blade just before baking; this allows the bread to expand evenly.
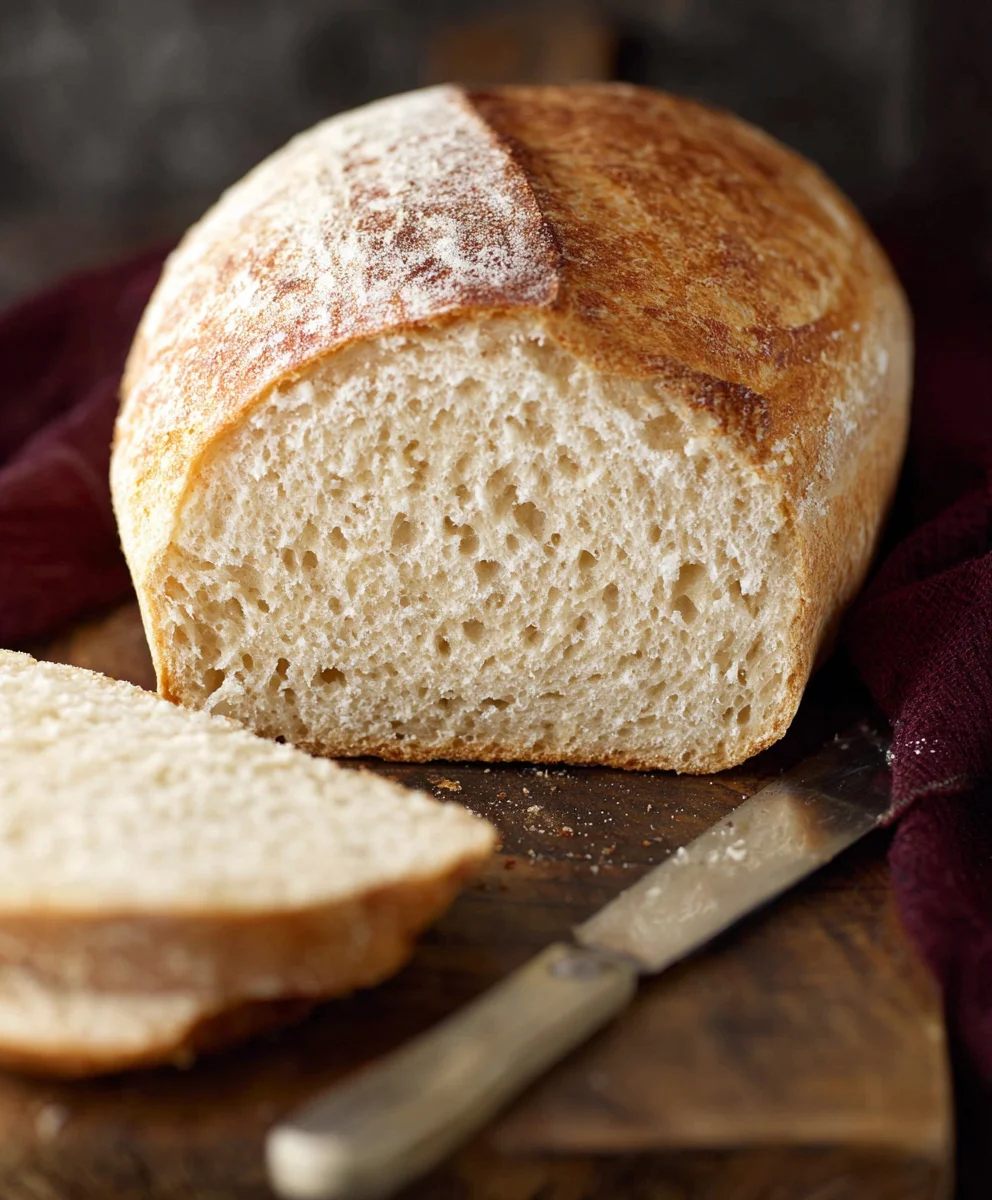
Carefully place the baking sheet or loaf pan into the preheated oven. Bake for 30 to 35 minutes, or until the crust is golden brown and the internal temperature of the bread reaches 190-200°F (88-93°C) when checked with an instant-read thermometer. If you tap the bottom of the loaf, it should sound hollow.
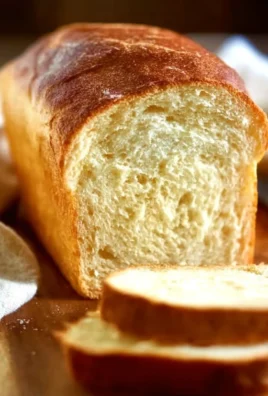
Once baked, immediately remove the bread from the loaf pan and place it on a wire rack to cool completely. This is a tough step, but letting it cool ensures the interior is fully set and prevents a gummy texture. Enjoy your delicious homemade Bread Recipe With Instant Yeast!
Conclusion:
Now that you’ve mastered the art of baking the perfect loaf with our Bread Recipe With Instant Yeast, I hope you feel empowered to create delicious, homemade bread regularly. This recipe is incredibly forgiving and yields consistently wonderful results, making it ideal for both novice bakers and seasoned pros alike. The beauty of this Bread Recipe With Instant Yeast lies in its simplicity and the fantastic texture and flavor it delivers, a testament to the power of good ingredients and a well-tested method.
I love serving this versatile bread warm, slathered with butter, or as the base for hearty sandwiches. It’s also fantastic alongside soups and stews, or even toasted and topped with your favorite spreads. Don’t be afraid to experiment! You can easily add herbs like rosemary or thyme to the dough for an aromatic twist, or mix in some seeds like sesame or poppy seeds for added texture and flavor. Consider incorporating a touch of honey or molasses for a slightly sweeter profile. The possibilities are truly endless!
So, go forth and bake with confidence! Embrace the aroma filling your kitchen and the satisfaction of sharing a homemade loaf. This Bread Recipe With Instant Yeast is more than just a recipe; it’s an invitation to create something truly special.
Frequently Asked Questions:
Q1: My bread didn’t rise very much. What could be the problem?
Several factors can affect bread rise. Ensure your instant yeast was fresh and not expired. Water temperature is crucial; too hot can kill the yeast, while too cold can slow it down significantly (lukewarm is best). Also, make sure you allowed the dough sufficient time to rise in a warm, draft-free place. Over-kneading or under-kneading can also impact the final volume.
Q2: Can I substitute bread flour for all-purpose flour in this Bread Recipe With Instant Yeast?
Yes, you can! Using bread flour will generally result in a slightly chewier texture and a better rise due to its higher protein content. If you choose to substitute, you might need to adjust the liquid slightly, as bread flour can sometimes absorb more moisture.
Q3: How long can I store the finished bread?
Once completely cooled, this bread can be stored at room temperature in an airtight container or bread bag for 2-3 days. For longer storage, you can slice the bread and freeze it. It thaws beautifully and maintains its freshness.
Easy Instant Yeast Bread Recipe – Perfect Loaf
A simple and delicious recipe for homemade instant yeast bread that results in a perfect, soft loaf.
Ingredients
-
2 cups very warm water
-
1 packet rapid rise yeast
-
1/4 cup granulated sugar
-
2 Tablespoons vegetable oil
-
4 3/4 – 5 1/4 cups all purpose flour
-
1 1/2 teaspoons salt
Instructions
-
Step 1
In a large mixing bowl, combine very warm water, rapid rise yeast, and granulated sugar. Let sit for 5-10 minutes until foamy. -
Step 2
Add vegetable oil to the yeast mixture. Gradually add about 4 cups of all-purpose flour and the salt. Mix until a shaggy dough forms. -
Step 3
Knead the dough (stand mixer 5-7 minutes, by hand 8-10 minutes) until smooth and elastic, adding more flour as needed to prevent sticking. -
Step 4
Place dough in a lightly oiled bowl, cover, and let rise in a warm place for 1-1.5 hours, or until doubled in size. -
Step 5
Punch down the dough, shape into a loaf, and place on a baking sheet or in a loaf pan. Cover loosely and let rise for another 30-45 minutes. -
Step 6
Preheat oven to 375°F (190°C). Bake for 30-35 minutes until golden brown and internal temperature reaches 190-200°F (88-93°C). -
Step 7
Remove bread from pan and cool completely on a wire rack before slicing.
Important Information
Nutrition Facts (Per Serving)
It is important to consider this information as approximate and not to use it as definitive health advice.
Allergy Information
Please check ingredients for potential allergens and consult a health professional if in doubt.

Leave a Comment