
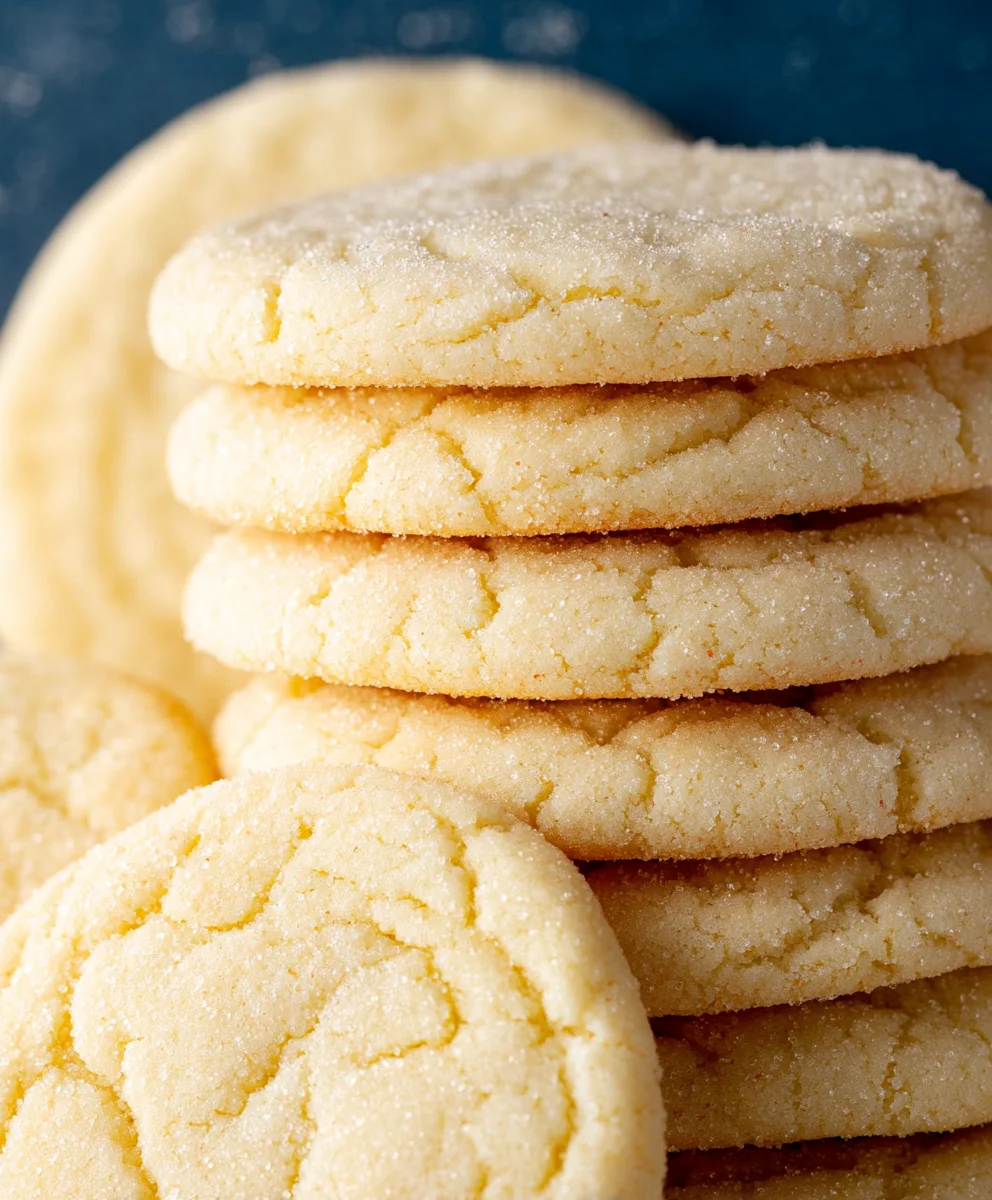
Sugar Cookies
are a universally beloved treat, conjuring images of warm kitchens, festive holidays, and simple joys. There’s a certain magic in their delicate sweetness and soft, slightly chewy texture that appeals to us all. Whether it’s the comforting aroma that fills your home as they bake or the delightful crum extractb that melts in your mouth, these classic Sugar Cookies hold a special place in our hearts and on our dessert tables. We adore them for their versatility – perfect for decorating with vibrant icing for birthdays and celebrations, or simply enjoyed plain with a glass of milk for a comforting snack. What truly sets this particular recipe apart is its foolproof nature. It’s designed to deliver consistently tender cookies with that perfect balance of sweetness and vanilla, ensuring your homemade batch is always a resounding success, even if you’re a begin extractner baker.

Ingredients:
- 2 ¾ cups all-purpose flour, plus more for dusting
- 1 teaspoon baking soda
- 1 teaspoon baking powder
- ½ teaspoon salt
- 1 cup unsalted butter, softened to room temperature
- 1 ¼ cups granulated sugar, plus ½ cup granulated sugar for rolling the cookie dough
- 1 large egg, at room temperature
- 1 large egg yolk, at room temperature
- 3 teaspoons vanilla extract
Preparing the Dough
The foundation of any great cookie lies in its dough. For these classic sugar cookies, we’re going to build a tender and slightly chewy base that will hold its shape beautifully during baking, making them perfect for decorating. Start by gathering all your ingredients. Ensuring your butter, egg, and egg yolk are at room temperature is crucial. This allows them to emulsify properly, creating a smoother, more cohesive dough and preventing the butter from seizing when it encounters other ingredients.
In a medium-sized bowl, whisk together the dry ingredients: 2 ¾ cups of all-purpose flour, 1 teaspoon of baking soda, 1 teaspoon of baking powder, and ½ teaspoon of salt. Whisking them together thoroughly ensures that the leavening agents and salt are evenly distributed throughout the flour, which will lead to uniformly risen and seasoned cookies. Set this mixture aside for now.
In a large mixing bowl, using an electric mixer (stand mixer with a paddle attachment or a hand mixer), cream together the softened 1 cup of unsalted butter and 1 ¼ cups of granulated sugar. Beat them on medium speed until the mixture is light, fluffy, and pnon-alcoholic ale yellow in color. This process, known as creaming, incorporates air into the butter and sugar, which contributes to the cookie’s texture and rise. This usually takes about 3 to 5 minutes. Scrape down the sides of the bowl occasionally to ensure everything is incorporated.
Once the butter and sugar are perfectly creamed, add the room temperature egg and the egg yolk, one at a time, beating well after each addition until fully incorporated. Next, beat in the 3 teaspoons of vanilla extract. The vanilla is essential for that quintessential sweet cookie aroma and flavor we all know and love. Make sure the mixture is well combined and smooth before proceeding.
Now, it’s time to add the dry ingredients to the wet ingredients. Gradually add the flour mixture to the butter mixture, mixing on low speed just until the flour streaks disappear. Be careful not to overmix at this stage; overmixing can develop the gluten in the flour too much, resulting in tough cookies. It’s better to have a few tiny streaks of flour left than to overwork the dough. You can finish combining any remaining bits by hand with a spatula.
Chilling and Shaping the Dough
Dough that has been chilled is much easier to handle, especially for cut-out cookies. Once your dough is mixed, divide it into two equal portions. Flatten each portion into a disk, wrap it tightly in plastic wrap, and refrigerate for at least 2 hours, or preferably overnight. This chilling period allows the flour to fully hydrate and the fats to firm up, which makes the dough less sticky and easier to roll out without it spreading too much during baking.
When you’re ready to bake, take one disk of dough out of the refrigerator. Let it sit at room temperature for about 10-15 minutes to soften slightly, making it pliable but still firm. Lightly flour a clean work surface and your rolling pin. Roll out the dough to about ¼-inch thickness. It’s important to aim for an even thickness so that your cookies bake uniformly. If the dough becomes too soft or sticky, you can pop it back into the refrigerator for another 15-20 minutes.
Now comes the fun part: cutting out your cookies! Use your favorite cookie cutters to create festive shapes. As you cut, try to place the cutters close together to minimize dough scraps. Gather the scraps, gently re-roll them once, and cut out more cookies. Be mindful not to overwork the dough when re-rolling, as this can also lead to tougher cookies.
For an extra touch of sweetness and sparkle, pour the ½ cup of granulated sugar into a shallow dish. Gently press the tops of your cut-out cookies into the sugar, or simply roll them in the sugar. This creates a lovely, subtly crunchy coating that caramelizes beautifully during baking.
Baking and Cooling
Preheat your oven to 375°F (190°C). Line baking sheets with parchment paper. Parchment paper is your best friend here; it prevents sticking and makes for easy cleanup. Carefully transfer your sugar cookie cut-outs to the prepared baking sheets, leaving about 1 to 2 inches of space between each cookie to allow for slight spreading.
Bake for 8 to 12 minutes, or until the edges are lightly golden brown and the centers appear set. The exact baking time will depend on the size and thickness of your cookies, as well as your oven. Keep a close eye on them, especially during the last few minutes, to prevent burning. You want them to be golden, not dark brown.
Once baked, let the cookies cool on the baking sheets for 2 to 3 minutes. This allows them to firm up enough to be moved without breaking. Then, carefully transfer the cookies to a wire rack to cool completely. Allowing them to cool completely on a wire rack ensures that air circulates around them, preventing a soggy bottom and ensuring they develop the perfect texture for decorating. Once completely cool, these delightful sugar cookies are ready for frosting, icing, or enjoying just as they are!
Conclusion:
And there you have it – your delightful guide to creating perfect Sugar Cookies! We’ve walked through each step, from creaming the butter and sugar to achieving that beautifully soft yet slightly crisp texture. These Sugar Cookies are a true testament to simple ingredients creating something truly special. They’re wonderful on their own, dusted with a little powdered sugar, or dressed up with your favorite royal icing for a festive touch. Don’t be afraid to experiment with different extracts like almond or lemon for a subtle flavor twist, or add sprinkles for a pop of color and fun.
I truly encourage you to give this recipe a try. The aroma of freshly baked Sugar Cookies filling your home is an experience in itself, and the joy of sharing them with loved ones is even sweeter. So gather your ingredients, put on your favorite apron, and let’s get baking!
Frequently Asked Questions about Sugar Cookies:
Q: How can I make my Sugar Cookies softer?
A: For softer Sugar Cookies, ensure you don’t overbake them. Aim to pull them from the oven when the edges are just starting to turn golden brown, but the centers still look slightly soft. Overbaking is the most common culprit for dry, hard cookies. Also, using a touch more flour than absolutely necessary can lead to a firmer cookie, so measure your flour carefully.
Q: Can I freeze the Sugar Cookie dough?
A: Absolutely! The dough for these Sugar Cookies freezes beautifully. Once you’ve made the dough and it’s chilled, wrap it tightly in plastic wrap and then place it in a freezer-safe bag or container. It can be stored for up to 3 months. When you’re ready to bake, simply let the dough thaw in the refrigerator overnight before proceeding with the recipe.
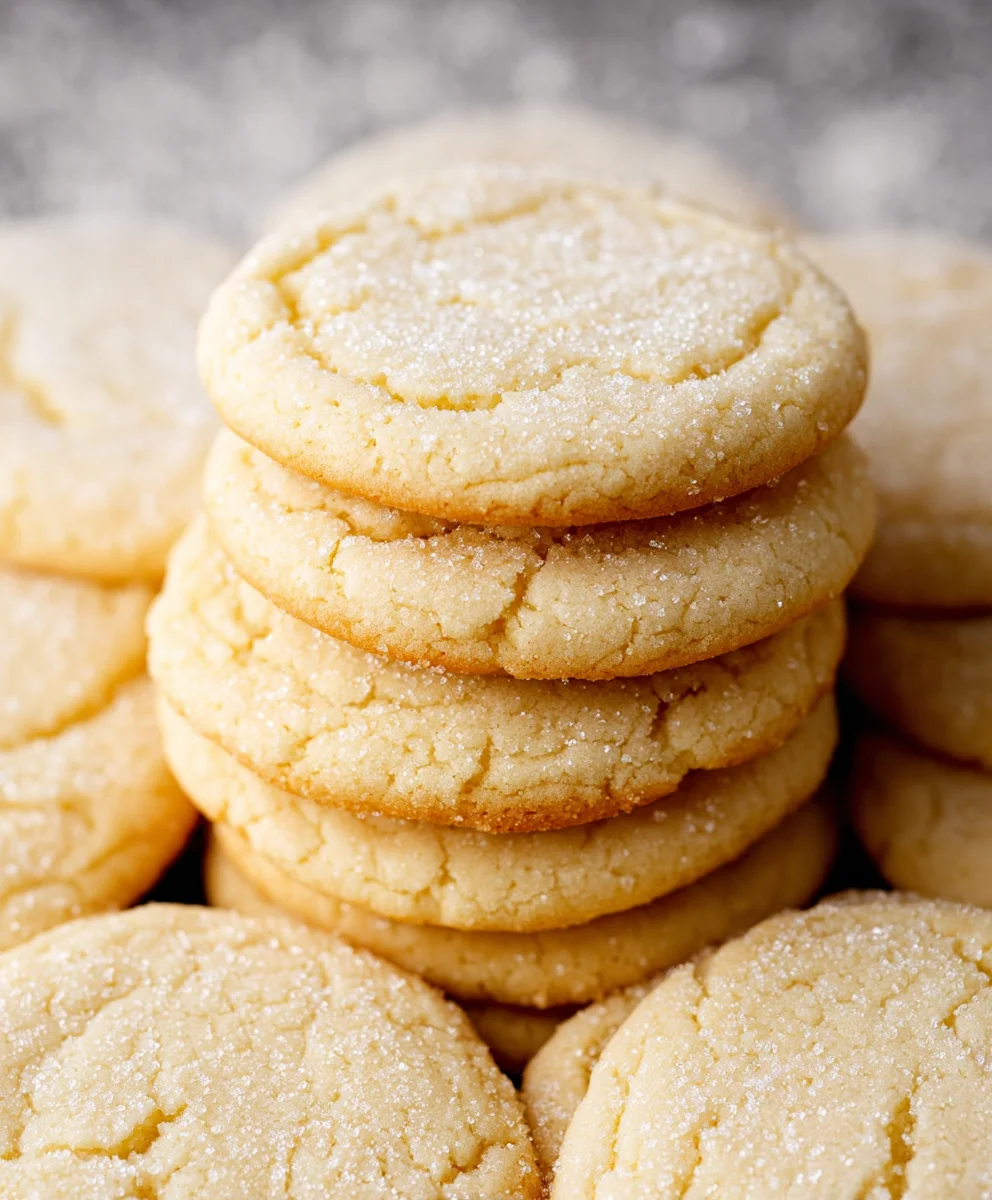
Easy Sugar Cookie Recipe-Perfectly Sweet & Simple
A perfectly sweet and simple sugar cookie recipe that’s easy to make and ideal for decorating. These cookies have a tender and slightly chewy base that holds its shape beautifully.
Ingredients
-
2 ¾ cups all-purpose flour
-
1 teaspoon baking soda
-
1 teaspoon baking powder
-
½ teaspoon salt
-
1 cup unsalted butter, softened to room temperature
-
1 ¼ cups granulated sugar
-
1 large egg, at room temperature
-
1 large egg yolk, at room temperature
-
3 teaspoons vanilla extract
-
½ cup granulated sugar, for rolling the cookie dough
Instructions
-
Step 1
In a medium bowl, whisk together 2 ¾ cups all-purpose flour, 1 teaspoon baking soda, 1 teaspoon baking powder, and ½ teaspoon salt. Set aside. In a large bowl, cream together 1 cup softened unsalted butter and 1 ¼ cups granulated sugar until light and fluffy. Beat in 1 room temperature egg, 1 room temperature egg yolk, and 3 teaspoons vanilla extract until smooth. -
Step 2
Gradually add the dry ingredients to the wet ingredients, mixing on low speed just until the flour streaks disappear. Be careful not to overmix. -
Step 3
Divide the dough into two equal portions, flatten each into a disk, wrap tightly in plastic wrap, and refrigerate for at least 2 hours, or preferably overnight. -
Step 4
Preheat oven to 375°F (190°C). Line baking sheets with parchment paper. Roll out one disk of chilled dough to about ¼-inch thickness on a lightly floured surface. Cut out shapes with cookie cutters. -
Step 5
Pour ½ cup granulated sugar into a shallow dish. Gently press the tops of the cut-out cookies into the sugar or roll them in it. Place cookies on prepared baking sheets, leaving 1-2 inches between them. -
Step 6
Bake for 8 to 12 minutes, or until the edges are lightly golden brown. Let cool on baking sheets for 2-3 minutes, then transfer to a wire rack to cool completely.
Important Information
Nutrition Facts (Per Serving)
It is important to consider this information as approximate and not to use it as definitive health advice.
Allergy Information
Please check ingredients for potential allergens and consult a health professional if in doubt.

Leave a Comment