
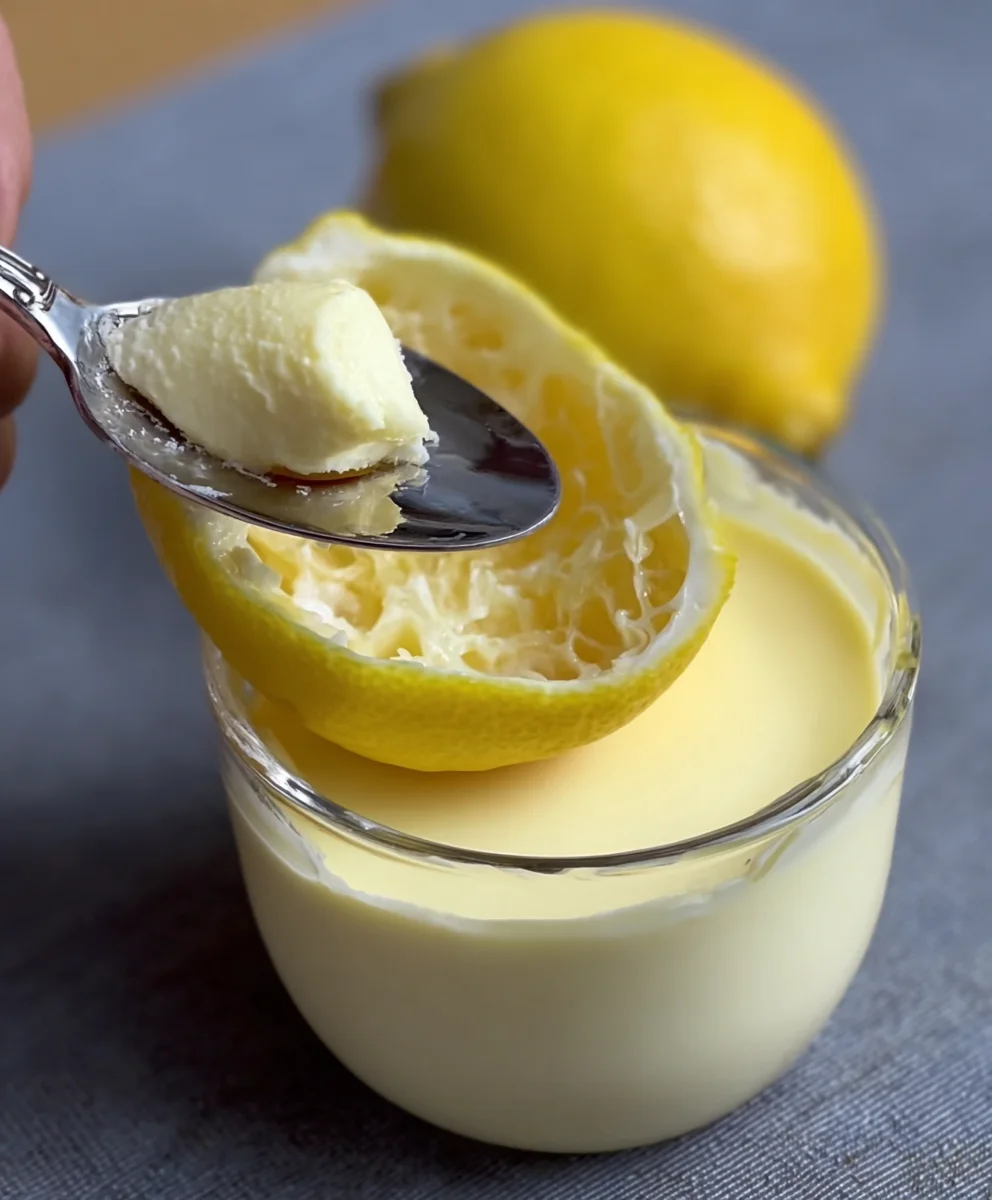
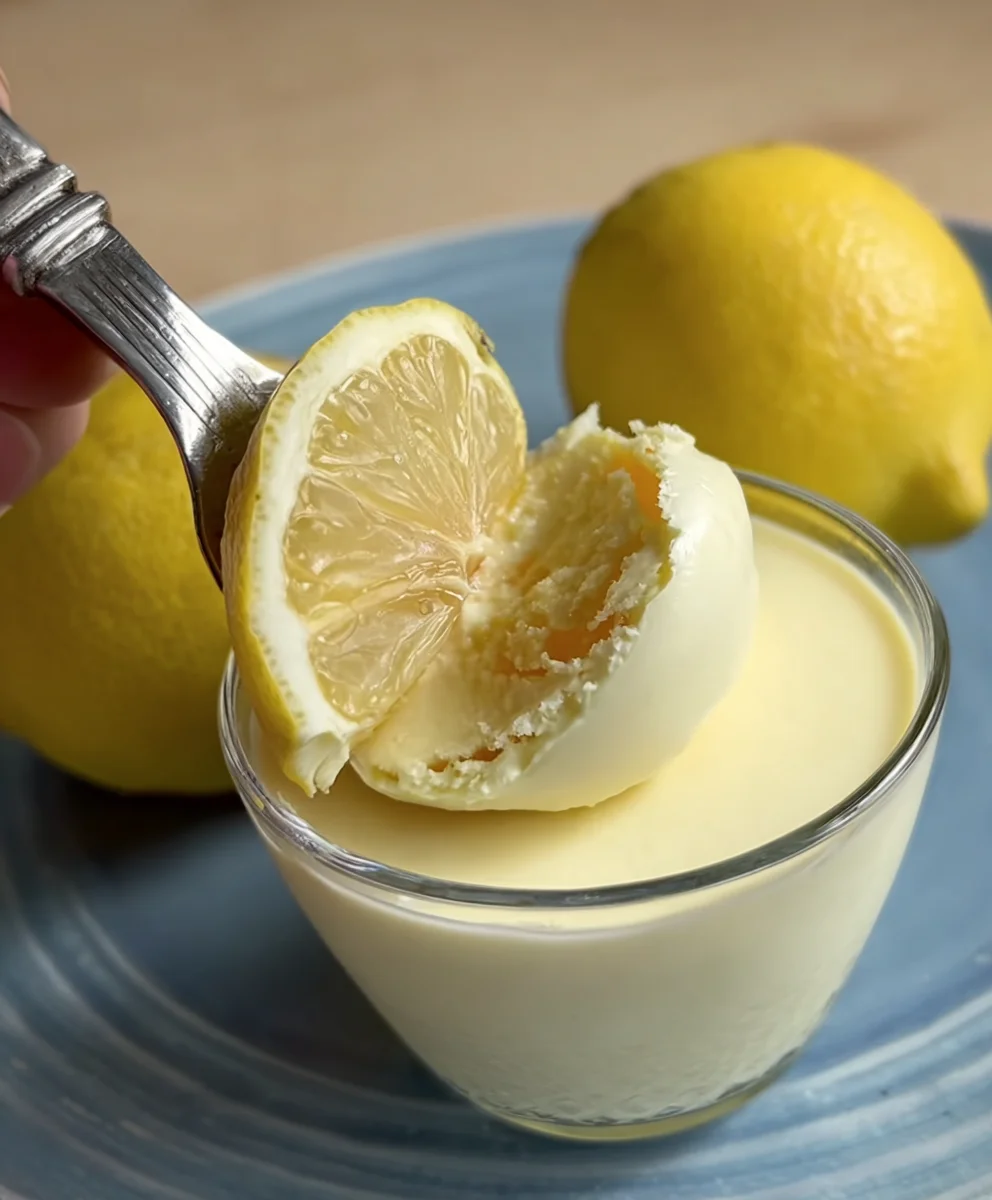
Lemon Posset: The Easiest Dessert Ever! you say? And I wholeheartedly agree! If you’re dreaming of a dessert that’s incredibly elegant, delightfully refreshing, and astonishingly simple to make, then look no further. This classic British sweet is a true showstopper without the fuss, perfect for impressing guests or treating yourself to a moment of pure bliss. What makes this seemingly unassuming concoction so beloved? It’s the magical transformation of just a few humble ingredients – heavy cream, sugar, and fresh lemon juice – into a silken, cloud-like pudding that melts in your mouth. The vibrant zing of the lemon cuts beautifully through the richness of the cream, creating a perfectly balanced flavor profile that’s utterly irresistible. Prepare to be amazed by how little effort yields such a spectacular result, making Lemon Posset: The Easiest Dessert Ever! a recipe you’ll turn to again and again.

Ingredients:
- 2 cups heavy cream
- 2/3 cup granulated sugar
- 1/4 cup fresh lemon juice (from about 1-2 lemons)
- Zest of 1 lemon
- Pinch of salt
- Optional garnishes: fresh berries, mint sprigs, shortbread cookies
Making the Lemon Posset:
Step 1: Infuse the Cream
In a medium saucepan, combine the heavy cream, granulated sugar, and the pinch of salt. Place the saucepan over medium heat. Stir the mixture continuously with a whisk or a wooden spoon until the sugar has completely dissolved. It’s crucial to ensure all the sugar granules are gone, as this will prevent a grainy texture in your finished posset. Once the sugar is dissolved and the mixture is just begin extractning to simmer around the edges – you don’t want a rolling boil, just gentle heat – remove the saucepan from the heat. This gentle heating process allows the sugar to melt and slightly thicken the cream without scalding it.
Step 2: Add the Lemon Zest
While the cream mixture is still warm and off the heat, stir in the finely grated lemon zest. The warmth of the cream will help to release the fragrant oils from the lemon zest, infusing a beautiful citrus aroma and flavor into the entire mixture. Let this mixture steep for about 10-15 minutes. This steeping time is essential for the lemon flavor to fully develop and meld with the richness of the cream. You want a prominent but not overpowering lemon essence. Don’t rush this step, as it directly impacts the final taste profile of your posset.
Step 3: Strain and Add Lemon Juice
After the steeping period, carefully strain the cream mixture through a fine-mesh sieve into a clean bowl or a spouted measuring cup. This step is important for removing the lemon zest, ensuring a smooth and velvety texture for your posset. Discard the zest left behind in the sieve. Now, it’s time to incorporate the fresh lemon juice. Add the lemon juice to the strained cream mixture and whisk gently to combine. You’ll notice a slight thickening occur almost immediately as the acid from the lemon juice reacts with the protein in the cream. This is the magic of posset happening right before your eyes!
Step 4: Portion and Chill
Pour the posset mixture into your chosen serving dishes. Small ramekins, teacups, or even shot glasses work wonderfully for individual servings. If you plan to unmold the possets later, lightly grease the inside of your molds with a neutral oil or butter before pouring the mixture in, though for a simple chilled dessert, serving directly in the dishes is perfectly fine and much easier. Once the dishes are filled, cover them loosely with plastic wrap, making sure the wrap doesn’t touch the surface of the posset itself. This prevents a skin from forming. Place the covered dishes in the refrigerator and chill for at least 4 hours, or preferably overnight. The longer they chill, the firmer they will become.
Step 5: Garnish and Serve
Once your lemon possets are firmly set and chilled, they are ready to be enjoyed. If you’ve served them directly in their dishes, you can now add your desired garnishes. Fresh berries like raspberries or blueberries add a lovely pop of color and a contrasting tartness. A sprig of fresh mint provides an extra layer of aroma and visual appeal. For a delightful textural contrast, serve alongside some crunchy shortbread cookies for dipping. If you chose to unmold your possets, carefully run a thin knife around the edge of each mold and invert them onto serving plates. Then, apply your garnishes. The beauty of lemon posset lies in its simplicity and elegance, making it a perfect, effortless dessert for any occasion.
Conclusion:
We’ve reached the end of our journey to create the incredibly simple yet utterly delightful Lemon Posset: The Easiest Dessert Ever! This recipe truly lives up to its name, proving that gourmet-quality desserts don’t require hours in the kitchen or complex techniques. The magic lies in its minimalist ingredients and straightforward method, resulting in a silky smooth, intensely citrusy, and wonderfully refreshing treat that’s perfect for any occasion. Whether you’re a seasoned baker or a complete novice, you’ll be amazed at how easily you can whip up this elegant dessert.
For serving suggestions, consider garnishing your Lemon Posset: The Easiest Dessert Ever! with fresh berries, a sprig of mint, or a delicate shortbread biscuit for an extra touch of indulgence. You can also elevate it with a drizzle of berry coulis or a sprinkle of toasted almonds. Don’t be afraid to experiment with variations! Try infusing the cream with other citrus zests like lime or grapefruit, or add a hint of lavender for a floral twist. This recipe is a fantastic base for your own creative culinary explorations.
We truly hope you enjoy making and sharing this wonderful Lemon Posset: The Easiest Dessert Ever! It’s a testament to the fact that simplicity can be incredibly sophisticated and satisfying. So, gather your ingredients, follow the steps, and prepare to impress yourself and your guests!
FAQs for Lemon Posset: The Easiest Dessert Ever!
Q1: Can I make this Lemon Posset ahead of time?
Absolutely! The beauty of Lemon Posset: The Easiest Dessert Ever! is that it’s best made in advance. It needs at least 3-4 hours to chill and set properly, making it an ideal make-ahead dessert for dinner parties or busy weeks. In fact, it can be stored in the refrigerator for up to 2 days, allowing you to prepare it well in advance.
Q2: What if my posset doesn’t set properly?
If your Lemon Posset: The Easiest Dessert Ever! doesn’t set as firmly as you’d like, it’s usually due to the cream not reaching a sufficient temperature or the lemon juice being added too early or too late. Ensure the cream mixture boils gently for the full recommended time. If it’s still a bit soft, you can try chilling it for a longer period. Avoid whisking vigorously once the lemon juice is added, as this can also affect setting.
Q3: Can I use a different type of citrus other than lemon?
While lemon is traditional and provides a wonderful balance, you can experiment with other citrus fruits! Lime posset offers a zesty, slightly sharper alternative. Grapefruit posset can also be delightful, though you might want to adjust the sugar slightly as grapefruit can be more bitter. For best results with other citrus, start with a similar ratio of juice to cream and adjust sweetness to your taste.
Easy Lemon Posset Dessert
A simple, creamy, and delicious lemon posset dessert that’s incredibly easy to make and perfect for any occasion.
Ingredients
-
2 cups heavy cream
-
2/3 cup granulated sugar
-
1/4 cup fresh lemon juice
-
Zest of 1 lemon
-
Pinch of salt
-
Fresh berries (optional garnish)
-
Mint sprigs (optional garnish)
-
Shortbread cookies (optional garnish)
Instructions
-
Step 1
In a medium saucepan, combine heavy cream, granulated sugar, and a pinch of salt. Heat over medium heat, stirring until sugar dissolves. Simmer gently around the edges, then remove from heat. -
Step 2
Stir in finely grated lemon zest while the cream mixture is warm. Let steep for 10-15 minutes to infuse flavor. -
Step 3
Strain the cream mixture through a fine-mesh sieve into a clean bowl to remove zest. Whisk in fresh lemon juice; the mixture will thicken. -
Step 4
Pour the posset mixture into individual serving dishes, ramekins, or teacups. Cover loosely with plastic wrap to prevent a skin from forming. -
Step 5
Chill in the refrigerator for at least 4 hours, or preferably overnight, until firmly set. -
Step 6
Garnish with fresh berries, mint sprigs, or serve with shortbread cookies before serving.
Important Information
Nutrition Facts (Per Serving)
It is important to consider this information as approximate and not to use it as definitive health advice.
Allergy Information
Please check ingredients for potential allergens and consult a health professional if in doubt.


Leave a Comment