
White Chocolate Raspberry Dream Cake Recipe: Non-non-non-alcoholic alternativeic Delight Awaits!
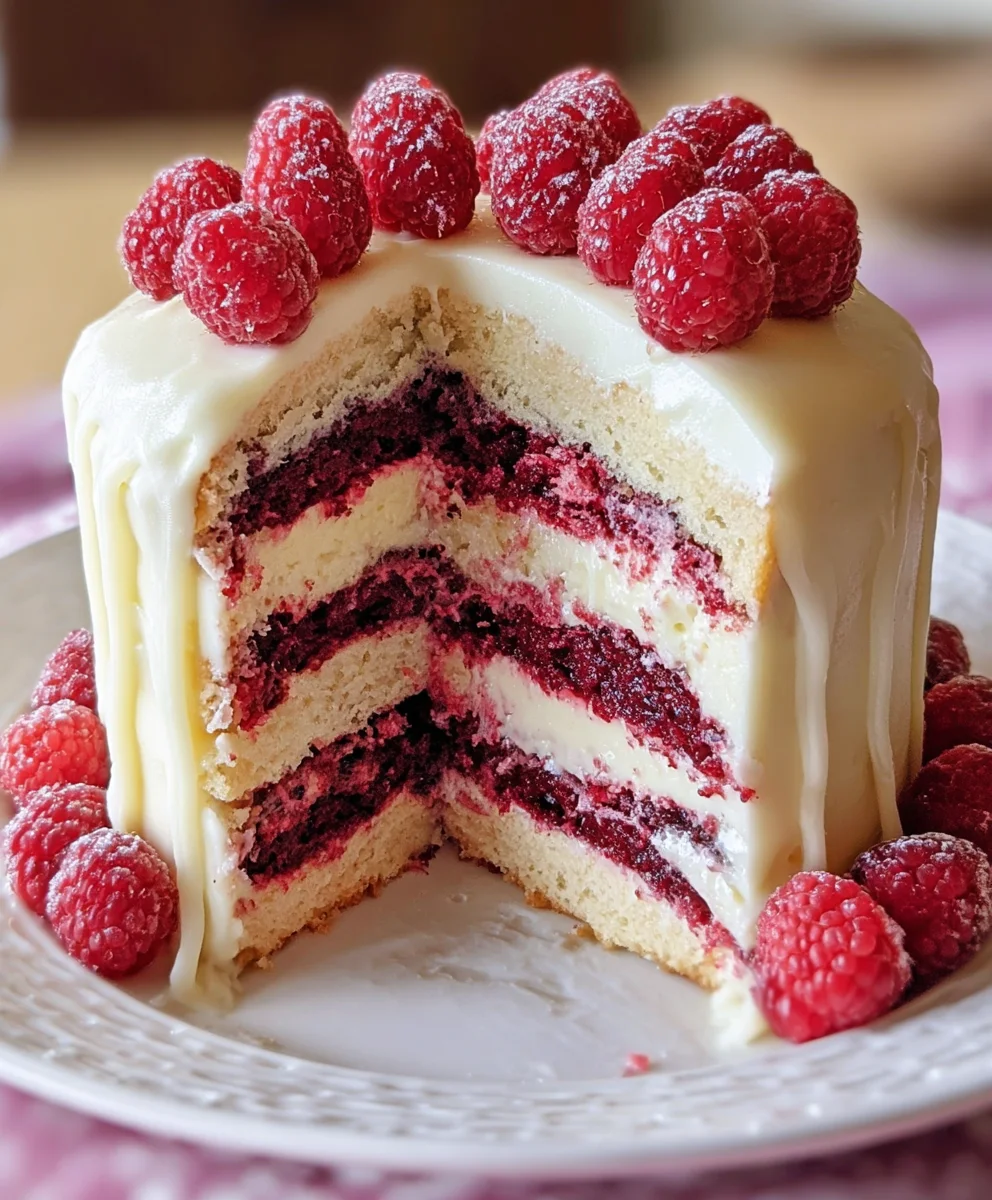
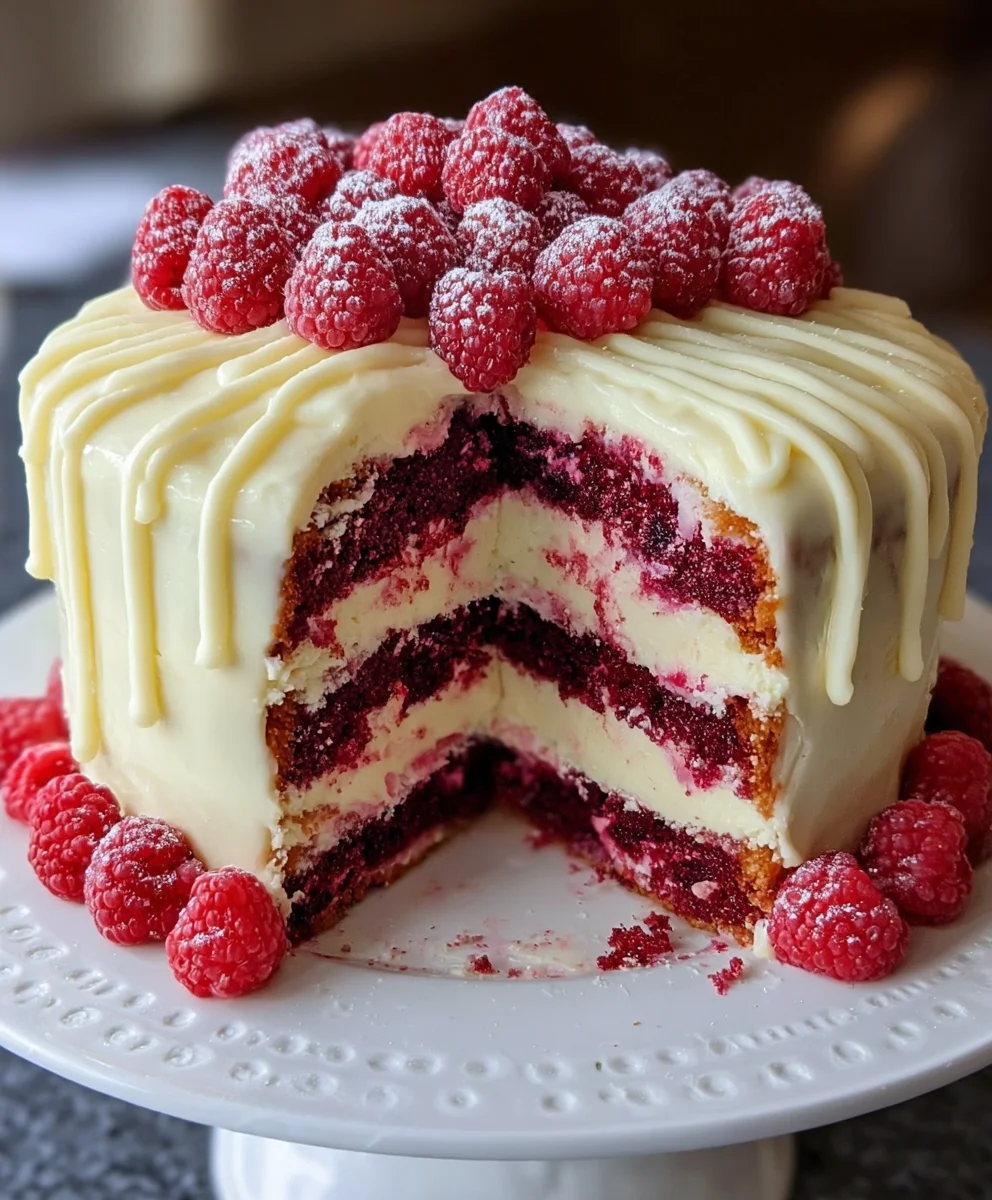
Are you searching for a truly decadent dessert that will wow your guests and tantalize your taste buds? Look no further than this incredible White Chocolate Raspberry Dream Cake recipe. It’s a symphony of sweet, creamy white chocolate perfectly balanced by the tart, vibrant burst of fresh raspberries. This isn’t just any cake; it’s an experience. People absolutely adore this creation because it manages to be both sophisticated and wonderfully comforting, a perfect centerpiece for any celebration or a delightful treat to simply brighten your day. What truly sets this White Chocolate Raspberry Dream Cake recipe apart is its impossibly moist crum extractb, the luscious white chocolate ganache that melts in your mouth, and the jewel-like raspberry swirl that cuts through the richness with delightful precision. We’ve crafted this version to non-alcoholic alternativeletely non-alcoholicolic, ensuring everyone can indulge in this heavenly confection. Get ready to create something truly magical in your own kitchen!

Ingredients:
- 2 cups all-purpose flour
- 1 ½ cups granulated sugar
- ½ cup unsalted butter, softened
- 1 cup milk
- 3 large eggs
- 1 tablespoon baking powder
- 1 teaspoon vanilla extract (for cake batter)
- ½ teaspoon salt
- 1 cup white chocolate chips
- 1 cup fresh raspberries
- 1 cup heavy whipping cream
- 2 tablespoons powdered sugar (for whipped cream)
- 1 teaspoon vanilla extract (for whipped cream)
Preparing the Cake Batter
Step 1: Cream the Butter and Sugar
Begin extract by creaming together the softened unsalted butter and granulated sugar in a large mixing bowl. I like to use an electric mixer for this, starting on a low speed and gradually increasing to medium-high. Creaming is crucial for incorporating air into the batter, which leads to a lighter, fluffier cake. You’ll want to continue mixing until the mixture is pnon-alcoholic ale yellow and has a fluffy, cloud-like consistency. This usually takes about 3 to 5 minutes. Scrape down the sides of the bowl a couple of times to ensure everything is evenly mixed. This creates the perfect foundation for our White Chocolate Raspberry Dream Cake.
Step 2: Incorporate Eggs and Vanilla
Next, add the three large eggs, one at a time, beating well after each addition. It’s important to ensure each egg is fully incorporated before adding the next. This helps to emulsify the batter and prevent it from separating. After the last egg is mixed in, stir in 1 teaspoon of vanilla extract. This aromatic extract will infuse the cake with a lovely sweet fragrance and flavor, complementing the white chocolate and raspberry beautifully. Continue to beat until the mixture is smooth and well combined.
Step 3: Combine Dry and Wet Ingredients Alternately
In a separate medium bowl, whisk together the all-purpose flour, baking powder, and salt. This step ensures that the leavening agent (baking powder) and salt are evenly distributed throughout the flour, preventing pockets of saltiness or uneven rising. Now, ygin extractll begin adding the dry ingredients to the wet ingredients alternately with the milk. Start by adding about a third of the flour mixture to the butter-sugar-egg mixture and mix on low speed until just combined. Then, add half of the milk and mix until just incorporated. Repeat this process, adding another third of the flour mixture, then the remaining milk, and finally the last of the flour mixture. It’s vital not to overmix the batter at this stage. Overmixing can develop the gluten in the flour too much, resulting in a tough cake. Mix only until no streaks of flour remain.
Step 4: Fold in White Chocolate Chips and Raspberries
Once the batter is just combined, it’s time to add those delicious flavor components. Gently fold in the white chocolate chips and fresh raspberries. I recommend using a spatula for this, using an under-and-over motion. Be careful not to crush the raspberries too much; we want some of them to remain whole for bursts of tartness in every bite. The white chocolate chips will melt slightly during baking, creating pockets of sweet, creamy goodness. Ensure they are evenly distributed throughout the batter for a balanced flavor in every slice of your White Chocolate Raspberry Dream Cake.
Baking the Cake
Step 5: Bake and Cool
Preheat your oven to 350°F (175°C). Grease and flour a 9-inch round cake pan, or line it with parchment paper. Pour the prepared batter evenly into the prepared pan. Smooth the top with your spatula. Bake for 30-35 minutes, or until a wooden skewer or toothpick inserted into the center comes out clean. The baking time can vary depending on your oven, so keep an eye on it. Once baked, let the cake cool in the pan for about 10-15 minutes before inverting it onto a wire rack to cool completely. Allowing it to cool in the pan first prevents it from cracking.
Making the Whipped Cream Frosting
Step 6: Whip the Cream
While the cake is cooling, prepare the whipped cream. In a clean, chilled mixing bowl, combine the heavy whipping cream, powdered sugar, and 1 teaspoon of vanilla extract. Using an electric mixer with the whisk attachment, start on low speed and gradually increase to high. Whip the cream until stiff peaks form. This means that when you lift the whisk, the cream will hold its shape and the peaks will stand straight up without curling over. Be careful not to overwhip, as this can turn the cream into butter. The powdered sugar not only adds sweetness but also helps stabilize the whipped cream, making it less likely to deflate.
Step 7: Assemble and Decorate
Once the cake is completely cool, you can frost it. Spread the homemade whipped cream generously over the top of the cake. If you’re feeling fancy, you can reserve a little whipped cream and pipe some decorative swirls around the edges. For an extra touch of visual appeal and flavor, you can sprinkle a few extra white chocolate chips or fresh raspberries on top of the whipped cream just before serving. This White Chocolate Raspberry Dream Cake is best served chilled or at room temperature. Enjoy the delightful combination of moist cake, sweet white chocolate, and tangy raspberries, all crowned with light and airy whipped cream.
Conclusion:
You’ve now mastered the art of creating the exquisite White Chocolate Raspberry Dream Cake Recipe (non-non-non-alcoholic alternativeic)! This delightful dessert, with its tender white chocolate layers and vibrant raspberry filling, is sure to become a centerpiece for any celebration or a decadent treat just because. Remember, the key to its success lies in the quality of your white chocolate and the freshness of your raspberries. Don’t be afraid to get creative with your presentation; a dusting of powdered sugar, a few extra fresh berries, or even some white chocolate shavings can elevate its beauty.
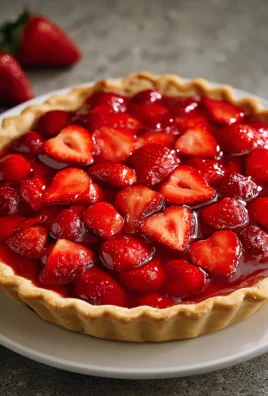
For serving, this cake is divine on its own, but it also pairs wonderfully with a dollop of fresh whipped cream or a scoop of vanilla bean ice cream. If you’re feeling adventurous, consider a raspberry coulis drizzled over the top for an extra burst of flavor. This White Chocolate Raspberry Dream Cake Recipe is also incredibly versatile. You can swap out the raspberries for other berries like strawberries or blueberries, or even add a hint of lemon zest to the batter for a citrusy twist. The possibilities are truly endless!
I encourage you to give this recipe a try. It’s a rewarding baking experience that yields a truly spectacular result. Enjoy every single delicious bite!
Frequently Asked Questions:
Q1: Can I make this White Chocolate Raspberry Dream Cake Recipe ahead of time?
Absolutely! This cake is even better when made a day in advance. This allows the flavors to meld together beautifully. Store it covered at room temperature for up to two days, or in the refrigerator if your environment is particularly warm. If refrigerating, allow it to come to room temperature for about 30 minutes before serving for the best texture.
Q2: What kind of white chocolate should I use?
For the best flavor and texture in this White Chocolate Raspberry Dream Cake Recipe, I recommend using a good quality baking white chocolate, rather than white chocolate chips which often contain stabilizers that can affect melting and texture. Look for brands that list cocoa butter as a primary ingredient. This will ensure a smooth, rich white chocolate flavor in your cake.
White Chocolate Raspberry Dream Cake Non-Non-Non-Alcoholic Alternativeic
A delightful non-alcoholic cake featuring layers of moist white chocolate chip cake studded with fresh raspberries, topped with a light and airy whipped cream frosting.
Ingredients
-
2 cups all-purpose flour
-
1 ½ cups granulated sugar
-
½ cup unsalted butter, softened
-
1 cup milk
-
3 large eggs
-
1 tablespoon baking powder
-
1 teaspoon vanilla extract
-
½ teaspoon salt
-
1 cup white chocolate chips
-
1 cup fresh raspberries
-
1 cup heavy whipping cream
-
2 tablespoons powdered sugar
-
1 teaspoon vanilla extract for whipped cream
Instructions
-
Step 1
Preheat oven to 350°F (175°C). Grease and flour a 9-inch round cake pan or line with parchment paper. Cream softened unsalted butter and granulated sugar in a large mixing bowl until pale yellow and fluffy. -
Step 2
Add eggs one at a time, beating well after each addition. Stir in 1 teaspoon of vanilla extract. Beat until smooth. -
Step 3
In a separate bowl, whisk together flour, baking powder, and salt. Alternately add dry ingredients to the wet ingredients with milk, beginning and ending with dry ingredients. Mix on low speed until just combined, do not overmix. -
Step 4
Gently fold in white chocolate chips and fresh raspberries using a spatula. Be careful not to crush the raspberries. -
Step 5
Pour batter evenly into the prepared pan and smooth the top. Bake for 30-35 minutes, or until a wooden skewer inserted into the center comes out clean. Let cool in the pan for 10-15 minutes before inverting onto a wire rack to cool completely. -
Step 6
While the cake cools, prepare whipped cream. In a clean, chilled bowl, whip heavy whipping cream with powdered sugar and 1 teaspoon vanilla extract until stiff peaks form. -
Step 7
Once the cake is completely cool, spread the whipped cream generously over the top. Optionally, sprinkle with extra white chocolate chips or fresh raspberries before serving.
Important Information
Nutrition Facts (Per Serving)
It is important to consider this information as approximate and not to use it as definitive health advice.
Allergy Information
Please check ingredients for potential allergens and consult a health professional if in doubt.

Leave a Comment