

Homemade bread is more than just a food; it’s an experience. There’s an undeniable magic in transforming simple ingredients – flour, water, yeast, and salt – into a golden, fragrant loaf that fills your kitchen with an aroma so comforting it feels like a warm hug. Why do we crave this humble creation so intensely? Perhaps it’s the connection to tradition, the satisfaction of creating something so fundamental with our own two hands, or simply the unparalleled taste and texture that store-bought versions can rarely replicate. The crust, crackling with anticnon-alcoholic ipation, gives way to a soft, chewy interior that’s perfect for slathering with butter or dipping into your favorite soup. Making your own homemade bread allows for endless customization, from the type of flour to adding herbs or seeds, ensuring a loaf that’s uniquely yours. Get ready to embark on a delicious journey that will have you rediscovering the simple joy of truly exceptional homemade bread.

Homemade Bread: The Joy of Baking Your Own Loaf
There’s something incredibly satisfying about pulling a warm, fragrant loaf of homemade bread from your oven. The aroma alone can transform your kitchen into a cozy sanctuary, and the taste of freshly baked bread, slathered with butter, is simply unparalleled. Forget the store-bought loaves that often taste like cardboard; baking your own bread is a rewarding process that yields a superior product. It might seem intimidating at first, but with a little patience and these straightforward instructions, you’ll be a bread-baking pro in no time. This recipe is for a basic, versatile white bread that’s perfect for sandwiches, toast, or simply enjoying on its own.
Ingredients:
*Note on yeast and flour: For the best results, use good quality active dry yeast and either all-purpose flour or bread flour. Bread flour has a higher protein content, which will result in a chewier, more structured loaf. If you’re new to bread making, all-purpose flour is perfectly fine and will still yield delicious results.
Getting Started: Activating the Yeast
The first crucial step in making any yeasted bread is to properly activate your yeast. This ensures that your yeast is alive and ready to work its magic, creating that beautiful, airy texture we all love.
1. In a large mixing bowl (or the bowl of your stand mixer), combine the 2 cups of warm water and your chosen sweetener – either the 1/4 cup of honey or sugar. Stir gently until the honey or sugar is dissolved. The water temperature is important here; it should feel lukewarm, not hot. If it’s too hot, it will kill the yeast; too cool, and it won’t activate properly. Aim for that sweet spot between 105 and 115 degrees Fahrenheit. Now, sprinkle the 1 Tablespoon of active dry yeast over the surface of the water and sweetener mixture. Do not stir it in immediately. Let it sit undisturbed for about 5-10 minutes. You should see the yeast begin extract to foam and bubble, creating a creamy, frothy layer on top. This is called “proofing” the yeast, and it’s your visual confirmation that your yeast is active and ready to go. If you don’t see any activity after 10 minutes, your yeast might be old or the water temperature was off, and you’ll need to start over with fresh yeast.
Building the Dough: Combining and Kneading
Once your yeast is happily proofed, it’s time to add the remaining ingredients and bring everything together into a cohesive dough. This is where the gluten development begin extracts, which is essential for a good bread structure.
2. To the activated yeast mixture, add the 2 teaspoons of salt and the 2 Tablespoons of oil. Now, begin extract adding the flour, one cup at a time, mixing after each addition. Start with 4 cups of flour. Stir with a wooden spoon or use your stand mixer with the dough hook attachment. The dough will start to come together, initially looking shaggy and sticky. As you continue to add flour, you’ll notice it becoming more manageable. Once the dough starts to pull away from the sides of the bowl, you can switch to kneading. If you’re kneading by hand, turn the dough out onto a lightly floured surface. Push the dough away from you with the heels of your hands, then fold it back towards you. Rotate the dough a quarter turn and repeat. Continue kneading for about 8-10 minutes, or until the dough is smooth, elastic, and no longer sticky. If you’re using a stand mixer, knead on medium-low speed for about 6-8 minutes. You’ll know the dough is ready when it springs back slowly when you gently poke it with your finger. If the dough is still too sticky, add more flour, a tablespoon at a time, until it reaches the desired consistency. Be careful not to add too much flour, as this can result in a dense loaf.
The First Rise: Patience is Key
After all that hard work of kneading, your dough needs some time to relax and grow. This is the first rise, also known as bulk fermentation.
3. Lightly oil a clean, large bowl. Shape your kneaded dough into a smooth ball and place it in the oiled bowl, turning it once to coat the entire surface with oil. This prevents the dough from drying out. Cover the bowl tightly with plastic wrap or a damp kitchen towel. Place the bowl in a warm, draft-free spot. A slightly warm oven (turned off, of course!) or a sunny windowsill works well. Let the dough rise for 1 to 1.5 hours, or until it has doubled in size. The exact time will depend on the temperature of your environment. Resist the urge to peek too often! When the dough has doubled, it should look puffy and have a smooth, domed surface.
Shaping and the Second Rise: Preparing for the Oven
Once your dough has had its first glorious rise, it’s time to shape it and let it rise one more time before it hits the heat.
4. Gently punch down the risen dough to release the air. Turn it out onto a lightly floured surface again. At this point, you can divide the dough if you want to make smaller loaves or rolls, or if you’re making a single loaf, shape it into your desired form – a classic round boule or an oblong loaf for a standard loaf pan. For a boule, gently cup your hands around the dough and pull it towards you, rotating as you go, to create surface tension. For an oblong loaf, gently pat the dough into a rectangle and then roll it up tightly, pinching the seam closed. Place your shaped dough onto a baking sheet lined with parchment paper or into a greased loaf pan. Cover loosely with plastic wrap or a clean kitchen towel. Let it rise for a second time in a warm spot for about 45 minutes to 1 hour, or until it has nearly doubled in size again. It should look noticeably puffy and almost ready to burst.
Baking to Perfection: The Final Transformation
The moment of truth has arrived! Baking is where all your effort culminates in that beautiful, golden-brown loaf of bread.
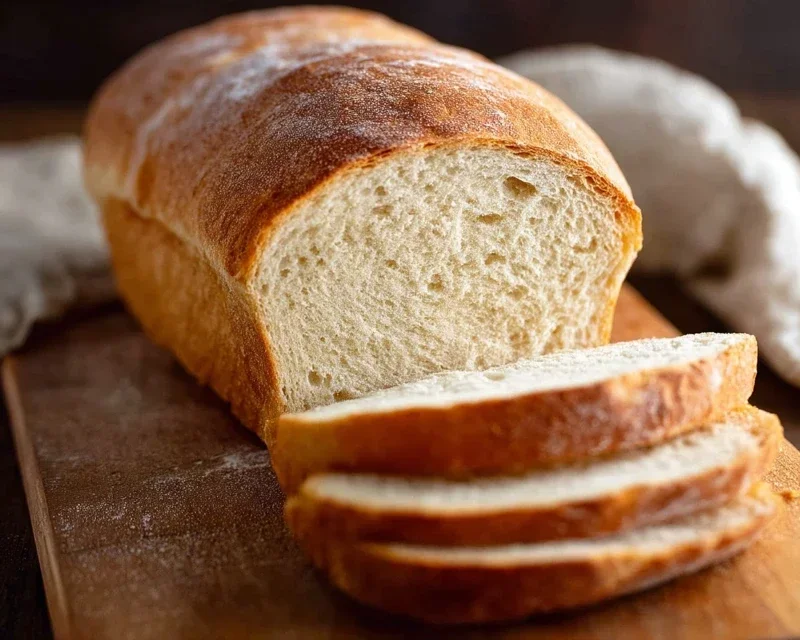
5. Preheat your oven to 375 degrees Fahrenheit (190 degrees Celsius) about 15-20 minutes before your dough finishes its second rise. If you’re baking a boule, you can also preheat a baking stone or an oven-safe skillet in the oven. Once the dough has completed its second rise, you can optionally brush the top with a little milk or an egg wash for a shinier crust, and then sprinkle with a few seeds if you like. Carefully transfer your loaf (or loaves) to the preheated oven. If using a baking stone, gently slide the loaf onto the hot stone. Bake for 30-40 minutes for a standard loaf, or until the crust is a deep golden brown and the internal temperature reaches around 200-210 degrees Fahrenheit (93-99 degrees Celsius). You can check for doneness by tapping the bottom of the loaf; it should sound hollow. Once baked, immediately remove the bread from the oven and transfer it to a wire rack to cool completely. Resist the temptation to slice into it right away! Allowing it to cool allows the internal structure to set properly, ensuring a better texture. Enjoy the fruits of your labor!
Conclusion:
Baking your own homemade bread is a truly rewarding experience, far more accessible than you might imagin extracte. This recipe offers a fantastic starting point, yielding a beautifully textured loaf with a satisfying crust and a tender crum extractb. It’s a simple yet effective method that celebrates the magic of yeast and flour, transforming basic ingredients into something truly special. The aroma alone will fill your kitchen with warmth and anticnon-alcoholic ipation!
This versatile bread is perfect served warm with a generous slather of butter, alongside your favorite soups and stews, or as the foundation for delicious sandwiches. Don’t be afraid to get creative! Consider adding herbs like rosemary or thyme to the dough, or even a handful of seeds or chopped nuts for added flavor and texture. Experimenting with different flours, like whole wheat or rye, can also lead to exciting new discoveries. I encourage you to give this recipe a try; the joy of pulling a fresh, fragrant loaf from your own oven is unparalleled.
Frequently Asked Questions:
Why is my homemade bread so dense?
A dense loaf often indicates an issue with yeast activity or gluten development. Ensure your yeast is fresh and properly activated. Don’t under-knead the dough; adequate kneading develops the gluten structure, which traps air and creates a lighter crum extractb. Over-proofing can also lead to a dense texture, so watch the dough rise carefully.
Can I make this bread without a stand mixer?
Absolutely! While a stand mixer makes kneading easier, you can achieve excellent results by hand. Kneading takes a bit more effort and time, but it’s a wonderful way to connect with the process. Just be sure to knead until the dough is smooth, elastic, and passes the windowpane test.
How should I store my freshly baked bread?
For the best flavor and texture, store your bread at room temperature in a bread box or a loosely tied paper bag. Avoid sealing it in plastic wrap too soon, as this can make the crust soggy. If you have a lot of bread, slicing and freezing portions is an excellent option for longer storage.
Homemade Bread
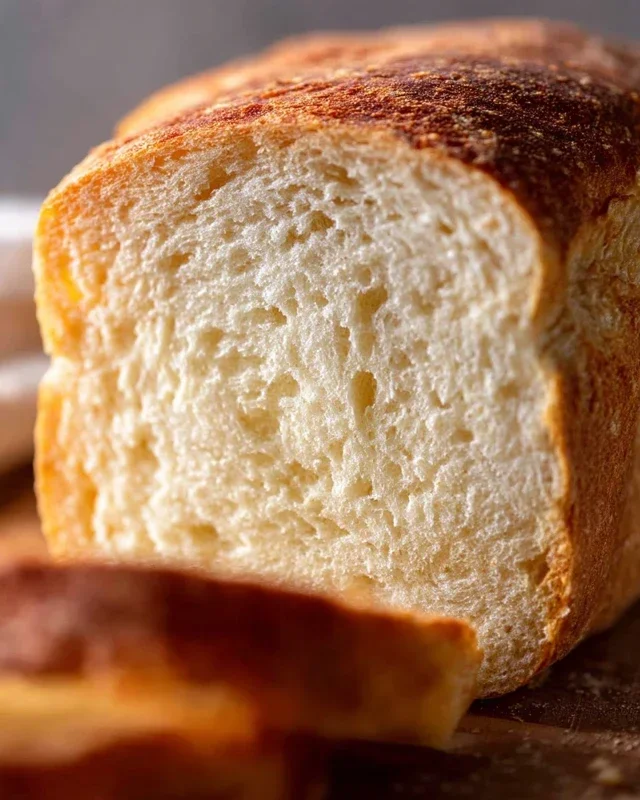
A simple and delicious recipe for soft, fluffy homemade bread.
Ingredients
-
2 cups warm water (105-115 degrees) ((474g))
-
1 Tablespoon active dry yeast
-
1/4 cup honey
-
2 teaspoons salt
-
2 Tablespoons canola oil
-
4 1/2 cups all-purpose flour
Instructions
-
Step 1
In a large bowl, combine warm water and honey. Sprinkle yeast over the top and let it sit for 5-10 minutes until foamy. -
Step 2
Stir in salt and oil. -
Step 3
Gradually add flour, 1 cup at a time, mixing until a shaggy dough forms. Knead on a lightly floured surface for 8-10 minutes until smooth and elastic, adding more flour as needed. -
Step 4
Place the dough in a greased bowl, cover, and let rise in a warm place for 1 to 1.5 hours, or until doubled in size. -
Step 5
Punch down the dough and shape it into a loaf. Place it in a greased loaf pan. -
Step 6
Cover and let rise again for 30-45 minutes. -
Step 7
Preheat oven to 375 degrees F (190 degrees C). Bake for 30-35 minutes, or until the crust is golden brown and the bread sounds hollow when tapped. -
Step 8
Let cool on a wire rack before slicing.
Important Information
Nutrition Facts (Per Serving)
It is important to consider this information as approximate and not to use it as definitive health advice.
Allergy Information
Please check ingredients for potential allergens and consult a health professional if in doubt.

Leave a Comment